This post may contain affiliate links. If you buy something through one of these links, we may earn an affiliate commission - at no extra cost to you.
Christmas cookies!!!! So many good ones to choose from!! Thumbprint cookies have been on my list for a few years.
This classic cookie has easily become one of our new favorites.
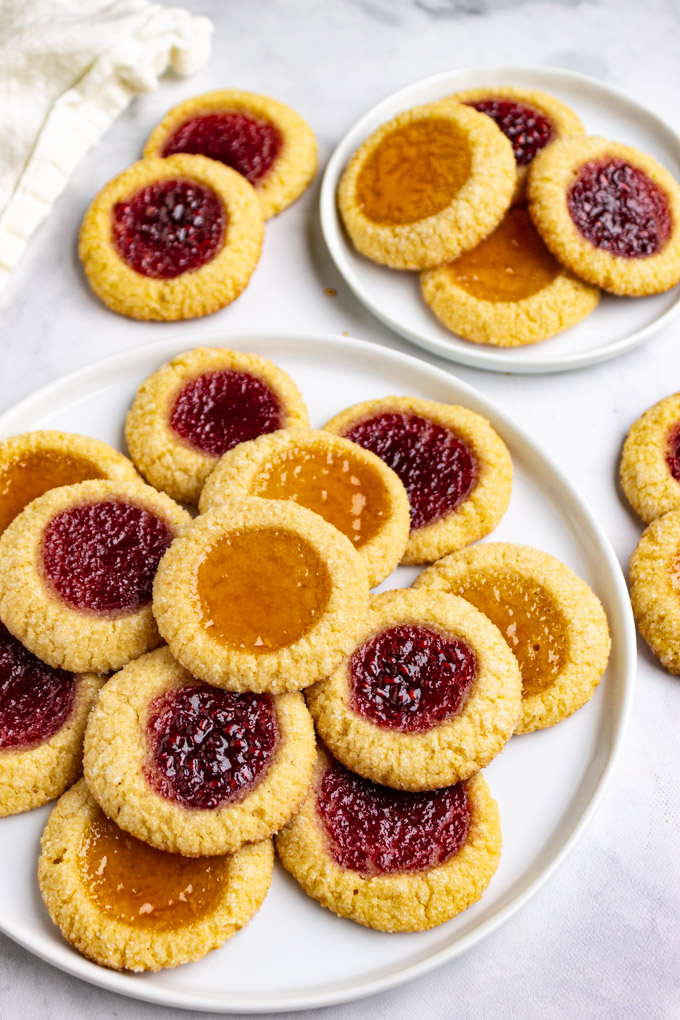
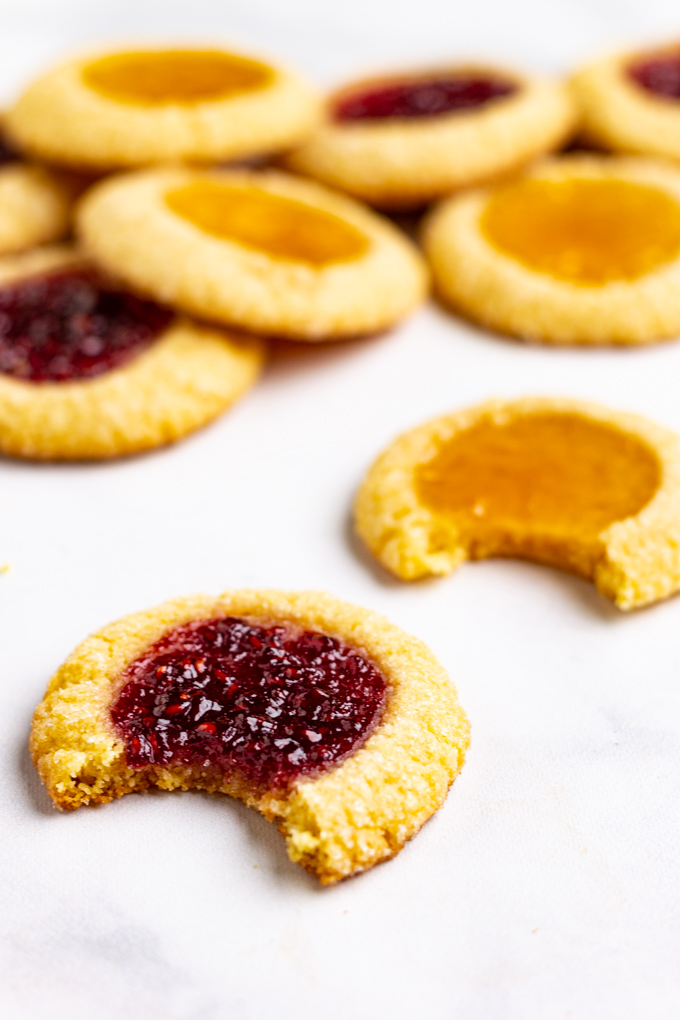
Buttery, melt-in-your mouth sugar cookie that has a center of fruit preserves baked right in. The center is fruity, sticky, and jam-y. So good!
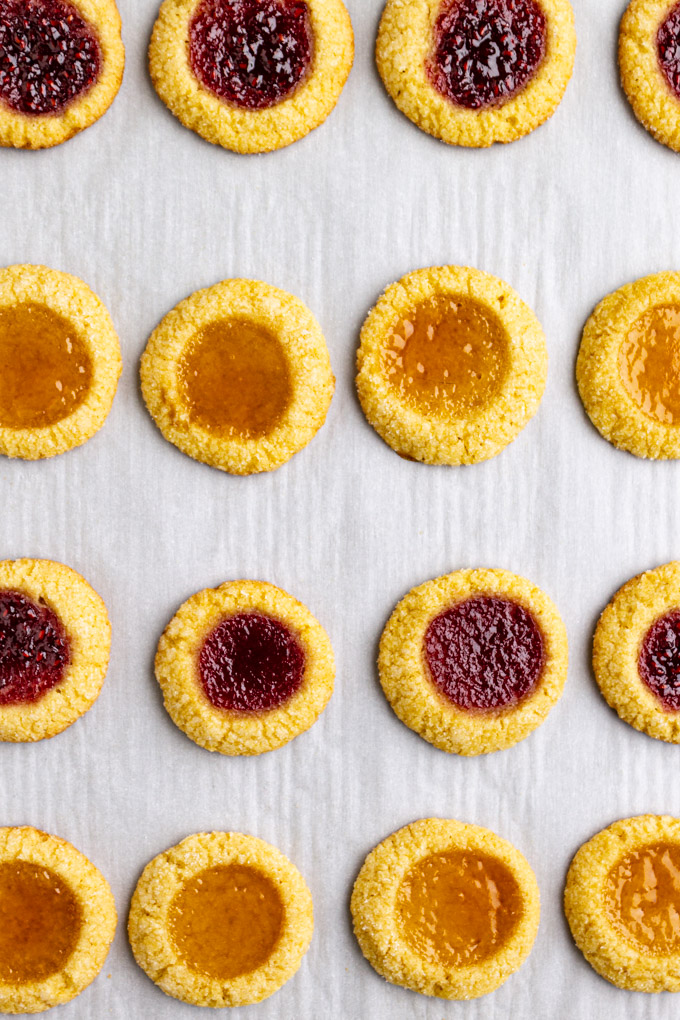
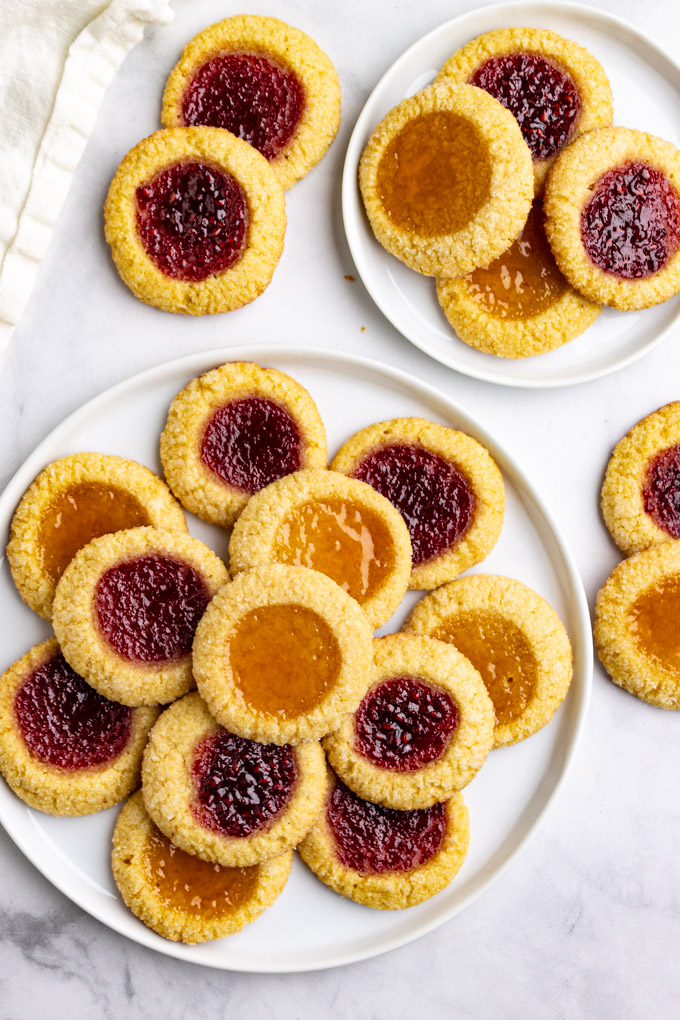
I used raspberry and apricot fruit preserves for my cookies. You could use any flavor of fruit preserves or jam that you like.
Thumbprint cookies, or Hallongrotta are very common in Sweden. Hallongrotta means “raspberry cave”. (Source)
Yes, I think I would like to visit that raspberry cave. Wouldn’t you?!
What to fill your thumbprint cookies with?
The most traditional thumbprint cookie is raspberry. However, you can fill it with any kind of fruit preserve or jam you like.
Here are some ideas:
- apricot (seems to be the second most common thumbprint cookie flavor).
- peach
- cherry
- strawberry
- blueberry
- blackberry
The list could go on and on.
I personally preferred using a fruit preserve that is slightly tart, and not overly sweet. The cookies themselves are very sweet, so I really enjoyed that little bit of tart contrast that the raspberry and apricot provided.
Either way, you can’t go wrong!
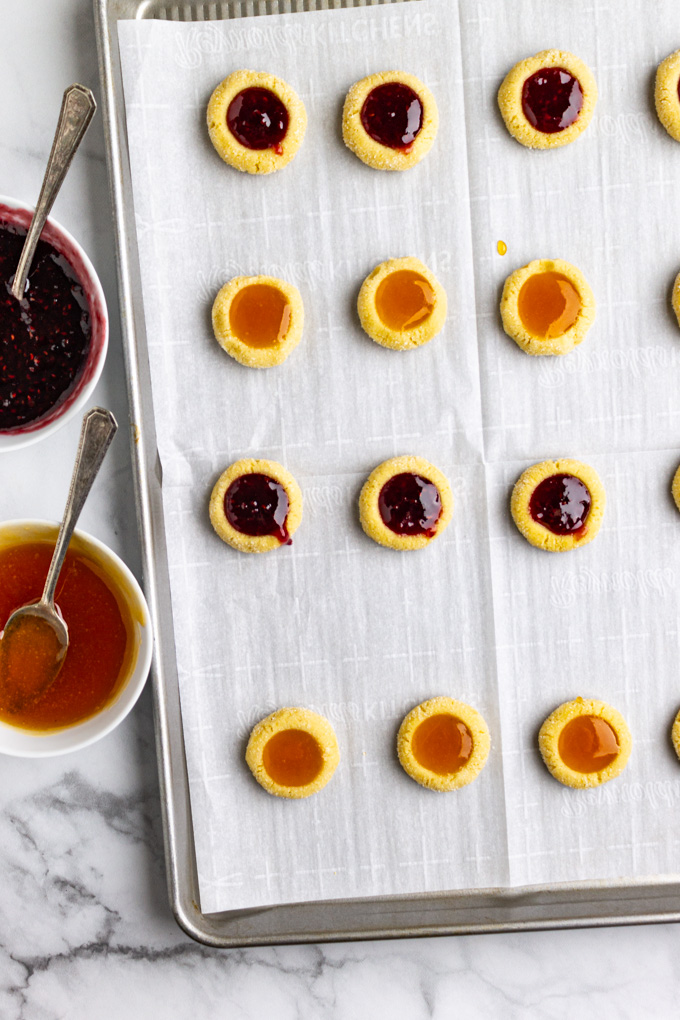
Do you fill the thumbprint cookies before or after baking?
For this thumbprint cookie recipe you fill the cookie before baking.
That way the jam sort of sets up in the cookie and doesn’t run out. I gets a nice gel-like texture.
How to store thumbprint cookies?
Since the cookies are a little sticky, I found it easiest to store them in a single layer in an extra large Tupperware container. Or, I also used a baking sheet and covered it with foil.
I do recommend lining whatever storage container you use with a paper towel to absorb any excess moisture and to prevent the cookies from becoming soggy.
You can store them at room temp.
How long will the thumbprint cookies last?
5 to 6 days when stored with a paper towel lining the bottom of the container.
Reasons you will LOVE these thumbprint cookies:
- They’re so fun to make.
- They’re customizable in flavor
- They’re pretty.
- They’re melt-in-your mouth fruity cookies that are heavenly.
- They’re shareable.
- They’re gluten free.
- They’re so festive.
- They will make your kitchen smell wonderful!
More Christmas cookie recipes for you to enjoy:
- 3 Christmas cookies, from 1 simple dough
- pecan pie cookies
- peanut butter blossom cookies
- chewy gluten free molasses cookies
More Christmas treats to try:
- dark chocolate peppermint truffles
- homemade vegan chocolate turtles
- gingerbread balls (no bake)
- homemade hot chocolate
- date sweetened rum balls
- dark chocolate bark with candied oranges
Did you make this recipe?
Be sure to leave a comment below along with a star rating. This really helps my blog out. Thanks.
Print
Thumbprint Cookies (Gluten Free)
- Prep Time: 15 mins
- chill time: 1 hour
- Cook Time: 12
- Total Time: 1 hour 27 minutes
- Yield: 26 to 28 cookies 1x
- Category: dessert, baking, cookies
- Method: baking
- Cuisine: gluten free, vegetarian
- Diet: Gluten Free
Description
Thumbprint cookies are a melt-in-your-mouth sugar cookie with a fruity, jam-y center. They are perfect for holiday baking.
Ingredients
wet ingredients
- 1/2 cup unsalted butter (1 stick), room temp
- 1/2 teaspoon kosher salt
- 1/4 cup light brown sugar
- 1/4 cup granulated sugar
- 2 egg yolks, room temp
- 2 teaspoons pure vanilla extract
dry ingredients
- 1 cup blanched almond flour
- 1/4 cup cornstarch
- 1/4 cup + 2 teaspoons coconut flour
Sugar coating
- 2.5 tablespoons granulated sugar
jam filling
- 1/3 cup jam, or fruit preserves, of choice (see notes)
Instructions
- Prepare: Line a baking sheet with parchment paper, set aside. Depending on how large your baking sheet is you may need 2 baking sheets.
- Cream together the wet ingredients: In a large mixing bowl add the room temp, softened butter and the salt – using an electric hand mixer, or a stand mixer fitted with the paddle attachment, cream the butter, and salt until the butter has broken down. Add the sugars and cream until the butter is light and fluffy. Add the egg yolks and cream together until well combined, then add the vanilla.
- Mix the dry ingredients: In a medium sized mixing bowl add all of the dry ingredients, mix until combine.
- Combine: Add half of the dry ingredients to the wet ingredients, and mix together with the mixer. Once all the dry ingredients has been added, use a spatula to scrape down the sides and give it a few more mixes.
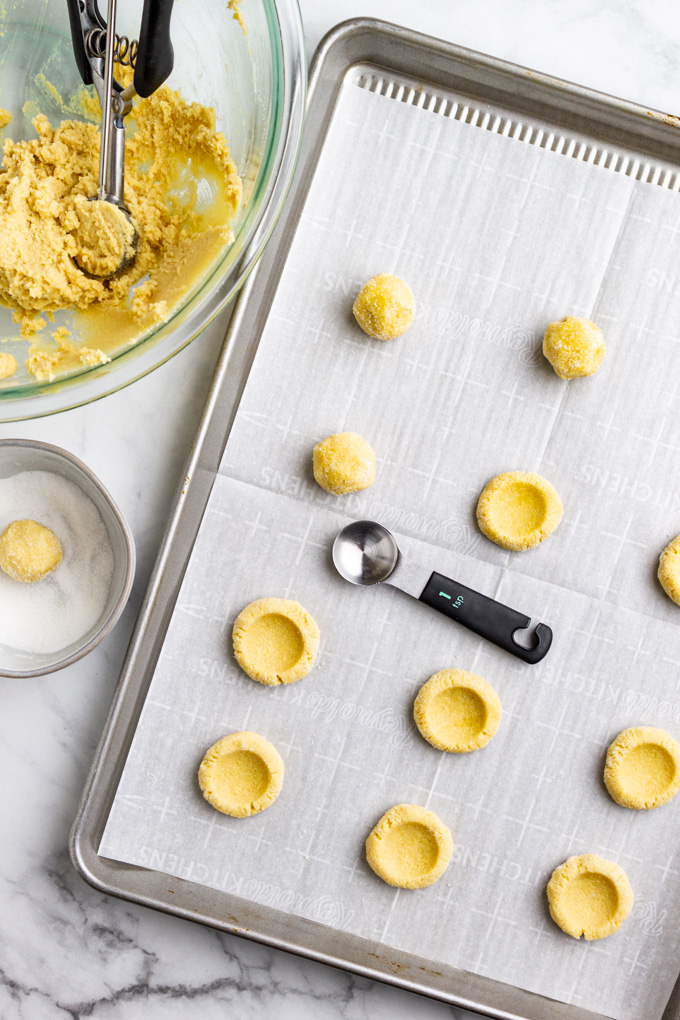
- Roll into balls: Measure out 1 tablespoon of dough (I like to use a cookie scoop), and roll it between your hands. Then, roll it in the granulated sugar and place it onto the lined baking sheet. Note: if the dough is too sticky, pop the dough in the freezer for 15 to 20 minutes before rolling the balls. Repeat, forming the balls until all the dough has been used. Use the back of 1 teaspoon measuring spoon to gently press indents into each dough ball. You can use your thumb, hence the name thumbprint cookies, but for a more even look, I like to use a teaspoon.
- Freeze: Transfer the cookie dough to the freezer for 1 hour. I know this is kind of annoying, but it’s essential to get a cookie that holds the jam nicely and doesn’t spread too much.
- Preheat the oven: About 15 minutes before the hour freeze time is over, preheat your oven to 350 degrees Fahrenheit.
- Prepare your jam: (See notes for flavor options, and more tips). At this time, you can prepare your jam. To do this, you want to warm the jam slightly in the microwave so that it’s more pourable. If there are any large fruit chunks you will want to strain them through so you are left with a nice smooth jam. I just stir the chunks of fruit back into whatever is remaining in the jar. Make sure the jam isn’t steaming hot, it can be slightly warm, but not hot. The goal is to make it just runny enough to pour into the cavities of the cookies.
- Fill the cookies: Once the oven is pre-heated, and the jam is ready to go you can fill the cookies. Use a small spoon to carefully place about 1/2 teaspoon of the jam into each cavity of the cookie – you don’t want it to be filled higher than the cavity. You want to leave about an inch of space between each cookie, they will expand – so use two cookie sheets, if needed.
- Bake: Bake the cookies immediately after they are filled. Bake for 10 to 12 minutes, or just until the cookies start to turn golden brown.
- Cool: Allow the cookies to cool for 10 minutes on the cookie sheet. Transfer the cookies to a cooling rack to cool completely.
- Enjoy: Enjoy the cookies once they are cooled.
- To store: I found the cookies too sticky to stack them, so I sorted them in an extra large Tupperware container, in a single layer, that’s lined with a paper towel to collect any moisture. Or you can line baking sheet with paper towel and cover the cookies with foil. Store them at room temp. They will last for up to 5 days.
Notes
Jam/fruit preserves flavor options: The original thumbprint cookie is made using raspberry jam. However, you can use any flavor you like. I also used apricot in these photos. And, we also tried blueberry. You could use strawberry, peach, cherry…literally any flavor of jam, or fruit preserves, you like.
Jam/fruit preserves tips: You can strain out any seeds, or large chunks of fruit. I found that the raspberry jam worked better when I left the seeds in, which we didn’t mind. So, if you’re using raspberry, or another jam that’s really seedy, then I recommend leaving the seeds in. I think it worked better with the seeds in, because the jam was too thin without them.
Some of the methods for the recipe are adapted from Sugar Spun Run’s recipe for thumbprint cookies.



We love these and make them every year. This time I’m using my homemade jam from our plum tree! Great recipes Emily.
Thanks so much for the comment, Karen. It is so nice to hear that you make these cookies every year. I bet they will be extra special with your homemade plum jam – that sounds amazing!!! Happy holidays!!! 🙂