This post may contain affiliate links. If you buy something through one of these links, we may earn an affiliate commission - at no extra cost to you.
Have you heard of cauliflower pizza crust?
The idea is to make a healthy, low-carb, gluten-free option for pizza crust. Sounds like an ingenious idea, especially since cauliflower is a vegetable, right?
Wrong!
I have tried making it about 3 times. Each time I have been disappointed in how the consistency of the crust holds up. The toppings fall right off, the crust crumbles, and you have to use a fork to eat it. I believe that you should always be able to eat pizza with your hands, if you want, with the exception of a Chicago-style deep dish pizza-that’s a whole different story.
I am not saying that a cauliflower pizza crust isn’t possible; I have looked at several successful recipes. I just don’t seem to have the right touch. I am open to suggestions, if anyone has any tips.
Anyway, even though the consistency of the crust has been off, the flavor has been delicious. It’s like roasted cauliflower meets garlic and Parmesan cheese.
So, I decided to keep experimenting with the same idea but different concepts. I tried cauliflower cheese sticks.
Nope, still fell apart.
Back to the drawing board!
Then, I thought about making them into balls.
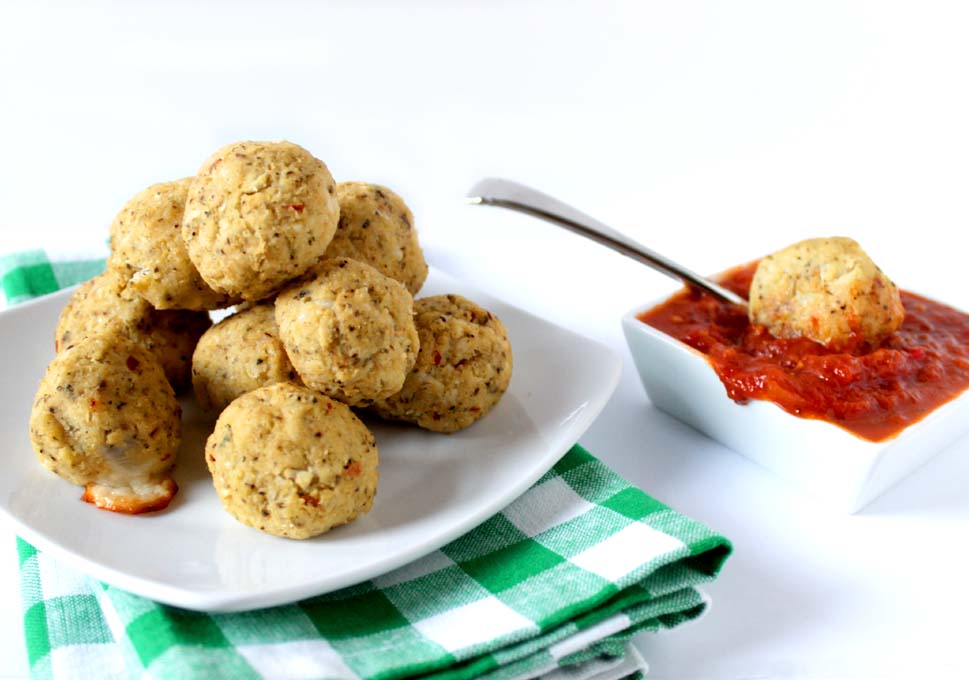
Cauliflower Balls Stuffed with Cheese was born!
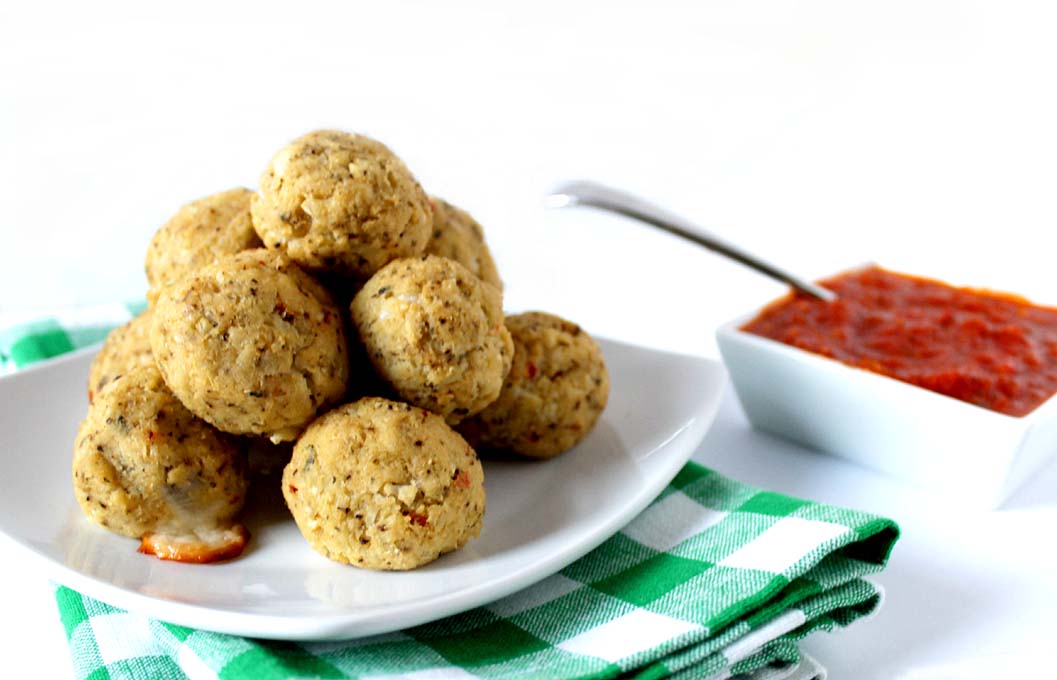
These low-carb little balls are so much fun. Did I mention that they are filled with melted mozzarella cheese? Serve them with my fresh tomato sauce for dipping and you have got yourself one tasty appetizer or side dish.
Fair warning: if you are expecting a ball of starchy dough, you may be disappointed. But these guys are tasty all the same and are not to be ignored. They are satisfying if you are trying to watch your carbohydrate and/or gluten intake.
Give these little guys a try and I know you will be pleasantly surprised. In the meantime, I will keep working on my cauliflower pizza crust. Or, I may opt for making a ton of cauliflower balls stuffed with cheese instead.
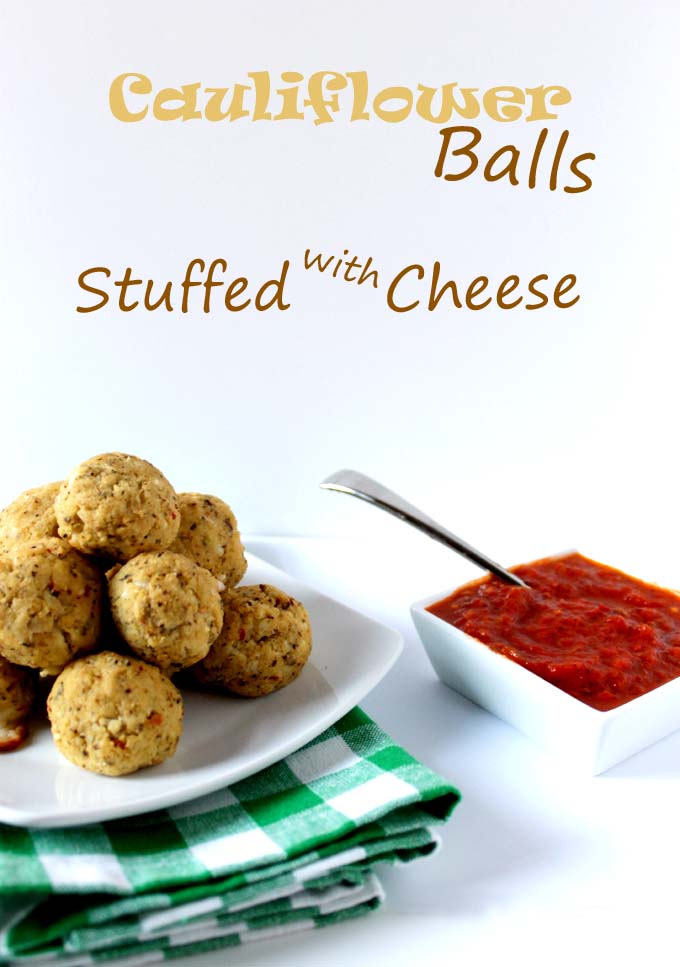

Cauliflower Balls Stuffed with Cheese
- Prep Time: 20 mins
- Cook Time: 40 mins
- Total Time: 1 hour
- Yield: 12 balls 1x
- Category: Appetizer, Side
- Cuisine: Gluten Free, Vegetarian
Description
Cauliflower balls stuffed with cheese are a delicious appetizer or side to any meal. They are a great option for anyone watching their carbohydrate or gluten intake.
Ingredients
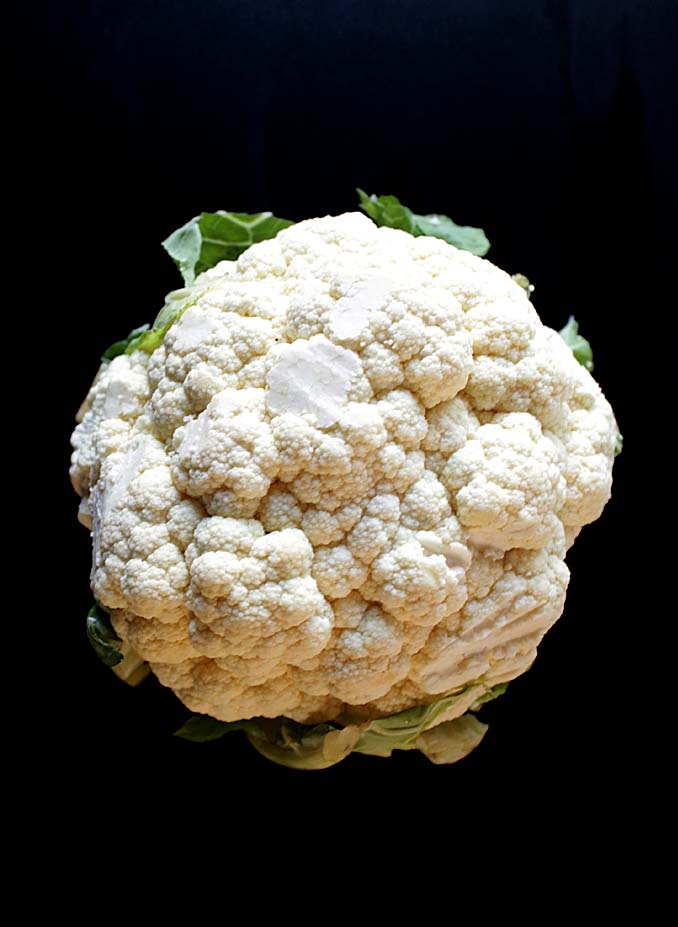
- 1 large head washed cauliflower, about 4 cups*
- 1–2 eggs
- 1/2 cup freshly grated Parmesan cheese
- 1 teaspoon garlic powder
- 1/4 teaspoon onion powder
- 1/2 teaspoon sea salt plus extra**
- 1/2 teaspoon pepper
- 1/4 teaspoon red pepper flakes
- 1/2 teaspoon dried basil
- 1 to 2 tablespoons almond flour (depending on how moist the cauliflower is)
- 2 to 3 mozzarella sticks, cut into 1/2 inch cubes
- Fresh tomato sauce, heated, for dipping (optional)
Instructions
- Preheat oven to 350 degrees. Line a large rimmed baking sheet with a silpat mat or parchment paper.
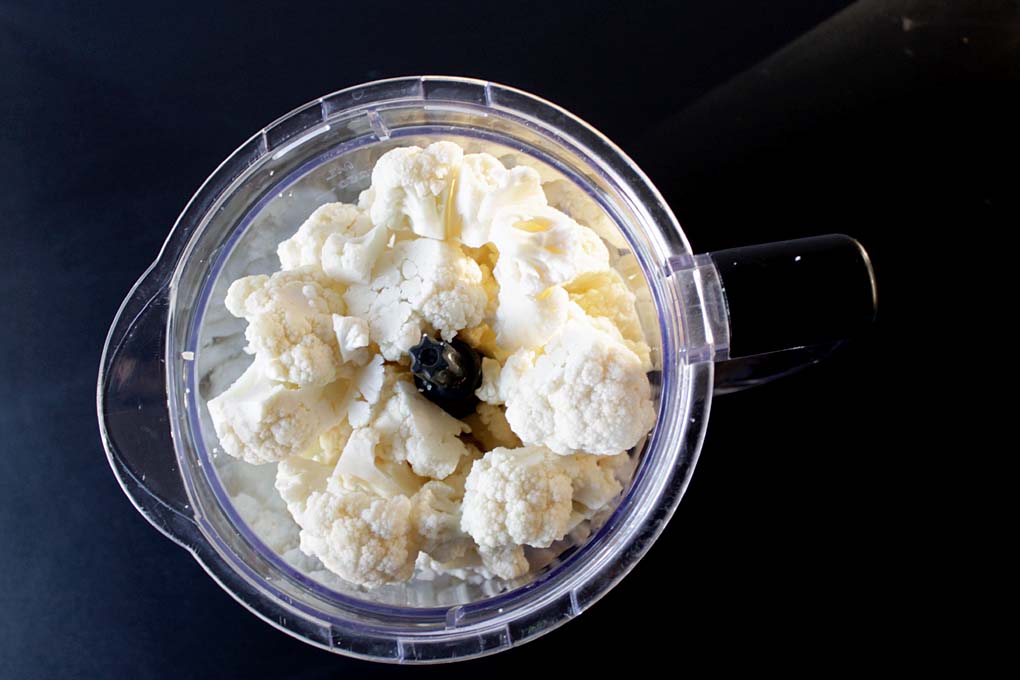
- Cut most of the stem off the cauliflower floret. You mostly want to use the florets and the smaller stems for the dough. Reserve the larger stems for a separate use or eating.
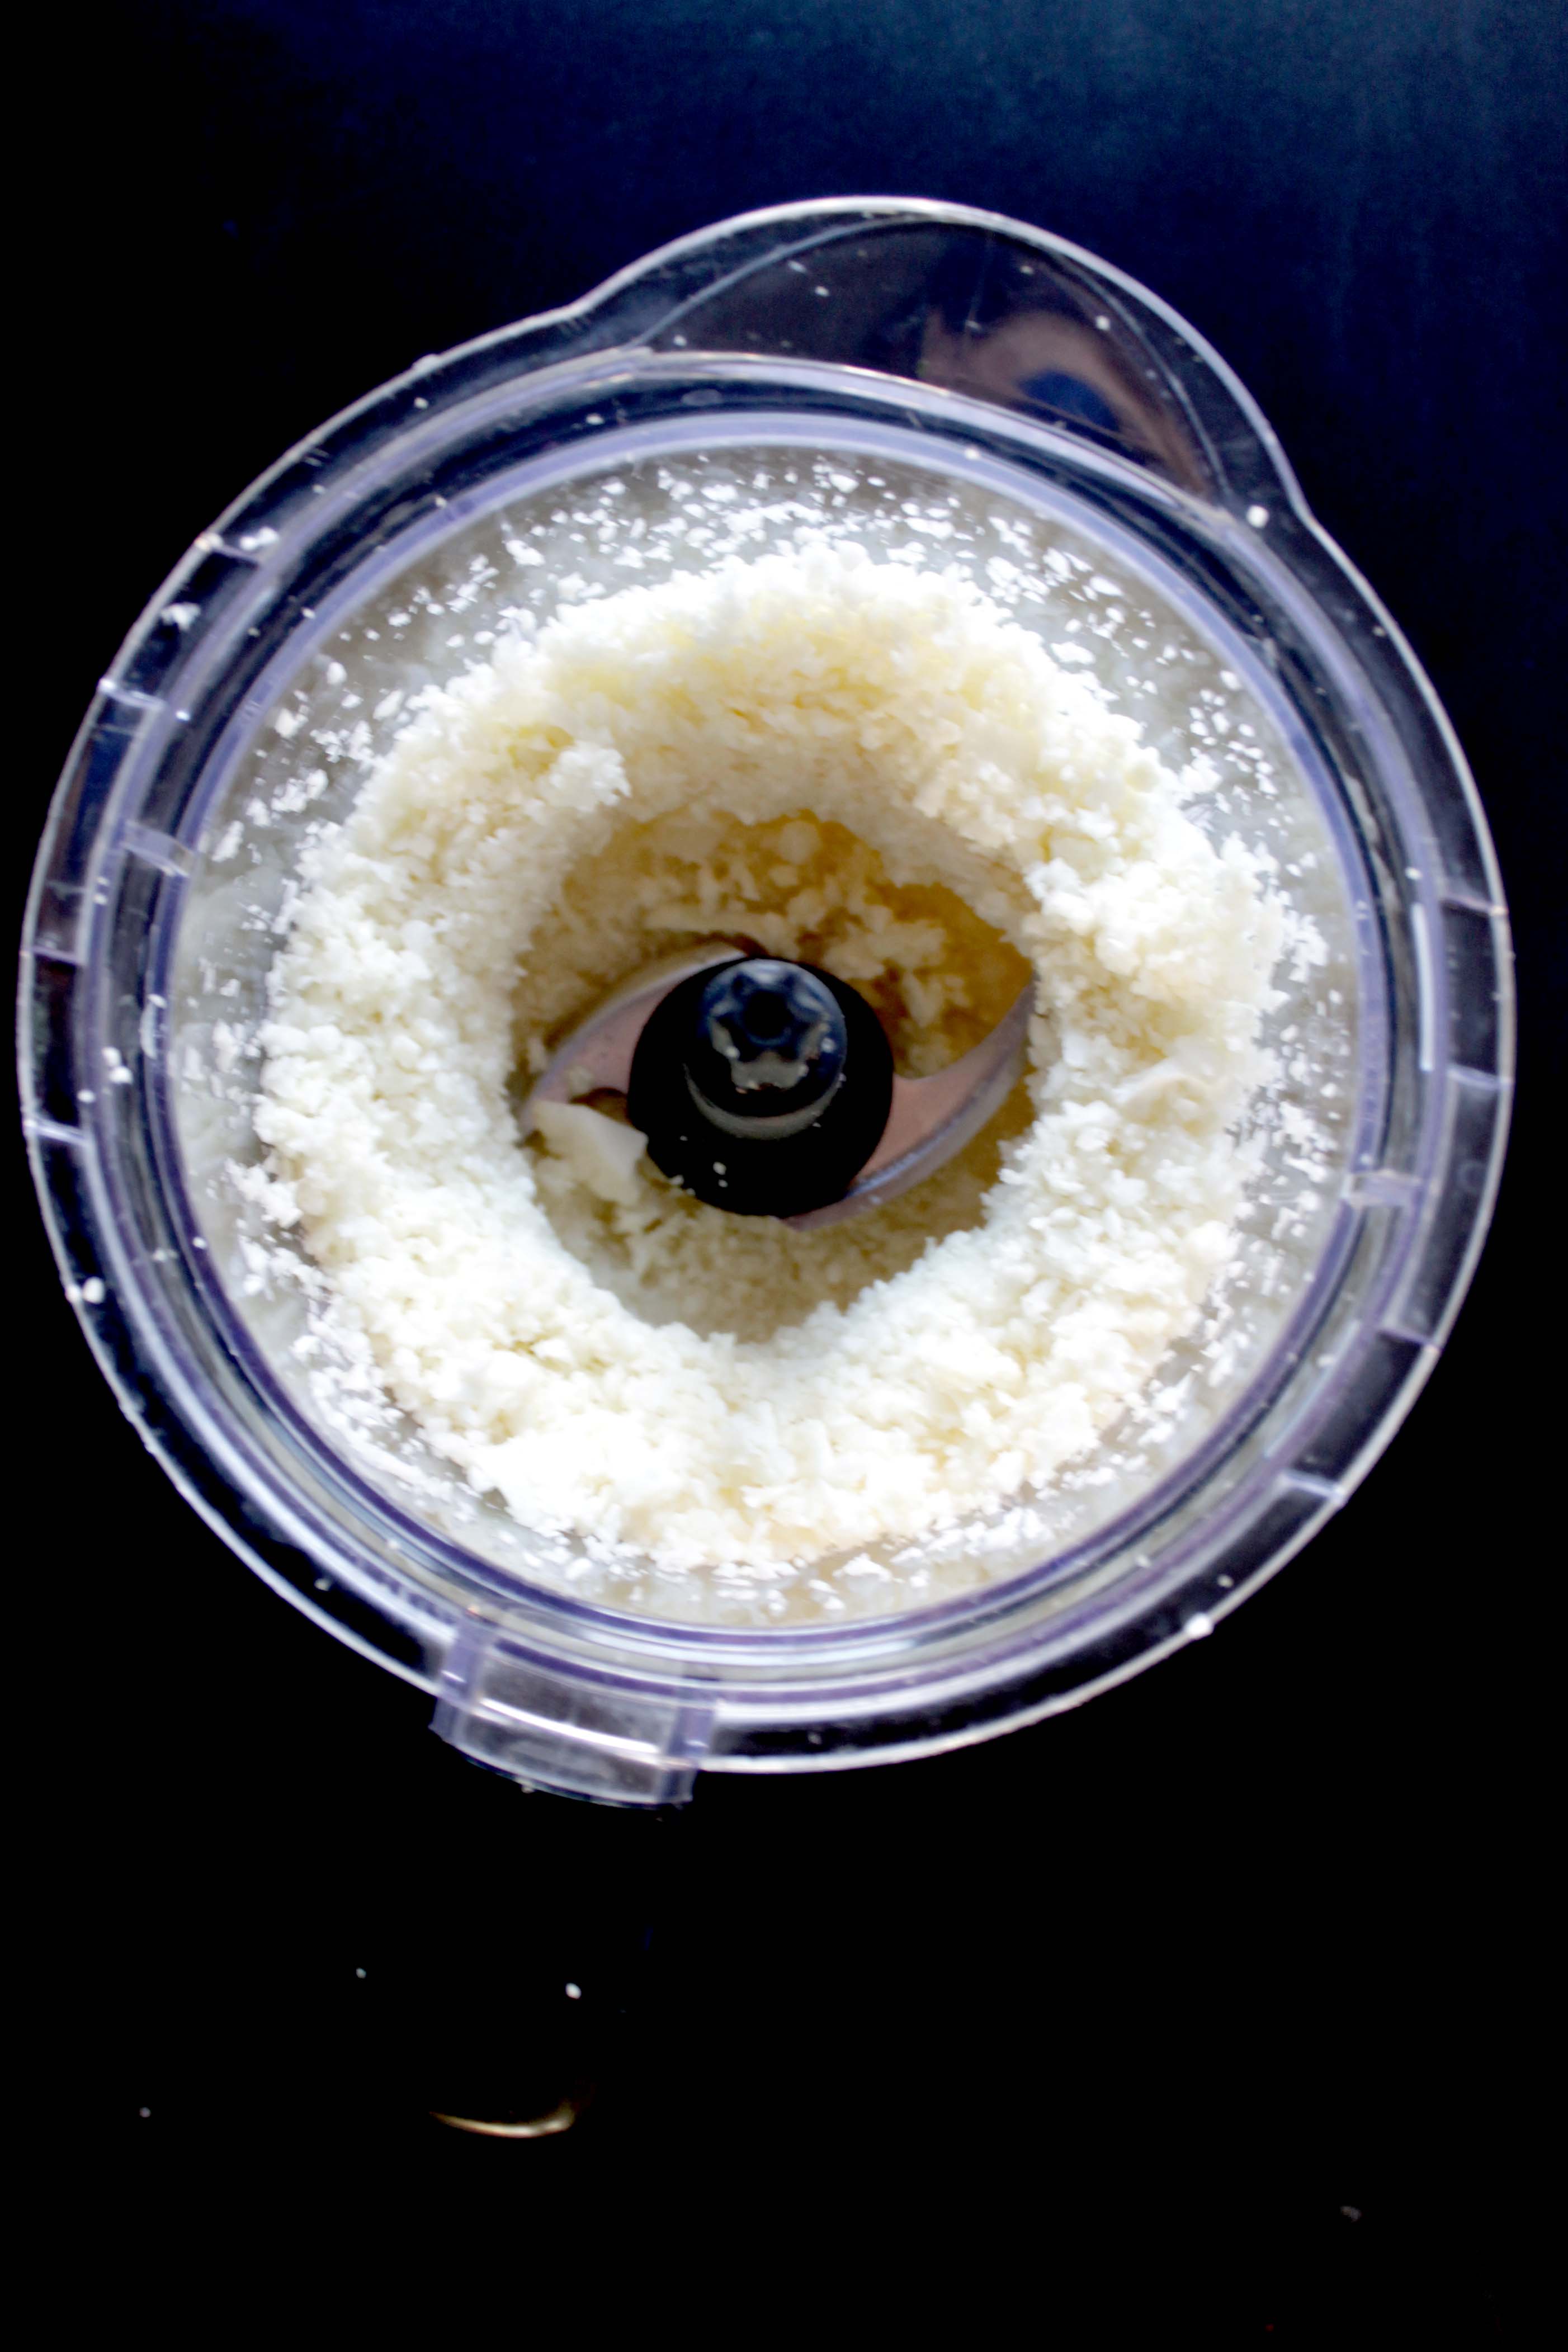
- Place the florets into the bowl of a food processor. Process until the cauliflower looks like rice, but don’t process into a mush. Place the cauliflower into a microwave-safe bowl and microwave on high for 3 to 4 minutes. The cauliflower should be steaming.
- Place the cauliflower into a fine mesh strainer that is lined with a tea towel. **Salt the cauliflower and allow to cool for 10 minutes. The salt will help to draw out some of the moisture.
- While the cauliflower is cooling, whisk the eggs, ½ teaspoon sea salt and other spices, and Parmesan cheese in a medium-sized bowl.
- Once the cauliflower is cool enough to handle, use the kitchen towel to squeeze out as much of the moisture from the cauliflower as possible. The more moisture you can squeeze out the better.
- Place the squeezed cauliflower into the bowl with the eggs and spices. Mix to combine. Add the almond flour one tablespoon at a time. Add more depending on the wetness of the dough. The dough should stick together easily.
- Measure the dough at about a tablespoon and roll into a ball. Use your finger to make a hole for a cube of mozzarella cheese and gently form the dough around the cheese. Repeat until the dough is gone.
- Bake for 30 to 40 minutes, or until the balls have turned a light brown and they are dry to the touch and slightly crust-like. The balls should remove easily from the silpat mat or parchment paper.
- Serve immediately with warmed fresh tomato sauce for dipping. They are best eaten the same day.
Notes
*I had about 4 cups of cauliflower after it was processed. Depending on the size of your cauliflower you may want to reduce or increase the other ingredient amounts.
Firm cauliflower crust?
The key is to squeeze the cooked, riced cauliflower in cheese cloth or very thin dish towel until it is as dry as possible..When my hands..fingers and arms are starting to ache and get tired I know its ready…usual 5-10 minutes..I also sprinkle in some almond flour or psylium husk powder for binding
Thanks for all the great tips on cauliflower crust CJ. ?