This post may contain affiliate links. If you buy something through one of these links, we may earn an affiliate commission - at no extra cost to you.
The idea for this recipe was first born around Easter time. I was at Walgreens, which is only 2-blocks away from our house. Convenience at its finest. I was perusing the candy isle when I noticed a bag of chocolate Easter eggs filled with coconut cream. They sounded scrumptious. I was about to purchase a bag until I looked at the ingredient list. The only ingredient with the word coconut in it was coconut flavoring.
Umm, no thank you! I refuse to buy chocolates that claim they are filled with coconut cream when in fact there is no actual coconut in it, except for maybe a tiny bit of coconut extract, but even that is questionable.
Of course, I immediately began thinking up ways to make my own version of the chocolate, Easter time treats.
Why am I posting this recipe in June if I had intended it for Easter?
Great question!
I had tested the recipe in April trying out some coconut whipped cream for the first time as the filling. First time around it was a success. They were incredibly delicious.
My second time making the recipe, I was prepared to photograph, but the recipe didn’t go as planned.
You see, coconut whipped cream can be a bit temperamental at times. The coconut whipped cream didn’t turn out right on my second try, or my third, or my fourth.
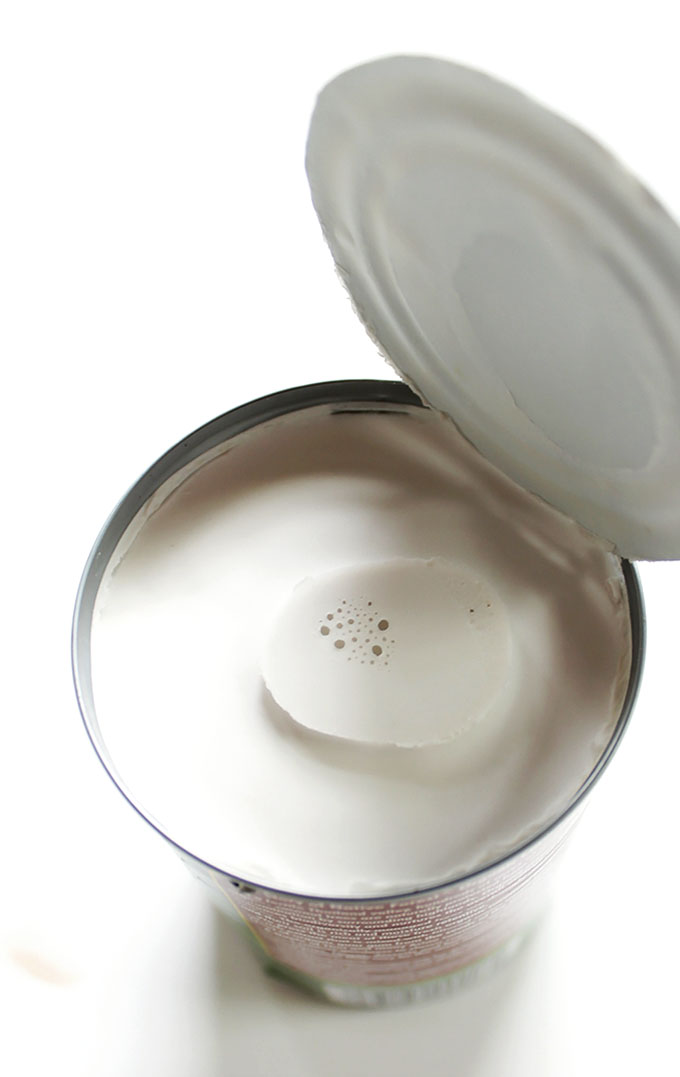
Frustrated and feeling defeated I gave up on making the recipe for about a month. Then one day I was making a coconut curry dish for dinner. I reached for a can of coconut milk that had been chilling in the refrigerator for at least 3 weeks. It was fully separated! I knew it would be the perfect can for whipped cream.
Since the first time I have made this recipe I have learned a few tricks:
- Buy full fat canned coconut milk
- Do the shake test before you buy; if it sounds really watery put it back
- The ingredients list should simply be coconut milk and water, nothing else
- If you can, buy it without guar gum (guar gum makes it tricky to separate the coconut cream from the water)
- If you can’t find one without guar gum, refrigerating the coconut milk for at least a week helps the cream and water to separate
- Keep several cans of coconut milk in the back of your refrigerator at all times
- Write the date on them so you know exactly how long they have been chilling
- Even after all of this, it is still possible that the can may not set up right, or it can create a funky texture once blended (don’t waste this stuff; use it to make a soup, a curry dish, or a smoothie)
- If you have a cooperative can of coconut milk, making coconut whipped cream can be really easy.
- For all of these efforts the end result is totally worth it!
Once I discovered these few tricks I realized my odds of making successful coconut whipped cream went up by 70%. So I returned to the chocolate coconut cream cups.
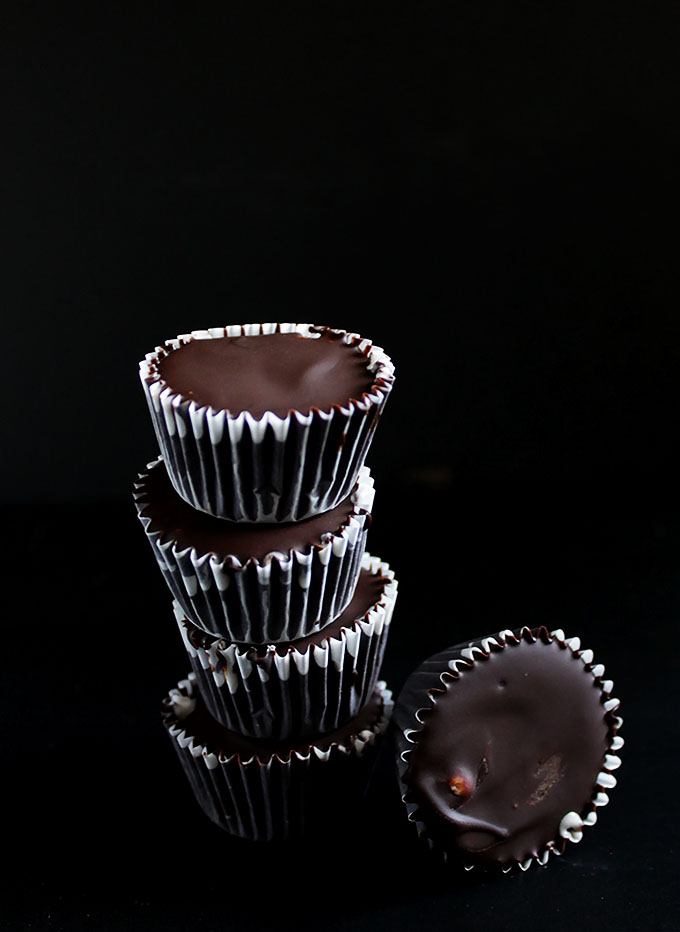
Yes, these little guys would be perfect for an Easter treat, but they are just as good any time of the year. Even 2 months later.
These little dudes are vegan and gluten-free. They only contain 4 ingredients and take 25 minutes to make.
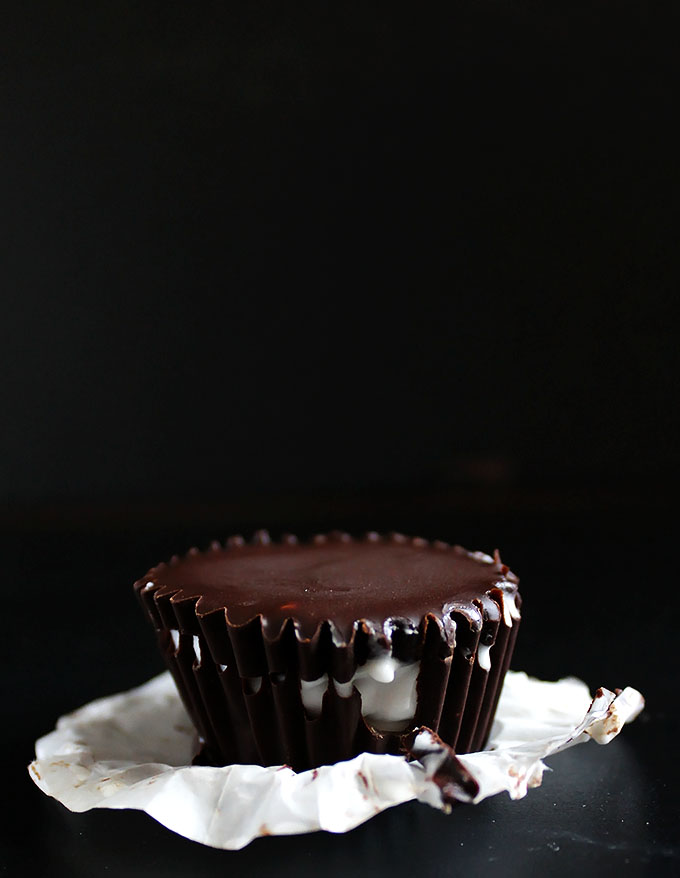
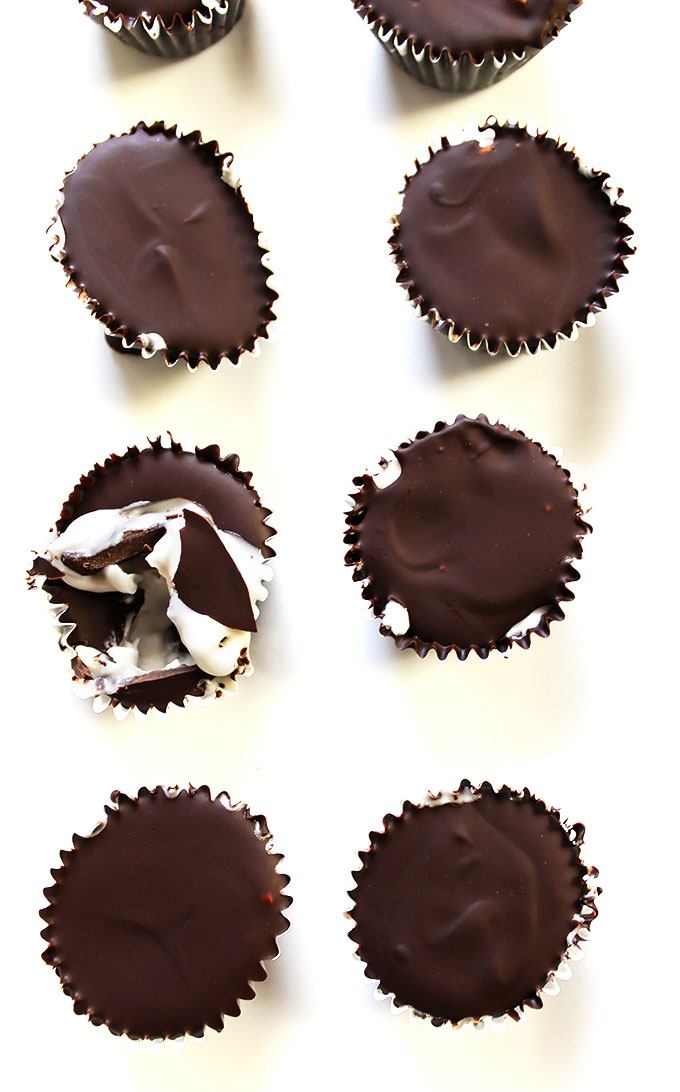
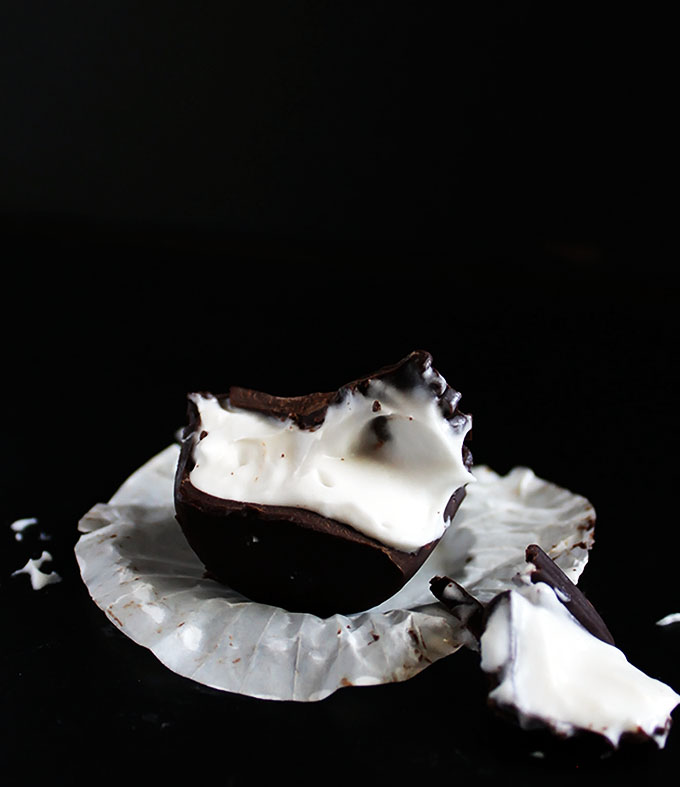
These chocolate coconut cream cups are the perfect dessert. Rich, hard chocolate shell encases the velvety, creamy, sweet coconut whipped cream. Once you bite into them the coconut whipped cream explodes in your mouth.
I never did end up trying that bag of chocolate coconut eggs, but I have no doubt that my version tastes even better. Not to mention, there is real coconut cream inside. Can’t beat that!
Before I let you go I have some news. I will be out of town for a week; therefore I won’t be posting any recipes the following Monday and Friday. I will be going on our annual father-daughter whitewater rafting trip. Yup, we have rather adventurous vacations! Not to fear, I will be back before you know it with more recipes coming your way. See you guys on the flip side! Wait! No! Bad thing to say before a rafting trip! No flipping the raft!
Enjoy, my friends.
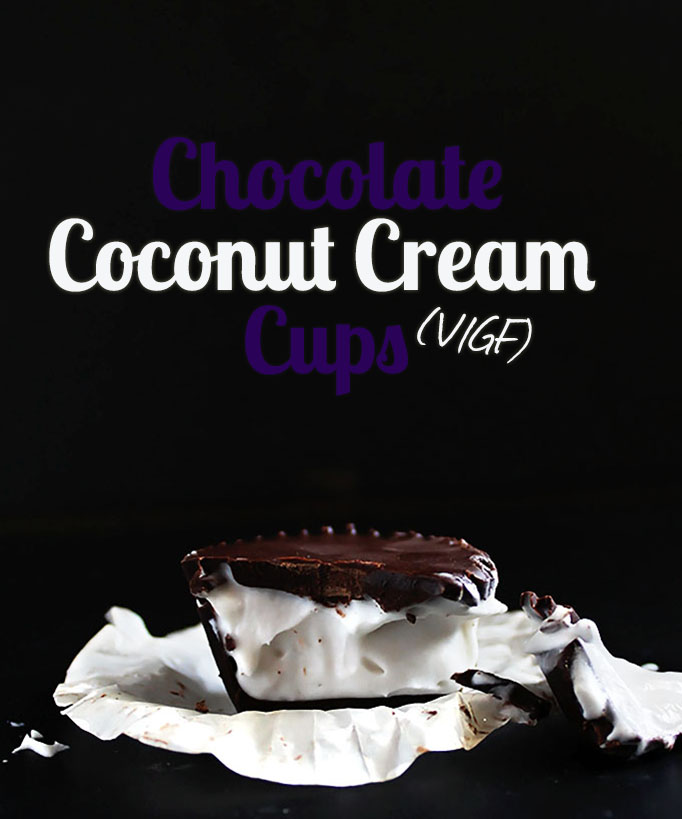
Chocolate Coconut Cream Cups (V + GF)
- Prep Time: 10 mins
- Cook Time: 15 mins
- Total Time: 25 mins
- Yield: 8 mini cups 1x
- Category: Dessert
- Cuisine: Vegan, Gluten-free
Description
Chocolate coconut cream cups only require 4 ingredients. They have a rich, crunchy chocolate shell and are filled with natural coconut whipped cream.
Ingredients
- FOR THE CHOCOLATE CUPS:
- 8 ounces dark chocolate chips or bar (I used 66% cocoa)
- FOR THE COCONUT WHIPPED CREAM:
- 1 can full fat coconut milk that has been chilled in the refrigerator for at least 1 week* (see notes)
- 2 to 4 tablespoons (or more) honey or other sweetener of choice
- 1/2 teaspoon vanilla
- Pinch fine sea salt
Instructions
- Place a medium mixing bowl and the beaters of a hand mixer into the refrigerator.
- Prepare a large plate by lining it with plastic wrap or parchment paper and setting out 8 mini paper muffin liner cups.
- Gently melt the chocolate over a double boiler. Alternately you can melt the chocolate by gently heating it in the microwave 1 minute at a time, stirring until the chocolate is smooth.
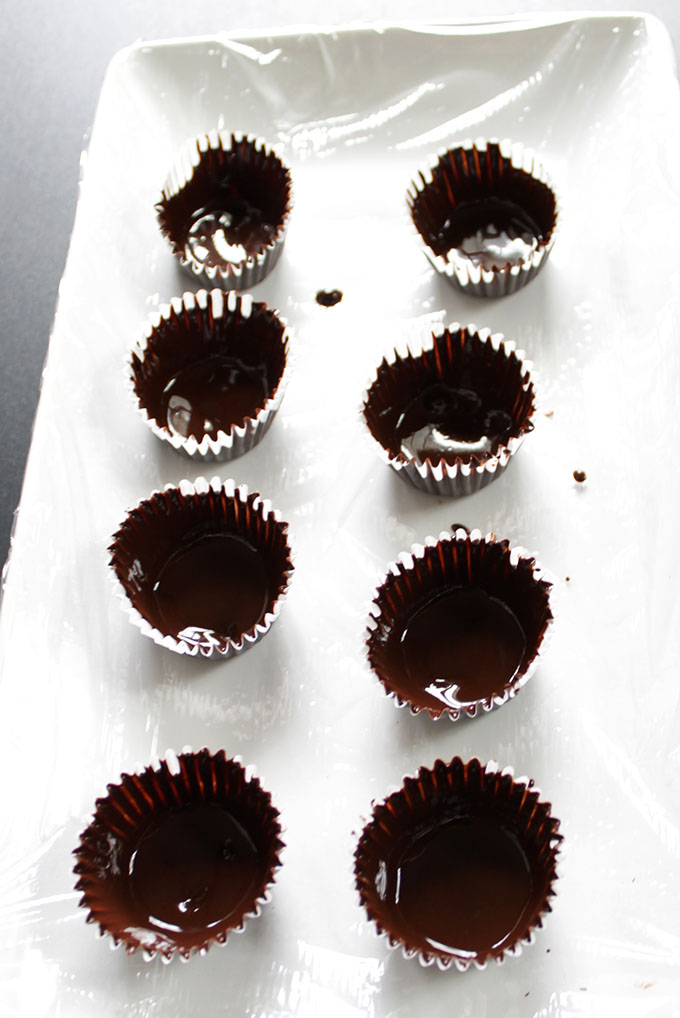
- Place a teaspoon into each mini muffin liner cup. Use the back of the teaspoon to guide the chocolate up almost the entire side of each cup. Make sure the bottom of the muffin cups have a thick layer of chocolate. Turn off your double boiler and set the chocolate aside. Do not discard the chocolate or the water; we will be using it again.
- Place the plate in the freezer for 10 minutes, or until the chocolate is set
- FOR THE COCONUT WHIPPED CREAM:
- While the chocolate is setting prepare the whipped cream.
- Gently remove the chilled can of coconut milk from refrigerator. Be very careful not to tip the can. Gently open the can and scoop out the solidified cream from the water into your chilled bowl. The cream should be pretty hard.
- Leave all of the coconut water behind in the can. You can reserve it for a use in another recipe, such as a smoothie.
- Whip the cream, using your hand mixer, on a low speed until creamy, about 1 minute. Add the vanilla, salt and smaller amount of honey or other sweetener. Whip the mixture for another minute, or until it is thick and creamy. Taste-test for sweetness and add more honey or other sweetener if needed. Stiff peaks will not form with the coconut whipped cream, as it would when making traditional whipped cream.
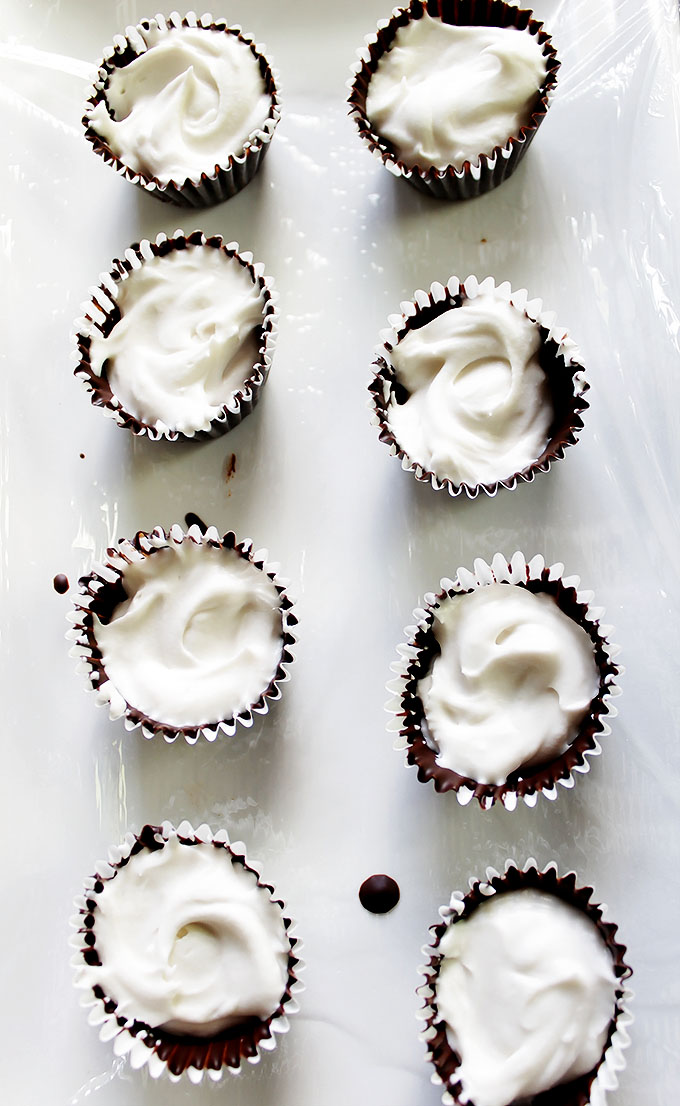
- Remove the set chocolate cups from the freezer. Add about a teaspoon of coconut whipped cream to each cup. Smooth it down with the back of the spoon. Return the chocolate cups to the freezer. Allow the coconut cream to set for 10 minutes.
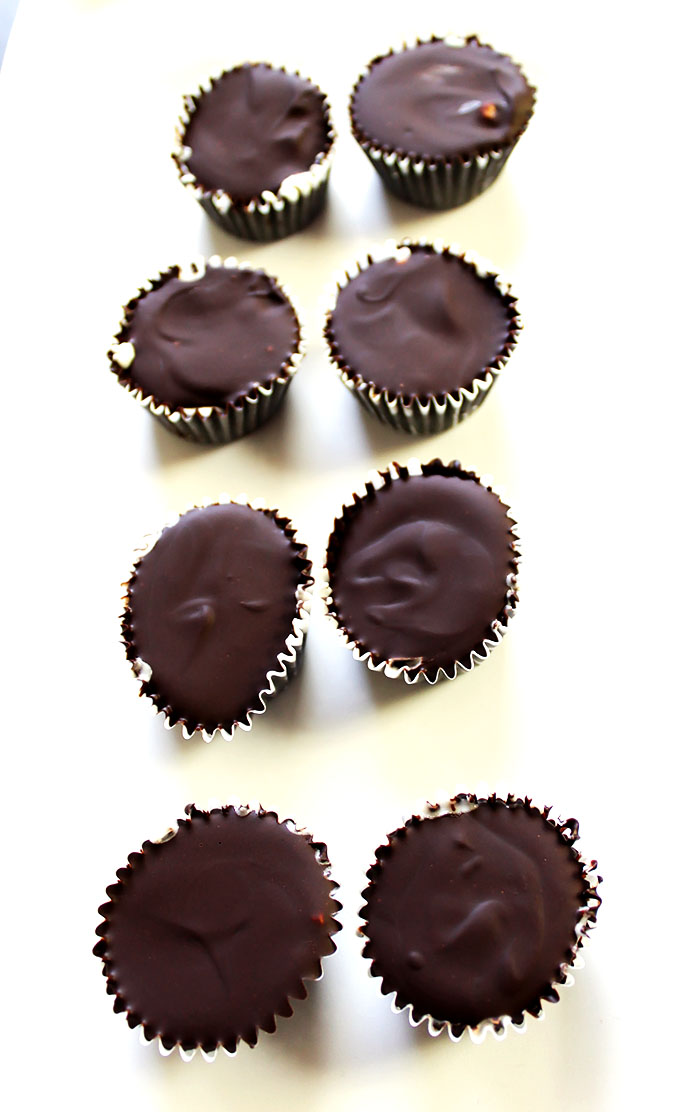
- Returning to your double boiler, re-melt the remaining chocolate. Cover the cream with a teaspoon of melted chocolate, and smooth it out to cover the coconut cream. Place the cups back into the freezer for 10 minutes, or until the chocolate is set.
- You can store them in the refrigerator, for 1 week. The coconut whipped cream will be very creamy when kept in the refrigerator. Or, you can store them in the freezer for up to 3 weeks. Allow them to come to room temperature for at least 10 minutes before eating. The coconut cream will be more solid and have the consistency of ice cream. Both ways to enjoy them are very delicious.
Notes
The coconut flavor is delicious, but pretty subtle. If you desire a stronger coconut flavor, you could add 1/8 of a teaspoon of pure coconut extract, if you can find it.
You will have leftover coconut whipped cream. You could either double the amount of chocolate to make more cups. Or you can store the remaining whipped cream in the refrigerator for up to 1 to 2 weeks and use it in your coffee, on pancakes, on ice cream, or eat it with a spoon. The possibilities are endless.
To make this dessert vegan be sure to use vegan-friendly chocolate. Also, make sure you use agave nectar, or powdered sugar to sweeten the whipped cream. You could also use maple syrup; just be aware that it may darken the color of the whipped cream a little.
*For tips on brands of coconut milk for the whipped cream and storing it in the refrigerator refer to the notes section of this recipe.


Leave a Reply