This post may contain affiliate links. If you buy something through one of these links, we may earn an affiliate commission - at no extra cost to you.
Who would like a slice of pumpkin pie?!?!
If you’re here, I am assuming that the answer is a big fat Y-E-S!!!
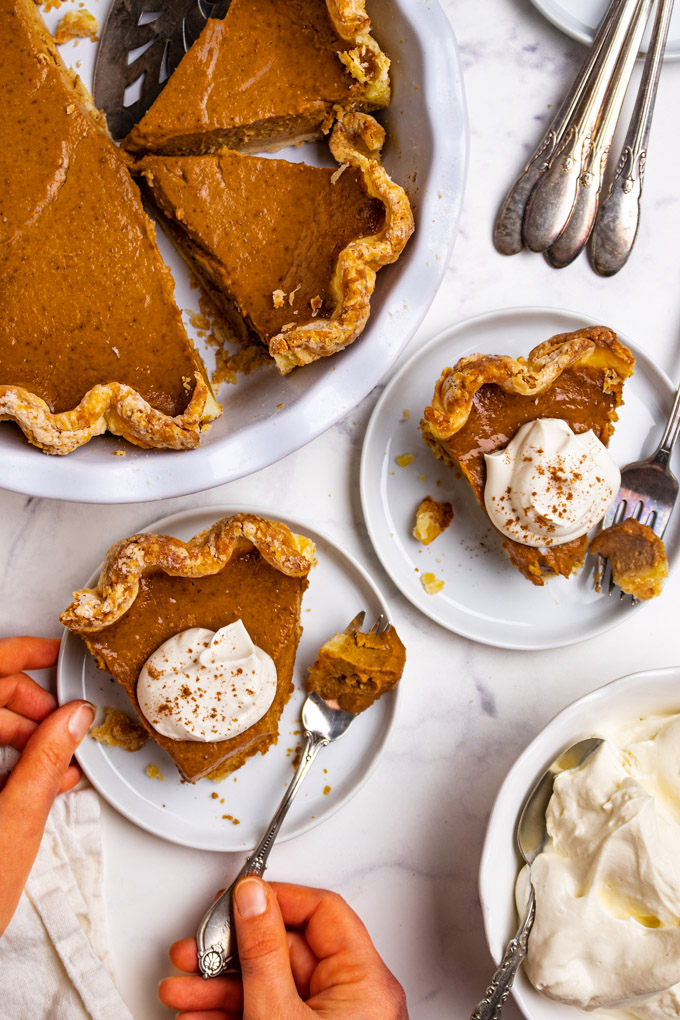
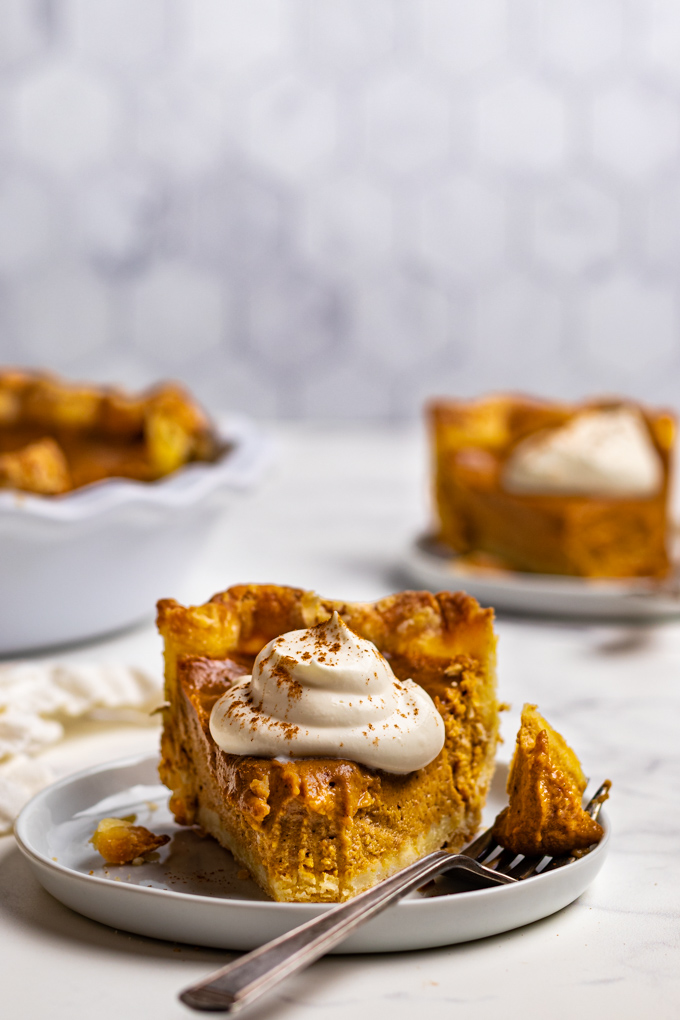
Creamy, luscious pumpkin filling that’s perfectly spiced, with a crispy, flaky, buttery crust – all topped with whipped cream – is there a more perfect dessert for Thanksgiving? Or, just for fall-time in general? I think not.
Last week, I shared a recipe for gluten free pie crust, so I am sure you had an idea that I would follow it up this week with some sort of pie, right? PUMPKIN PIE, it is!!!
I am on a mission to learn how to make pie better, and what better place to start than with a pumpkin pie?
This pumpkin pie recipe is easy to make (as far as pies go), it’s got 9 ingredients, and the method is really simple, even for beginner pie makers. The pie can be made in advance, which is recommended. And, it can be made using your favorite pie crust recipe, a store bought frozen pie crust, or my gluten free pie crust recipe.
Nothing crazy about this easy pumpkin pie. It’s classic, and IMO, perfection!
Pumpkin pie glory moment, here we come!
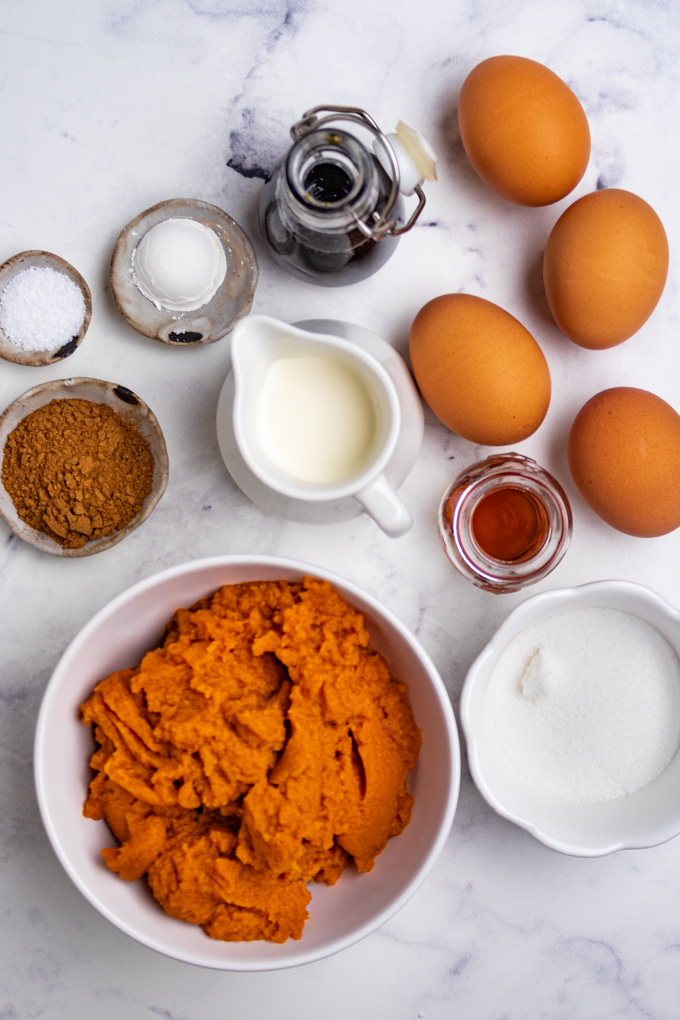
Ingredients for easy pumpkin pie
As always, the list of ingredients, along with their measurements are in the recipe card below. Let’s give you a snapshot here.
Pie crust
- 1 single pie crust – you can use a frozen, store bought pie crust, your favorite pie crust recipe, or my gluten free pie crust recipe. All will work, just be sure to follow my directions for freezing the crust, and par-baking the crust.
Pumpkin pie filling
- granulated sugar – to sweeten the pie filling in that pure sweet way.
- cornstarch – just a little bit helps to set up the pie, and provide that silky texture.
- kosher salt – essential in every dessert to balance the flavors.
- pumpkin pie spice – a blend of classic, warming spices that we all know and love in pumpkin pie. I have an easy pumpkin pie spice recipe here. Or, you can easily find a pre-made version in stores.
- large eggs – pumpkin pie is traditionally a form of custard pie. The eggs give the filling body, and richness.
- Canned Pumpkin puree – Can’t have pumpkin pie without pumpkin puree. Make sure you’re not buying pumpkin pie filling, that has sugar, and spices already added in. You just want 100% pumpkin puree on the ingredient list.
- maple syrup – to add more sweetness with a nice depth of caramel-y flavor. When I think of fall flavors, I think maple syrup – it works so well in this pumpkin pie. Make sure you’re using real make syrup, NOT pancake syrup.
- heavy cream – cream adds a silky, smooth texture that elevates this pie.
- pure vanilla extract – is a dessert even complete without a little vanilla? Just a hint really adds complexity to the pumpkin pie.
For sealing the crust
- beaten egg – This egg is used after the pie has mostly been par-baked. It creates a barrier between the crust, and the filling, to help the crust stay nice and crispy. No soggy crust with this pumpkin pie!
Options for topping
- homemade whipped cream – no pumpkin pie is complete without a dollop of freshly made whipped cream, IMO. Whipped cream only takes 10 minutes to make, and is so much better than the canned stuff.
What kind of pie crust can I use to make this easy pumpkin pie?
You can use any pie crust recipe that you know and love. If you have a favorite family pie crust recipe that you have perfected, use that.
If you want the pie to be EXTRA easy, then use a store bought frozen crust.
Need this pie to be gluten free? Use my flaky gluten free pie crust recipe. It tastes, and acts just like regular pie crust. So good!
Just be sure to follow my directions for freezing the crust, par-baking the crust, and sealing the crust in this recipe.
What kind of pumpkin puree should I use to make this pumpkin pie?
I recommend using Libby’s pumpkin puree, if you can. It’s got the best flavor, texture, and that beautiful orange color. Plus, it’s always consistent.
However, for this pumpkin pie recipe, I think any brand of pumpkin puree will work fine.
Just make sure you’re getting pumpkin puree, and NOT PUMPKIN PIE FILLING. The ingredients should be 100% pumpkin puree, it shouldn’t have any added sugar, or spices in it.
You can roast your own pumpkins to make homemade pumpkin puree. If you do this, make sure you’re using a sugar pie, or pie pumpkin, and not a jack-o-lantern that we use for Halloween carving to make your pumpkin puree. They taste very different.
Although, making homemade pumpkin puree is actually very easy, I usually opt for canned pumpkin puree, it’s honestly just as good as homemade, IMO.
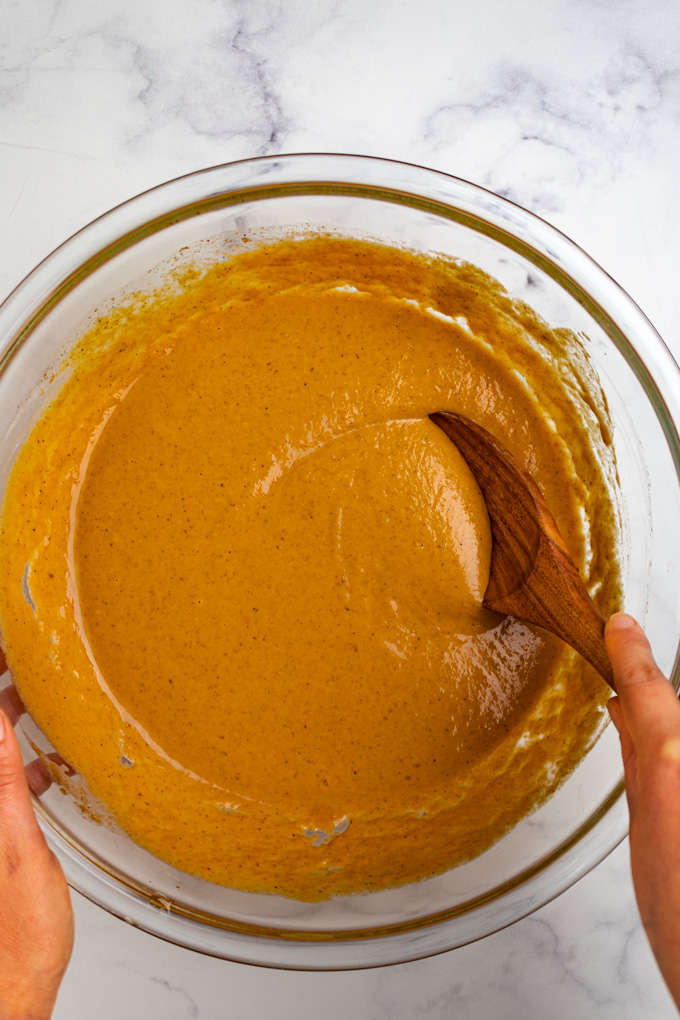
How to make easy pumpkin pie
Of course, more detailed directions are in the recipe card below, but let’s give you a preview here.
- Prepare – Make/defrost your pie crust. If you already have frozen pie crust in the freezer, then defrost it in the fridge overnight. Several hours before you make the pie, allow the cream, and eggs to sit at room temp.
- Roll out the crust – Roll out the crust to about 13 inches. This will fit a 9 inch pie plate with some overhang for trimming. Line the pie plate, trim the crust, then crimp the crust as desired.
- Freeze the crust – Freeze the crust for 20 minutes to ensure it will hold it’s shape during baking.
- Preheat your oven – And, line a rimmed baking sheet with foil to catch any spills.
- Dock the crust – use a fork to poke holes all over the bottom, and sides of the crust to help release steam.
- Par-bake the crust – Line the crust with foil, fill the pie plate with pie weights (I like to use dried rice), and bake for 20 minutes. Reduce the oven temp, remove the pie weights, and bake for another 20 to 30 minutes.
- Make the pie filling – While the crust is baking, mix up he pie filling, so it’s ready to go when the crust is. It’s so quick and easy.
- Seal the crust – Brush the whisked egg onto the crust, and place it back into the oven for 1 to 2 minutes.
- Fill the pie crust – Add the pumpkin pie filling to the pie crust.
- Bake the pie – Bake the pie for 40 to 50 minutes, or until the edges are set, and the center is still jiggly.
- Cool the pie in the oven – Once the pie is done baking, immediately turn off the oven, and crack the oven door open. Let the pie cool gradually in the oven until the oven is cooled.
- Cool the pie on the counter – let the pie finish cooling on a cooling rack.
- Cover and chill in the fridge – once the pie is cooled completely, cover the pie with foil, or plastic wrap, and chill it in the fridge.
- Make homemade whipped cream – I highly recommend serving this pie with homemade whipped cream. 10 minutes before you’re ready to serve, make the whipped cream.
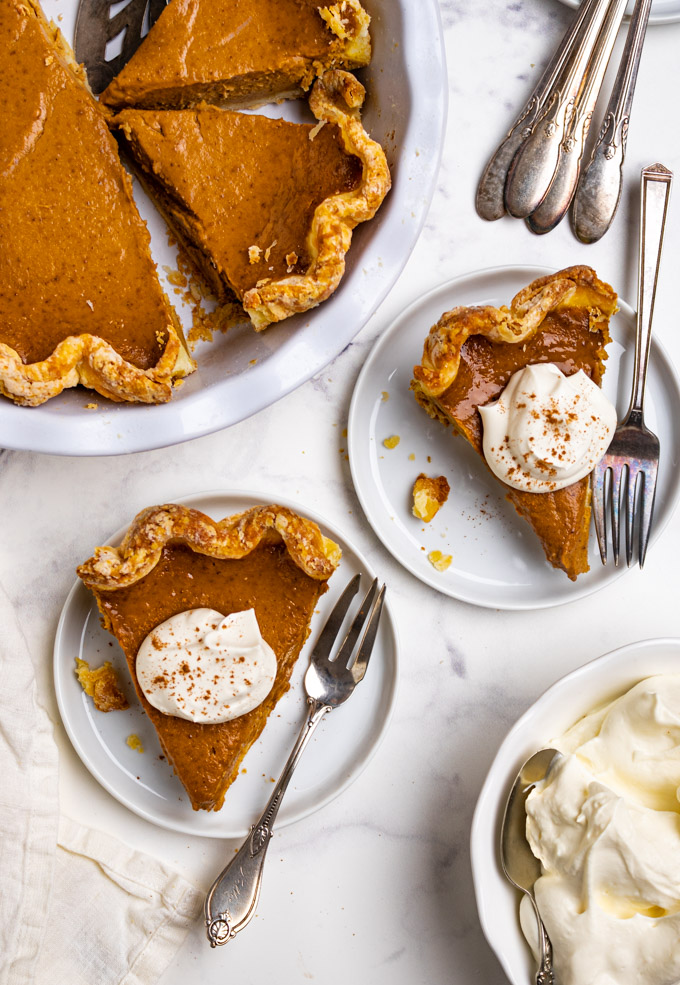
- Slice and serve – Slice the pie into wedges, and serve chilled, with a dollop of whipped cream on top.
Do I have to par-bake my crust when I make pumpkin pie?
Yes.
If you don’t par-bake your crust, it will will be raw, and soggy.
Since pumpkin pie is a single crust pie it doesn’t cook as long as a double crusted fruit pie. Therefore, we need to give the crust a head start with cooking time so it’s not raw.
NOTE: If you have any issues with making/baking pie crusts, see my gluten free pie crust recipe for help. I share tips, resources, and even how to troubleshoot your crust. For the most part, the same tips will apply to a regular pie crust too.
Should I poke holes in the bottom of the crust before bar-baking my pie crust?
Yes.
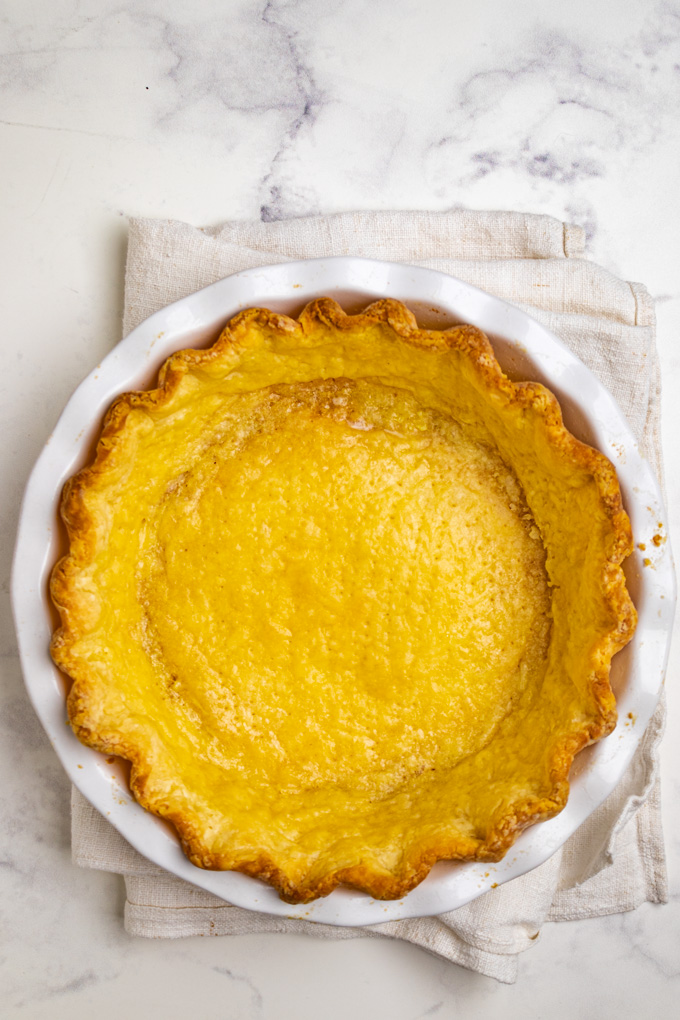
Poking holes in your crust allows the steam to escape from the crust, which prevents the crust from bubbling up during baking, and helps it to keep it’s shape.
How do I prevent the crust from getting soggy for a pumpkin pie?
Par-baking your crust will prevent the crust from being soggy.
Also, you want to seal your crust with the egg wash. Sealing the crust creates a barrier between the crust, and the pie filling, giving you a nice crispy crust with the tender pie filling.
No soggy bottoms here!!!
How do I prevent my pumpkin pie from overcooking?
The straight forward answer is to follow the directions carefully for cook time, and oven temperatures.
Here are some more tips to prevent your pumpkin pie from overcooking:
- You want a jiggly center – Stop baking your pie when the edges are set, but the center is still jiggly. The pie will continue to cook from residual heat as it cools. This is a common method for a custard based pie, like pumpkin pie.
- Don’t walk away – Don’t walk away from the pie for too long, especially towards the end of baking time.
- Use your nose – Once the kitchen starts to smell like delicious pumpkin pie smells, you know you’re getting close. This is why you don’t want to walk away towards the end of baking.
Why is my pumpkin pie cracking?
Cracking is common with custard based pies, such as a pumpkin pie. Cracking can happen when the eggs in the pie cool too quickly.
To prevent this from happening, I give directions in the recipe to cool the pie in the oven. Turn the oven off, crack the door open, and allow the oven to cool completely.
Then, finish cooling the pie on the counter. You don’t want to put the pie in the fridge until the pie is 100% cooled.
Follow these tips to help gradually cool the pumpkin pie so that it is less likely to crack.
Also, be sure not to overcook your pie. Allowing the residual heat to finish cooking the pie, is ideal to prevent cracking. See above for more on how to know when your pie is done baking.
If you get a crack, or two – don’t worry, the pie will still taste delicious.
Can I make this easy pumpkin pie in advance?
Yes.
You can make this pumpkin pie 1 to 2 days in advance from when you want to serve it.
In fact, I recommend that you make the pie at least 1 day in advance. The pumpkin pie sets best when it has chilled in the fridge for 4 to 8 hours.
How to store the pumpkin pie?
Once the pie is completely cooled, it is ready to store.
Keep the pie in the pie plate, if you can, and cover the pie with foil, or plastic wrap. Store it in the fridge.
How long will the pumpkin pie last?
When covered, and stored in the fridge, the pumpkin pie will last for up to 1 week.
Although, after about 3 days, the crust does get a little less crisp – so the pie is best served within the first 2 to 3 days.
Is this easy pumpkin pie recipe gluten free?
Yes.
On it’s own the pumpkin pie filling is naturally gluten free.
However, most pie crust recipes/store bought pie crusts are not gluten free.
If you want to make this easy pumpkin pie recipe gluten free, then you will need to make my gluten free pie crust. It tastes, and acts just like regular pie crust. So good!
How to serve easy pumpkin pie
I personally think pumpkin pie should be served chilled. It brings out the flavors better, and allows for the filling to be more set.
And, of course nothing completes a pumpkin pie like a dollop of whipped cream on top.
I’ll say it once, I’ll say it a million times – homemade whipped cream is so much better than the canned stuff!!!
And, it only takes 10 minutes to make, just try it!
I promise you won’t regret it!
Here is my recipe for homemade whipped cream!
Reasons you’ll love this easy pumpkin pie recipe
- It’s a classic pumpkin pie,
- Creamy, rich filling,
- perfectly spiced,
- with a crispy, flaky, buttery crust.
- It’s easy to make the filling.
- It’s perfectly sweetened.
- It can be made in advance.
- You can use any crust you like.
- No soggy pie crust.
- It’s the perfect Thanksgiving dessert.
Recipes that go with this pumpkin pie
- flaky gluten free pie crust (all-butter) – (tastes just like regular pie crust!)
- homemade whipped cream – (the ultimate pumpkin pie topping!)
More pie inspired recipes for you to try
- maple pecan pie bars (without corn syrup)
- apple pie parfaits (no bake)
- mini pumpkin pies with ginger cookie crust
More pumpkin treats for you to love
- healthy pumpkin bread (with maple butter)
- pumpkin snickerdoodle cookies
- healthy baked pumpkin oatmeal
- pumpkin cake with yogurt cream cheese frosting
Did you make this recipe?
Let me know how it went. Leave a comment below, along with a star rating. I always love hearing from you.
Print
Easy Pumpkin Pie (10 Ingredients)
- Prep Time: 15 mins
- Chill time: 8 hours
- Cook Time: 1 hour 40 minutes
- Total Time: 9 hours 55 minutes
- Yield: 8 to 9 slices 1x
- Category: dessert, baking, pie
- Method: mixing, baking
- Cuisine: gluten free, vegetarian
- Diet: Gluten Free
Description
This easy pumpkin pie is the ultimate Thanksgiving dessert. It’s a classic, creamy pie filling that’s perfectly spiced, and has a crispy, buttery, flaky crust – all of that is topped with homemade whipped cream. This pie will work with any pie crust recipe, or store bought frozen pie crust. Need the pumpkin pie to be gluten free? Try my gluten free pie crust. Tastes just like regular pie crust.
Ingredients
Crust
- 1 single pie crust (see my flaky gluten free pie crust recipe, for a gluten free option)
Pumpkin pie filling
- 1/4 cup granulated sugar
- 1/2 tablespoon cornstarch
- 1/2 teaspoon kosher salt
- 1 tablespoon + 1 teaspoon pumpkin pie spice (recipe here)
- 4 large eggs, room temp
- 1 15 ounce can (2 cups) pumpkin puree (NOT pumpkin pie filling)
- 1/4 cup pure maple syrup (NOT pancake syrup)
- 1/2 cup heavy cream, room temp
- 1 teaspoon pure vanilla extract
For sealing the crust
- 1 egg, whisked
Options for topping
Instructions
- Prepare: Before you make the pie make sure you have a single pie crust that is well chilled, and defrosted, waiting in the fridge for you. (See my gluten free pie crust recipe for a gluten free option). Also make sure to leave your eggs and heavy cream at room temp for several hours before making the pie to allow them to come to room temp.
- Roll out the crust: When you’re ready to make the pie, roll out your crust to 13 inches, so that there are about 2 to 3 inches that will hang off the 9 inch pie plate. Line the pie plate, trim the crust to about one inch, using kitchen shears, then crimp the pie crust to your desired style, (see my gluten free pie crust post for directions on how to crimp a crust) then cover the crust with plastic wrap. NOTE: see my gluten free pie crust recipe for tips on rolling out dough, and troubleshooting if your dough is too crumbly, sticking to your work surface, or if it’s too sticky (among other problems/tips). This can especially be helpful if you’re working with a homemade crust. My tips can still apply to a regular, non gluten free crust.
- Freeze the crust: Freeze the covered crust for 20 minutes (or put in the fridge for 40 minutes). You want the crust to be nice and firm before baking.
- Preheat your oven: Arrange the oven rack so that it is closest to the bottom of the oven. Preheat your oven to 435 degrees Fahrenheit. Also line a rimmed sheet pan with foil (to catch any spills from the butter melting), and place it in the oven so that it can get nice and hot.
- Dock the crust: Once the crust is firm and well chilled (but not completely frozen), use the tines of a fork to dock the crust all over (make holes in the crust), even up the sides of the crust. This will allow the steam to escape.
- Par bake the crust: Line the crust with 2 large pieces of foil, allowing a good amount to stick up for overhang. Add pie weights to the crust, making sure that they come to the top of the pie plate. You can use ceramic pie plates, dried beans, or dried rice (I use dried rice). Place the crust into the preheated oven, on top of the hot baking sheet, and bake for 20 minutes, or until the edges of the crust start to turn golden brown. Pull the crust out of the oven, and carefully remove the foil/pie weights from the pie crust, and set them aside. Reduce the oven temp to 325 degrees Fahrenheit and place the crust back into the oven to bake for 20 to 30 minutes, or until the bottom of the crust begins to browns slightly, and the crust mostly starts to look dry. Note: keep in mind that some butter leaking from the crust is normal, this is why the baking sheet is important to catch leaks.
- Make the pumpkin pie filling: While the crust is baking (after you remove the pie weights), make the filling. To a large mixing bowl, add the sugar, cornstarch, kosher salt, and pumpkin pie spice – whisk to combine and break up any lumps. Add the room temp eggs and pumpkin puree – whisk until somewhat combined. Add the maple syrup, heavy cream, and vanilla extract – whisk until mostly combined. Switch to a rubber spatula to finish mixing all of the ingredients together. You don’t want to overmix, or add too much air to the eggs – this may cause the pie to crack during the cooling process.
- Seal the crust: Once the bottom of the crust is lightly browned, and mostly dry, use a pastry brush to lightly brush the egg wash on the bottom, and up the sides of the pie plate (avoiding the crimped edges). Place the crust back into the oven for 1 to 2 minutes, or just until the egg wash is dry, and set – it should be a little glossy looking. This step prevents the bottom of the crust from getting soggy from the filling – don’t skip.
- Fill the pie crust: Immediately, after the crust is sealed, pour the pie filling into the crust. Use a small offset spatula, or the back of a spoon to smooth out the filling, and even it out.
- Bake the pie: Place the pie back into the oven and bake it for 40 to 50 minutes, or just until the edges are set, and the center is jiggly. You want the center to be pretty jiggly, because it will continue to cook from the residual heat as it cools. Note: if the edges of the crust begin to burn a little, remove the pie form the oven and cover the edges of the crust with foil, then return the pie to the oven. It’s a good idea to stay close while the pie is baking so you can smell any burning to catch it before it gets too bad.
- Cool the pie in the oven: Once the pie is done baking immediately, turn off the oven, and crack the oven door. Allow the pie to cool in the oven until the oven is completely cooled. This step will finish baking your pie, without overbaking it, and it helps to prevent the pie from cracking because the eggs cool gradually.
- Cool the pie on the counter: Once the oven is cool you can remove the pie from it and place the pie on a cooling rack to cool completely (this will take several hours).
- Cover and chill in the fridge: Once the pie is cooled completely, cover the pie with plastic wrap, or foil, and chill in the fridge for at least 4 hours (overnight is best). Chilling the pie long enough allows the custard filling to fully set up. Due to the long chill time, this pie is an ideal one to make a day in advance (see notes for more info).
- Make homemade whipped cream: I highly recommend serving this pumpkin pie with whipped cream, especially homemade, it only takes 10 minutes to make, and is so much better than anything pre-made form the store. Click here for my whipped cream recipe.
- Slice and serve: When you’re ready to serve the pie, use a sharp chef’s knife to cut the pie into wedges, making sure to apply a lot of pressure on the crimped edges of the crust to make sure you get all the way through. Serve with homemade whipped cream, if desired and an extra dusting of cinnamon for garnish. Serve pie immediately.
- To store: To store any leftovers, keep them in the pie plate and cover the pie plate. Store the pie in the fridge for up to 1 week. The crust does soften just a touch, but it’s still very good.
Notes
Pie crust – Feel free to use your favorite pie crust recipe for this pumpkin pie. Or, you can even use a store bought, frozen pie crust that has been thawed. Just be sure to follow my directions in this recipe for working with the crust. If you need this pie to be gluten free, then use my flaky gluten free pie crust recipe – it tastes just like regular pie crust. Also, if making your own pie crust, I recommend making the pie crust in advance, when possible. If it’s stored frozen, make sure you thaw it in the fridge overnight before you work with it.
Pie weights – When par baking the crust, using pie weights is very important to make sure the crust doesn’t slump during baking. I like to use dried rice because it’s cheap, you can re-use the dried rice for future pie weights. You can also use dried beans and re-use them for future pie weights. Just make sure you have enough to come to the top of the pie.
Make ahead – I recommend making this pie 1 day in advance from when you plan to serve it. It is best when it has chilled in the fridge for 4 to 8 hours (the longer the better). You can make the pie dough up to several months in advance and store it in the freezer (highly recommend making the crust in advance). Just make sure to thaw it out in the fridge overnight. See my gluten free pie crust post for more info on how to freeze pie crust – the same method would apply to a regular pie crust recipe.



Leave a Reply