This post may contain affiliate links. If you buy something through one of these links, we may earn an affiliate commission - at no extra cost to you.
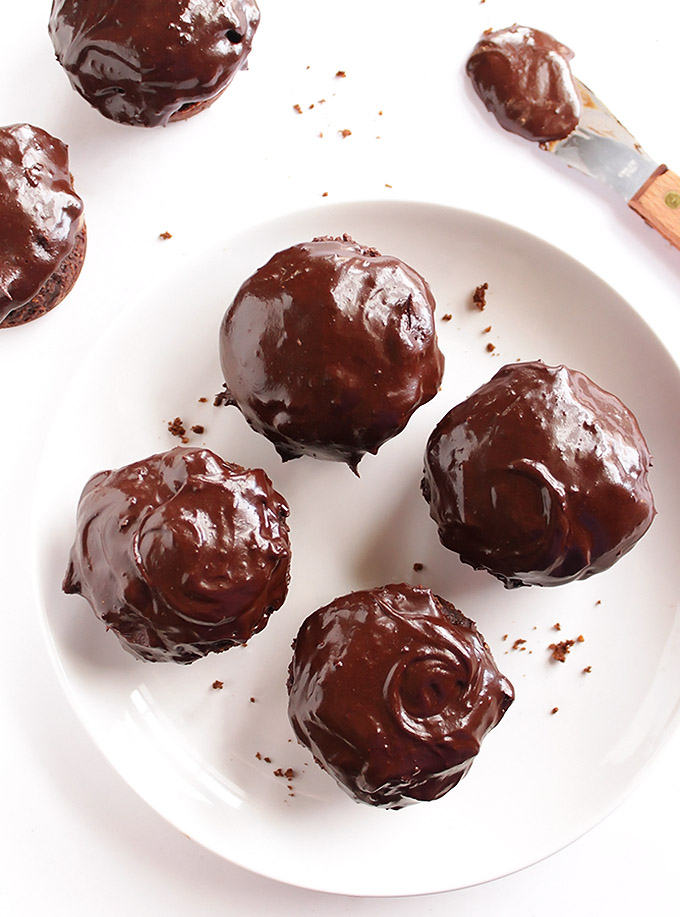
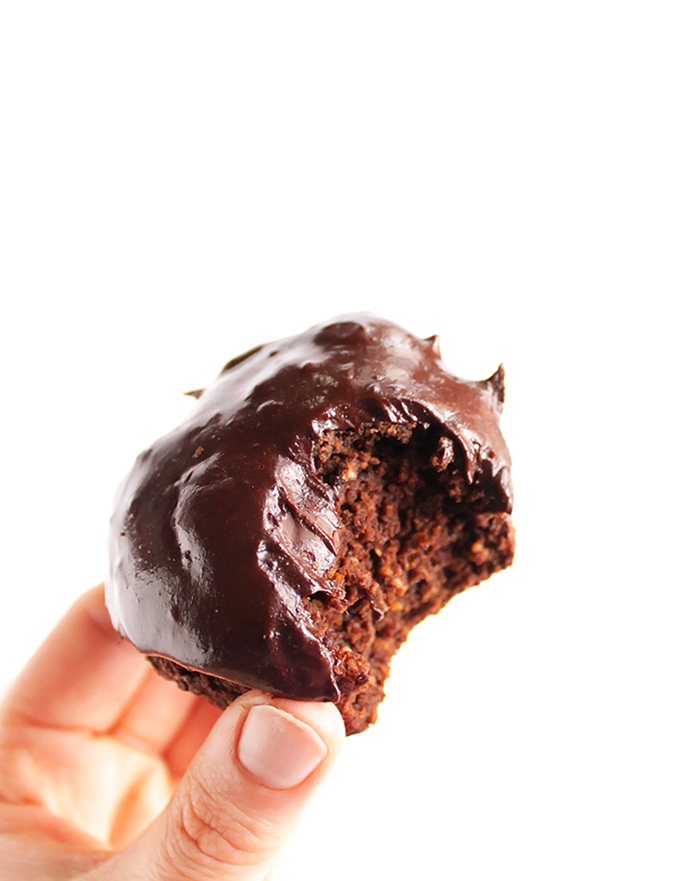
Before you get freaked out by the beet part of these cupcakes let me tell you that I had several people try these cupcakes and not a single one of them guessed what the secret ingredient was when I asked them. AND Paul, my dear husband who despises beets (except for my Beet Basil Hummus), he won’t touch the things with a 10 foot poll – even beet hating Paul liked these Gluten Free Chocolate Beet Cupcakes! I think it’s safe to say that you CAN’T taste the beets in these cupcakes! Hidden veggies in desserts FTW!!!
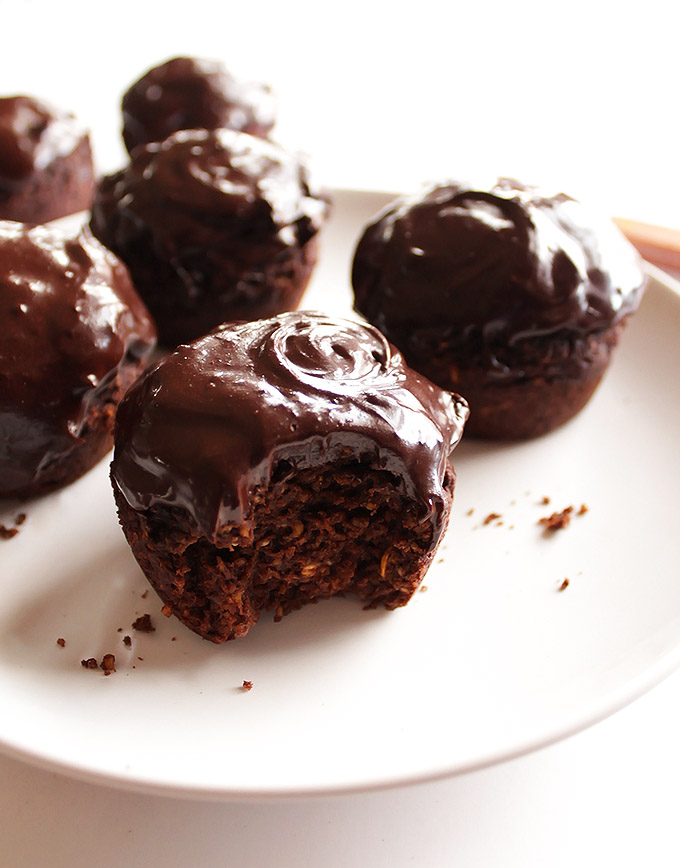
All you taste is tender, chocolate-y, cake-y goodness studded with dark chocolate chips and topped with my thick 5 minute Vegan Chocolate Frosting! So what’s the point in adding the pureed beets in if you can’t taste it? One reason is for some added moisture for texture, but you can honestly use any other kind of fruit puree you prefer – applesauce, pumpkin, sweet potato etc. and get similar results. So, for those of you who are truly scared of the beet in these cupcakes there are some options for you. My real reason for throwing beet puree into these cupcakes is because it truly makes me happy to make desserts healthier. Besides it’s kinda fun to hide healthy ingredients in desserts. Example: Black Bean Brownies.
If you want to talk about healthy foods beets are up there. They are packed with antioxidants, fiber, vitamin C, manganese, and potassium. They are anti-inflammatory (especially good after a work out), and they help your body with it’s natural detoxifying process. Dear Beets, you rock! So really these Gluten Free Chocolate Beet Cupcakes are pretty much the super food of cupcakes!!!
Okay, okay, yes it is healthier to just eat a beet with a salad rather than bake it into a cupcake. BUT if we’re going to treat ourselves to a rich, chocolate-y cupcake why not throw in something extra healthy that you can’t even taste to give it a boost?! The answer is YES and ALWAYS!
Now that we have discussed these Gluten Free Chocolate Cupcakes and you know all of the reasons why you want to go make them RN! Can I talk about real life stuff for a moment?
This past weekend Paul and I decided to tackle the project of painting our kitchen (if you have been following me on Instagram stories than you saw some of the transformation). Our kitchen is small, and cute, and compact, and did I mention SMALL?!? It has a quaint nook off to the side with a tiny table for two – my fave part of the kitchen. It was painted this bright fire engine red, the same color my office used to be and the closet door in our bedroom and our front door (I actually like the front door, from the outside). The bright red was harsh – I don’t even think I knew this until we painted over it, but it kind of made me feel anxious and jittery when I was in the space with the red. Cause you know, when looking into color therapy red means fearful, ruthless, resentful, violence, anger, and can stimulate appetite (um good or bad in a kitchen?) and those are just not things I want to feel when I am working in my office or cooking in my kitchen, two spaces I spend a lot of time in. Don’t get me wrong, I like red in small accent colors, and yes when looking into color therapy it can also give you energy and confidence and determination, all good things. BUT for me I think the negative aspects of it stuck out, hence the anxiousness I would sometimes feel. RED, I’m sorry, but it’s time for you to leave my house!
P.S. I might be a hippy – cause I think color therapy is interesting!
Anyways the red paint in our kitchen nook was peeling away form the wall, it had been getting worse and worse since we bought the house. Because our house is 107 years old it was no surprise that there was some lead paint under that red (#OldHouseProblems). So, scraping that paint off became this big ordeal. Paul quarantined himself in the nook and wore a scary looking mask to peel off the paint that was peeling. THANKS Paul for doing the dirty work, you are THE BEST! Once that was taken care of we had to do a layer of primer – the guy at the paint store suggested the smelly oil based primer because it would prevent any future paint peeling from happening. Gotta do it right he first time! To make a long story short, between the 1 coat of smelly primer and then not paying attention to the shadows in our kitchen – which made the first gray color look green and the second color look almost dirty white it took us 5 days to finish this project!! RECAP: we scraped off the peeling paint, filled the gaps in, and sanded. Then we painted 1 coat of a primer, 1 coat of two different colors and then 2 coats of the color we FINALLY settled on! I ended up spending all day Monday painting instead of working – totally wasn’t on the schedule that I planned out last Friday. BUT this was the kitchen we were painting here. Hello I’m a FOOD BLOGGER I can’t do my work without my kitchen. Plus we had been eating out because smelly oil based primer and messy kitchen gave us no choice, so it HAD to be finished so we could get our lives back STAT! Did you know that painting 3 days in a row is exhausting – emotionally and physically?!
There is a HAPPY ending this this story! Now that the kitchen has been painted a nice pleasant medium gray I LOVE it! Every time I walk in there I feel calm and it just has an light air-y feel to it, even at night. Plus, the kitchen feels a little bit more spacious. Amazing how color does that! Now that the red is gone my kitchen feels more like MY kitchen and a space that I enjoy being in – a place I want to sit down and stay a while, to relax in. AND the perfect place to make these Gluten Free Chocolate Beet Cupcakes ;)!!! Now I look forward to remodeling the rest of the kitchen – but that’s down the road. For now a new paint job will do.
P.S. Looking for more delicious chocolate treats? Try my Gluten Free chocolate Blackberry Sage Scones, Gluten Free chocolate cookies, or Vegan Tarragon Merlot Truffles!
Gluten Free Chocolate Beet Cupcakes
- Prep Time: 10 mins
- Cook Time: 15 mins
- Total Time: 25 mins
- Yield: 12 cupcakes 1x
- Category: Dessert
- Cuisine: Gluten Free, Dairy Free, Refined Sugar free
Description
These cupcakes are rich, cake-y and studded with chocolate chips. It’s topped with my 5 Minute Vegan Frosting and packed with nutrition from pureed beets. I promise, you can’t taste the beets!
Ingredients
- 1 pound package frozen beets (or 2 to 3 medium beets)*
- DRY INGREDIENTS:
- 1 1/2 cups gluten free oat flour (I make my own oat flour by processing gluten free oats in my food processor until it reaches a flour like consistency. Measure after making into flour)
- 1/2 cup coconut flour
- 1 1/2 teaspoon baking soda
- 1/2 teaspoon cinnamon
- 1/4 teaspoon salt
- 2 teaspoons arrow root starch (you may be able to sub corn starch, however I have not tested this)
- 1/2 cup unsweetened cocoa powder
- Zest of 1 orange (use organic when possible)
- WET INGREDIENTS:
- 1 cup beet puree**
- 1 egg, room temperature
- 1/4 cup coconut oil, melted
- 1/4 cup + 1 tablespoon unsweetened almond milk (or other dairy free milk)
- 1 teaspoon pure vanilla extract (omit if using vanilla flavored almond milk)
- 1/4 cup + 2 tablespoons coconut sugar
- 1/2 cup dark chocolate chips (use dairy free to keep dairy free)
- CHOTOLATE FROSTING:
- 1 batch of 5 Minute Vegan Chocolate Frosting
- zest of 1 orange (use organic when possible)
Instructions
- Preheat your oven to 350 degrees Fahrenheit. Prepare a muffin tin by greasing it, set aside.
- DEFROST YOUR BEETS: Defrost your beets in the microwave according to package instructions. If using fresh beets refer to notes for instructions on how to cook them. Set aside and allow to cool.
- DRY INGREDIENTS: Add all of the dry ingredients to a large mixing bowl. Whisk to combine and remove any lumps. Set aside.
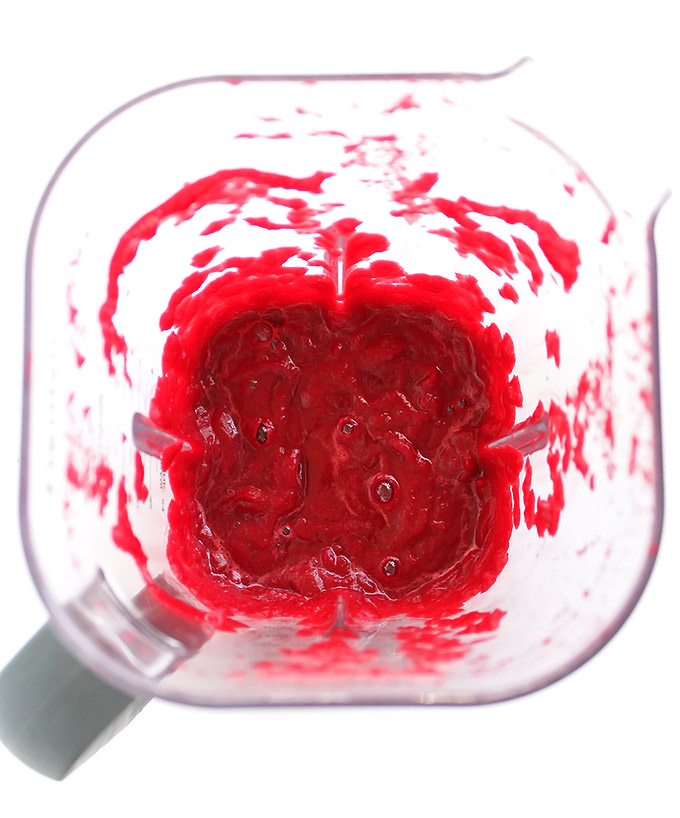
- PUREE BEETS + MIX WET INGREDIENTS: Puree the beets in a blender with about 1/4 cup of water until the beets are smooth. Measure out 1 cup of the puree. Reserve any remainder beet puree for smoothies or other baking recipes.
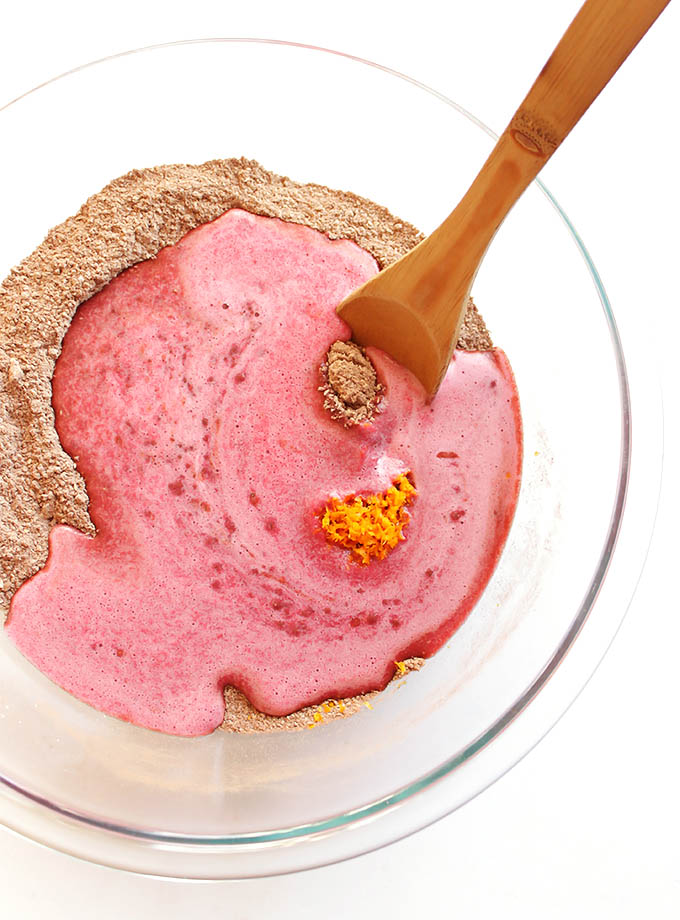
- Return the 1 cup of beet puree to the blender. Add the remainder of the wet ingredients to the blender, except for the chocolate chips. Blend on low until everything is well incorporated, about 30 seconds.
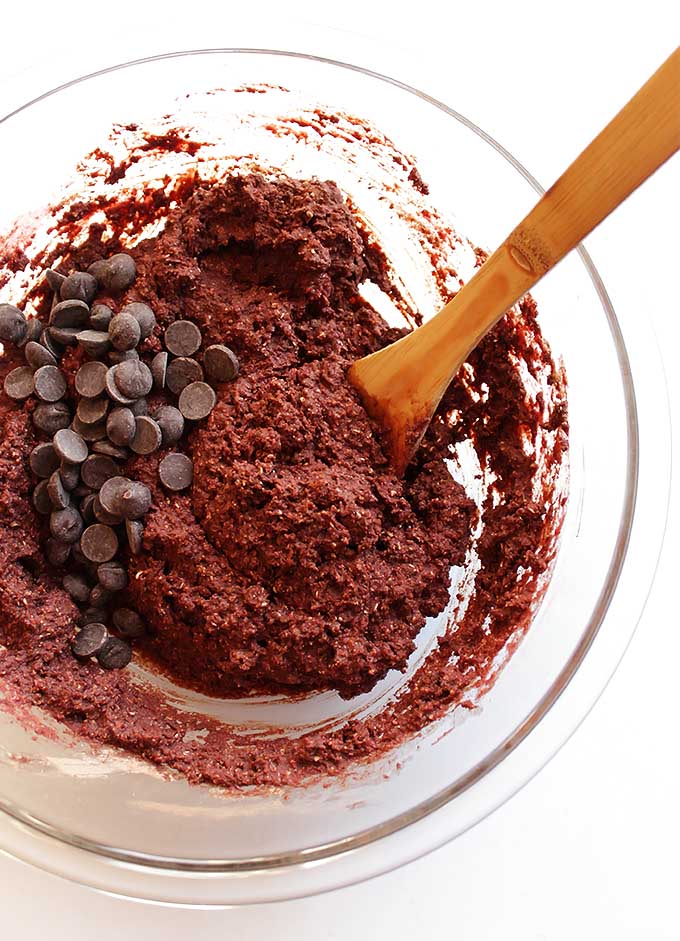
- MIX THE WET INGREDIENTS INTO THE DRY: Pour the wet ingredients into the dry and use a spatula to mix until well combined. Fold in the chocolate chips.
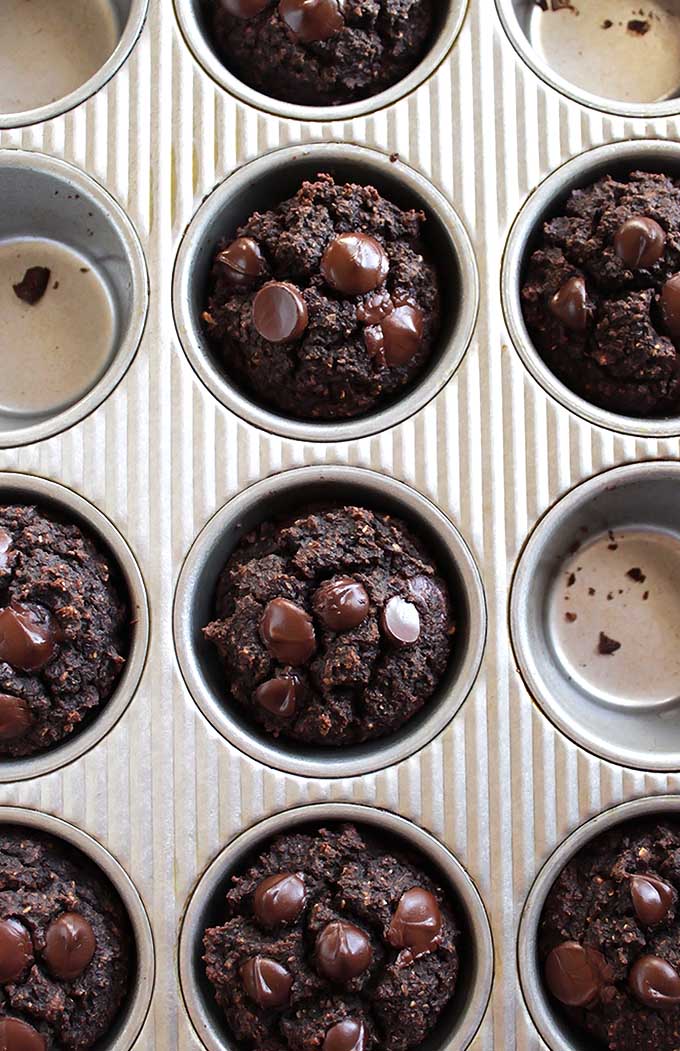
- TRANSFER THE BATTER TO THE MUFFIN TIN: Use a large ice cream scoop or a 1/4 measuring cup to divide the batter between each muffin cavity.
- BAKE: Bake the cupcakes for 15 to 20 minutes, or until a toothpick comes out mostly clean. Allow them to cool in the pan for 20 minutes before removing. Remove the cupcakes and allow them to cool completely on a cooling rack.
- MAKE THE FROSTING: Just before you want to frost make the 5 Minute Vegan Chocolate Frosting. Stir in the zest of 1 orange.
- FROST Once the cupcakes have cooled completely spread the frosting onto each cupcake. Store the cupcakes at room temperature for 4 to 5 days.
Notes
*For convenience and a time saver I used frozen beets that I defrosted in the microwave. If you can’t find frozen beets use 2 to 3 medium sized beets that have been scrubbed. Wrap them in tin foil and bake in a 400 degree oven for 45 minutes to 1 hour, depending on how big the beets are. They should be fork tender without any resistance when removing the fork. Once cooled enough to handle use a paper towel to remove the skin. Roughly chop before pureeing.
**If you really don’t like beets (although you cannot taste them at all once baked into the cupcake) you can sub 1 cup of any kind of fruit puree. Applesauce, pumpkin, sweet potato, butternut squash. Your results may vary slightly.
Recipe heavily adapted from my Gluten Free Pumpkin Muffins
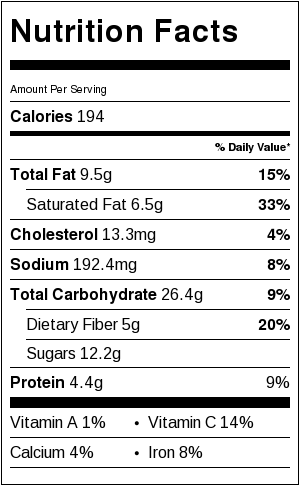
Nutrition facts do not include the 5 Minute Vegan Frosting. Please refer to that recipe for the nutrition facts.


Leave a Reply