This post may contain affiliate links. If you buy something through one of these links, we may earn an affiliate commission - at no extra cost to you.
Do you ever have one of those moments when all you want is some homemade chocolate cake fresh from the oven? Yet, the idea of making one big cake just for yourself seems silly, and way too tempting to have the leftovers of that cake lying around.
If this is you, then you have come to the right place!
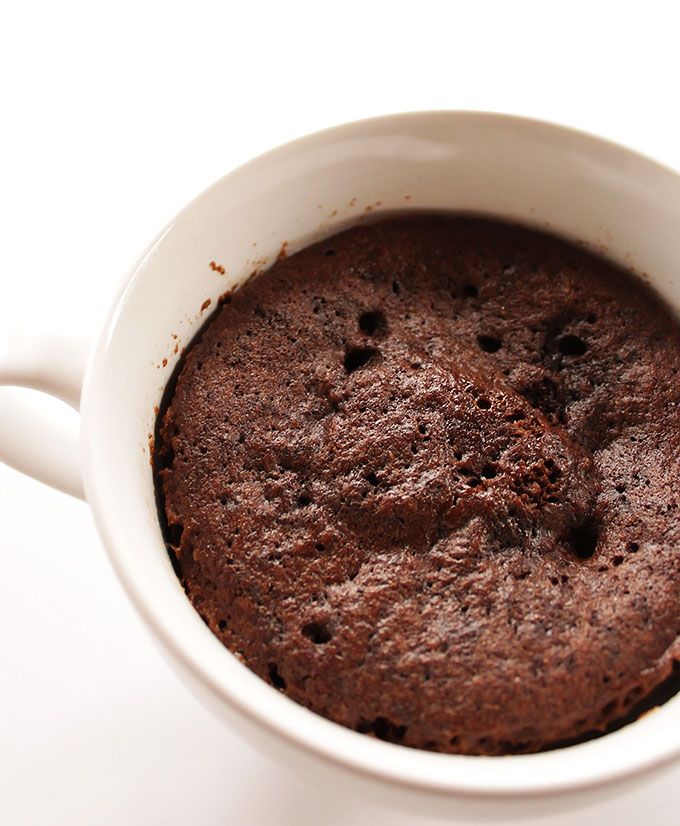
If you aren’t familiar with the concept of a mug cake, it’s a single serving cake that’s mixed up in a mug and then baked in the microwave for a minute or two. It’s seriously the best invention ever! There is almost no mess at all to clean up, and in a few short minutes you have a freshly baked cake ready for you. It’s a beautiful thing, my friends!
When I first set out to make a gluten free mug cake I knew it had to be chocolate. My aunt says that it’s not dessert unless it’s chocolate. You know what, I think she’s onto something! As wonderful as chocolate is, I couldn’t leave well enough alone; I needed to add another flavor element. Peanut butter! How about some jelly? A peanut butter and jelly chocolate cake!
I made about 4 or 5 batches of this mug cake, which really wasn’t a bad thing. I probably could have stopped at 2 batches, but it was too much fun not to make it several times. Chocolate cake everyday for lunch? Don’t mind if I do!
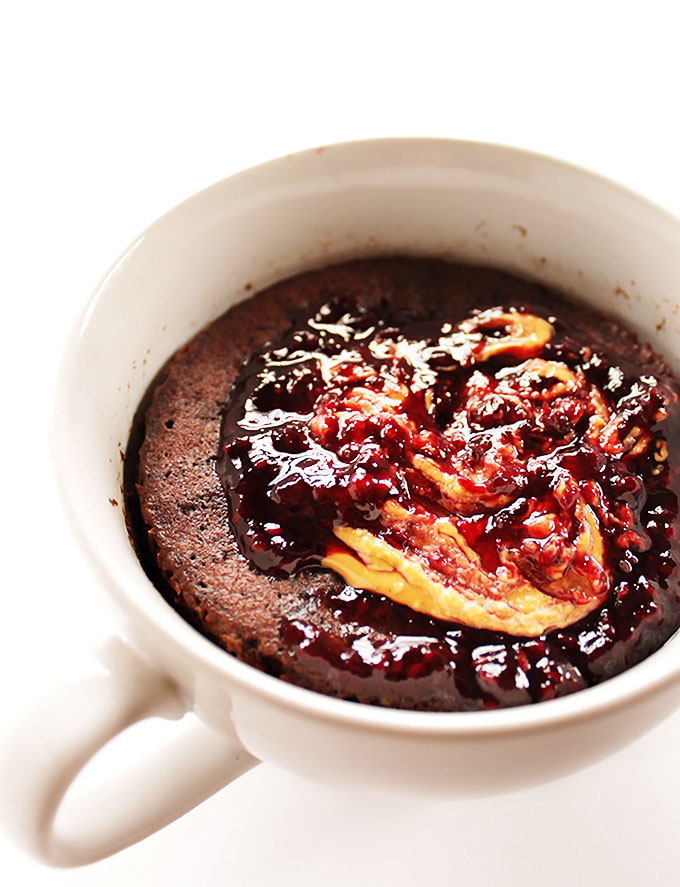
What you need to know about Peanut Butter and Jelly Chocolate Mug Cake:
- It’s almost too easy to make.
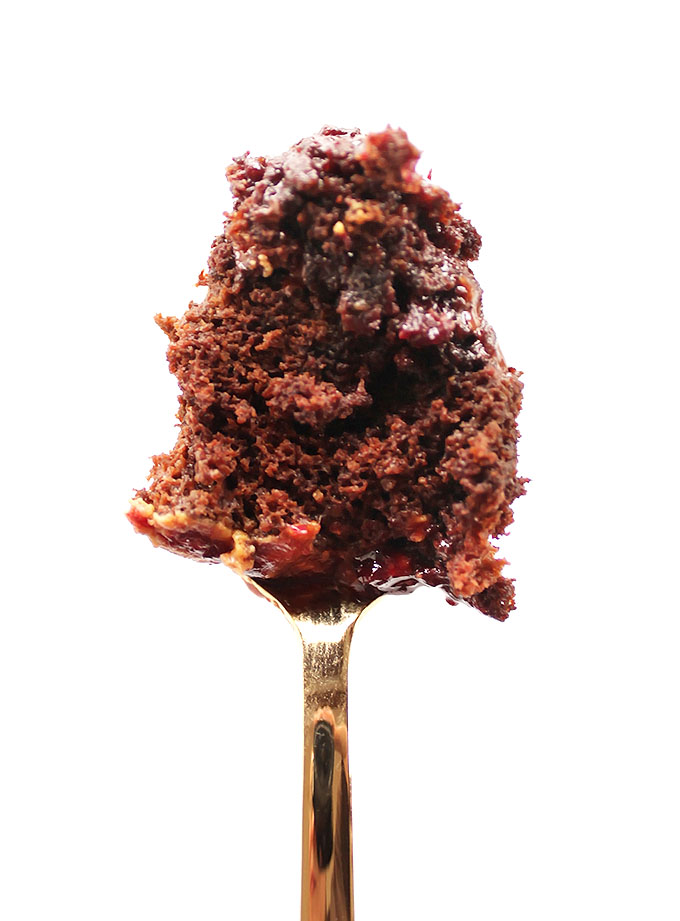
- It’s so moist, rich, and chocolate-y.
- The center is all oooy and gooy peanut butter and jelly perfection.
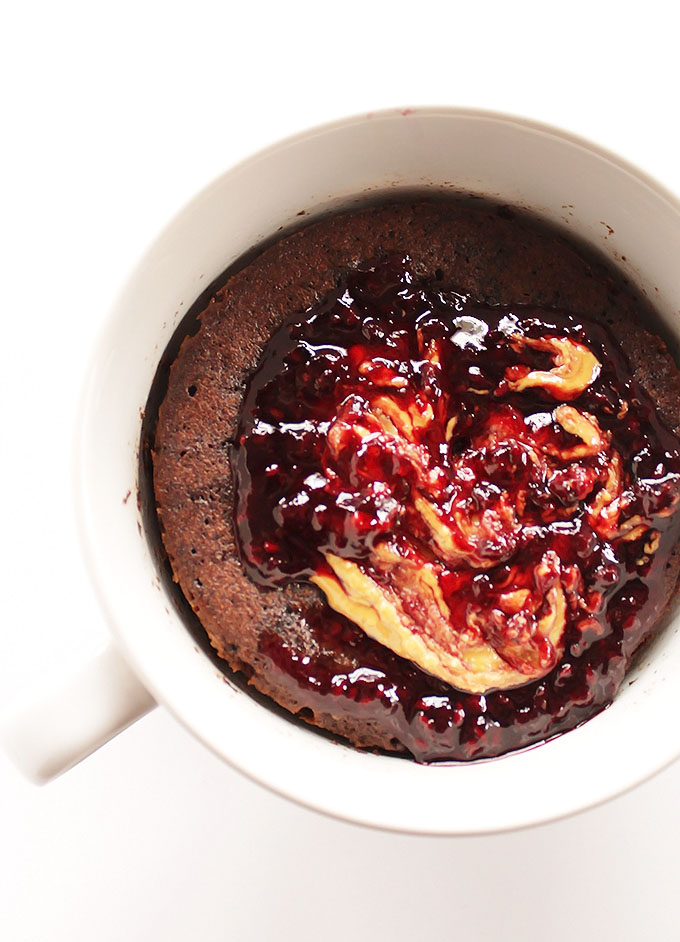
- I chose raspberry jelly, but any kind of jelly that you like would work. Cherry, strawberry, and blueberry sound yummy. Yum, looks like it’s time for me to make some more mug cakes!
- Coconut flour keeps this mug cake gluten free. Gotta love coconut flour. It’s inexpensive, low carb, and a little goes a long way!
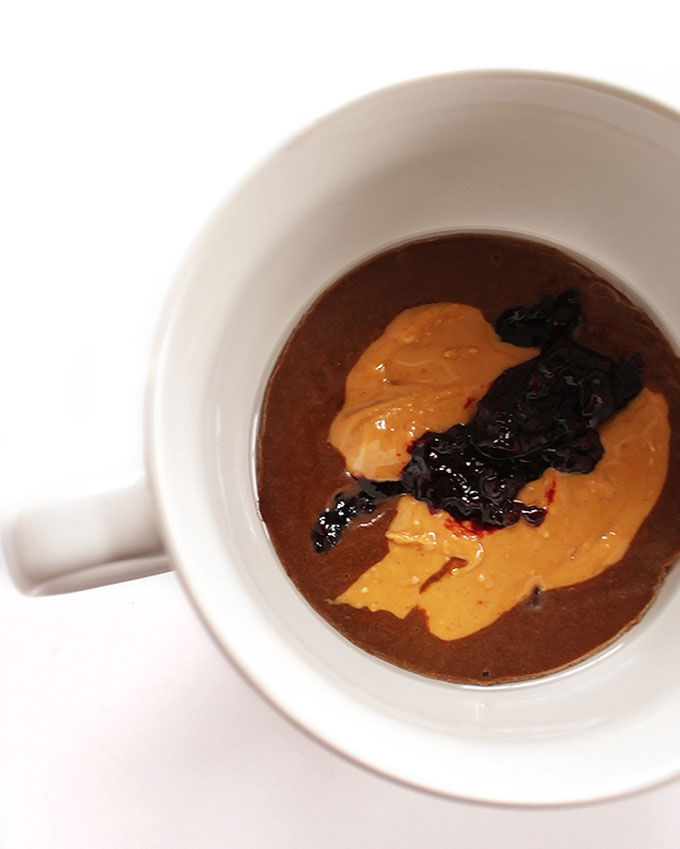
- Even though a mug cake is supposed to be mixed and baked directly in that mug I chose to mix it in a separate bowl so that I could layer the peanut butter and jelly in between the cake batter. Surprise center! If you are short on time, though, you can swirl the peanut butter and jelly into the cake directly in the mug. We preferred the peanut butter and jelly center, but either one is delicious.
- It’s tasty and satisfies all cake cravings. The end.
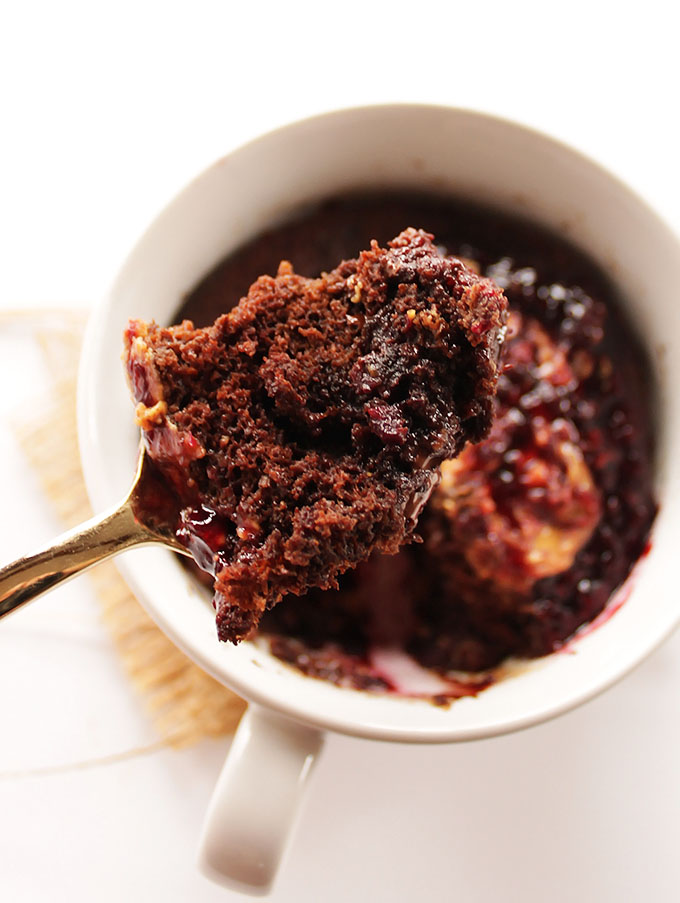
Seriously, you guys, you need to try this Peanut Butter and Jelly Chocolate Mug Cake. You will never want to bake a full-sized cake again. Well, only if you have to share. But this nice and warm, freshly baked cake is all yours!
Peanut Butter and Jelly Chocolate Mug Cake (GF)
- Prep Time: 5 mins
- Cook Time: 1 min
- Total Time: 6 mins
- Yield: 1 cake 1x
- Category: Dessert
- Cuisine: Gluten Free
Description
Peanut Butter and Jelly Mug Cake is a single serving of cake that’s baked in the microwave. It’s rich, moist, and chocolaty with a peanut butter and jelly center. It comes together in just minutes!
Ingredients
- 1 tablespoon coconut flour
- 1 tablespoon plus 1 teaspoon unsweetened cocoa powder
- 1 tablespoon coconut sugar (can sub brown sugar)
- 1 teaspoon cinnamon
- 1/4 teaspoon baking soda
- Pinch fine sea salt
- 1 tablespoon coconut oil, melted
- 1 egg
- 1 tablespoon unsweetened almond milk (can sub water or other type of milk)
- 1 teaspoon pure vanilla extract
- 1 tablespoon dark chocolate chips
- 1 tablespoon unsweetened peanut butter
- 1 tablespoon raspberry jam (can use any flavor of jam you like)
Instructions
- In a small mixing bowl use a fork to combine the dry ingredients: coconut flour, cocoa powder, coconut sugar, cinnamon, baking soda, and salt. Mix in the wet ingredients until well incorporated: coconut oil, egg, almond milk, vanilla . Stir in the chocolate chips.
- Spoon half of the cake batter mixture into a 12 ounce microwave-safe bowl. Then spoon in the peanut butter and the jelly but do not mix. Add the remainder of the cake batter over top of the peanut butter and jelly.
- Microwave on high for 1 minute, or until the the top of the cake looks cooked and the sides have begun to pull away from the edges of the mug. My microwave is 1450 watts. Depending on the wattage of your microwave, your cook time may take longer. I suggest microwaving in increments of 30 seconds and checking the cake to determine if it needs to bake some more.
- Allow the cake to cool for 5 minutes. Top with a little more peanut butter and jelly, if desired, and serve immediately.
Notes
If you are short on time and would prefer to mix all of your ingredients in the mug then skip mixing the batter in a separate bowl and mix it in the mug. Simply swirl the peanut butter and jelly on the top of the mug cake directly in the mug. Either way is delicious!
As stated in the cooking directions the cook time of 1 minute is based on the wattage of my microwave (1450). Depending on your microwave wattage you may need to adjust your time. I suggest microwaving in increments of 30 seconds, removing the mug cake, then determine by the look and feel if you need to microwave it another 30 seconds.


Leave a Reply