This post may contain affiliate links. If you buy something through one of these links, we may earn an affiliate commission - at no extra cost to you.
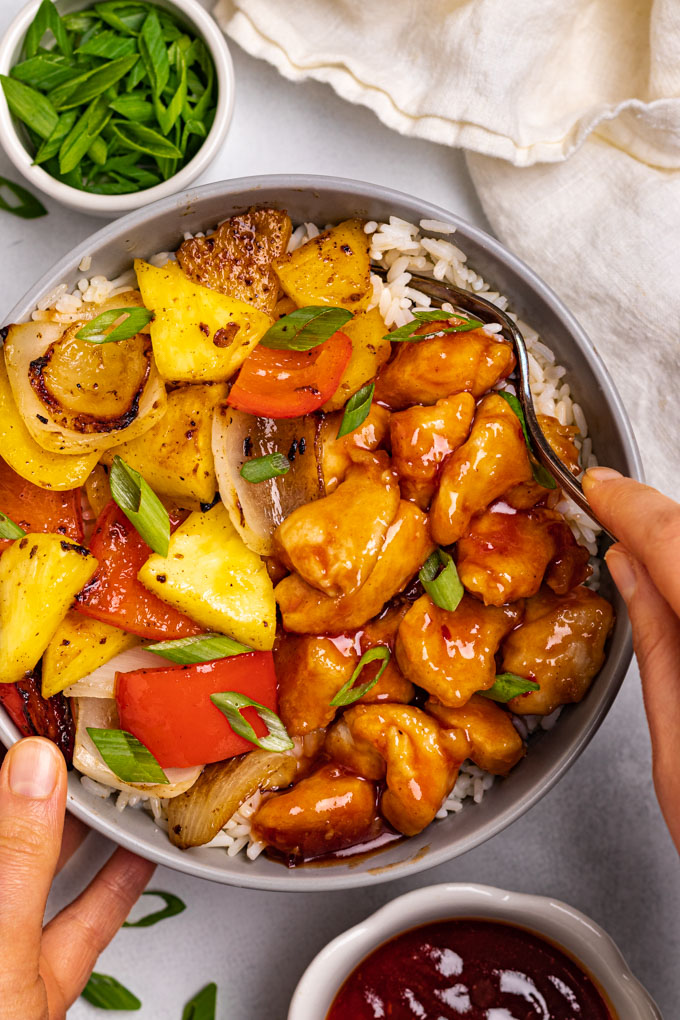
Sweet and sour chicken – tangy, sweet, sticky sauce that is one-of-a-kind, and oddly reddish orange. It perfectly coats anything that is tossed into it.
What’s not to love?
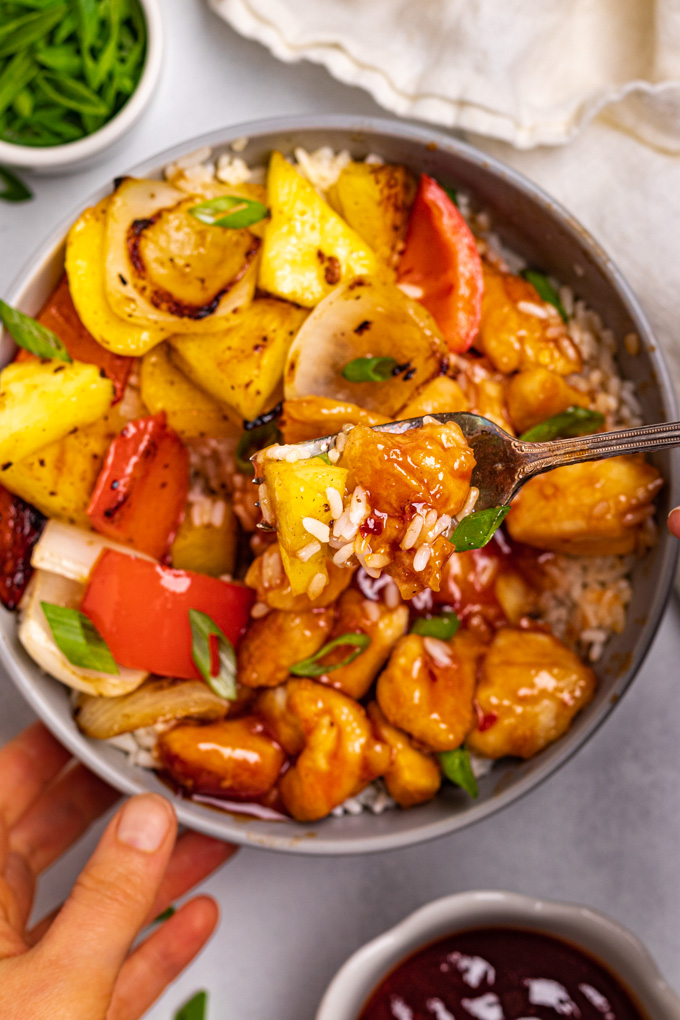
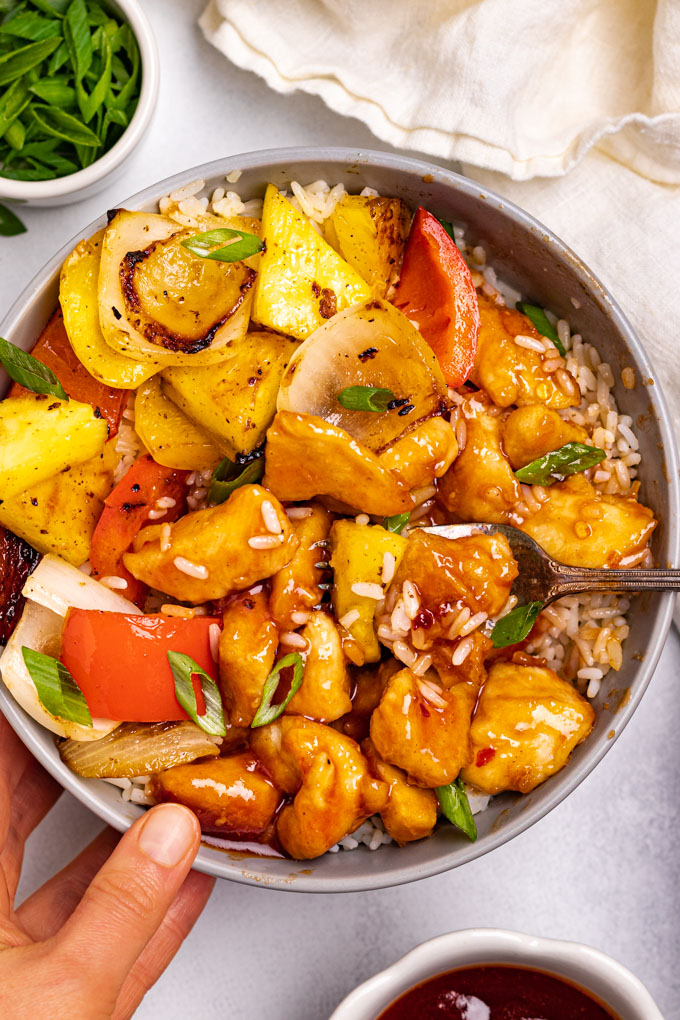
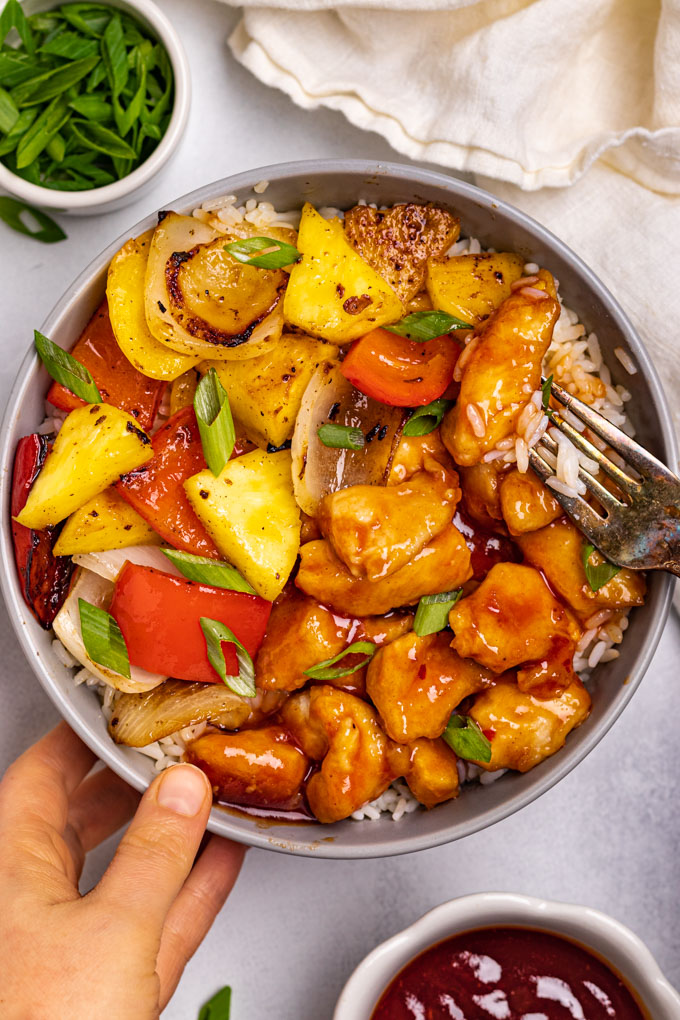
Especially when that sticky sweet and sour sauce is tossed with juicy chicken and served alongside sautéed onions, bell peppers, and sweet pineapple – and over fluffy white rice.
What if I told you that you can make sweet and sour chicken at home? In only 40 minutes?!?!
YES!!!
And the sweet and sour sauce is way easier to make than you may think!
My healthier version of sweet and sour chicken only requires two pans (a sauce pot for the sauce, and a skillet for the chicken and veggies). It is made healthier by not deep frying the chicken. Instead, the chicken is coated in corn starch – which gives the chicken a lovely texture, and the occasional crispy edge – and it is sautéed in a small amount of oil.
Plus, the sweet and sour sauce is made with wholesome ingredients. And, the whole thing is served alongside a decent amount of onions, bell peppers and pineapple. The rice provides a way to soak up all that glorious sweet and sour sauce, while rounding out the meal with a grain.
This sweet and sour chicken is gluten free since we only use corn starch to coat the chicken, and not a traditional flour breading. We didn’t miss the deep fried, breaded chicken one bit. Everything else is so flavorful that it makes up for the chicken not being deep fried.
Homemade sweet and sour chicken on a weeknight, anyone?!
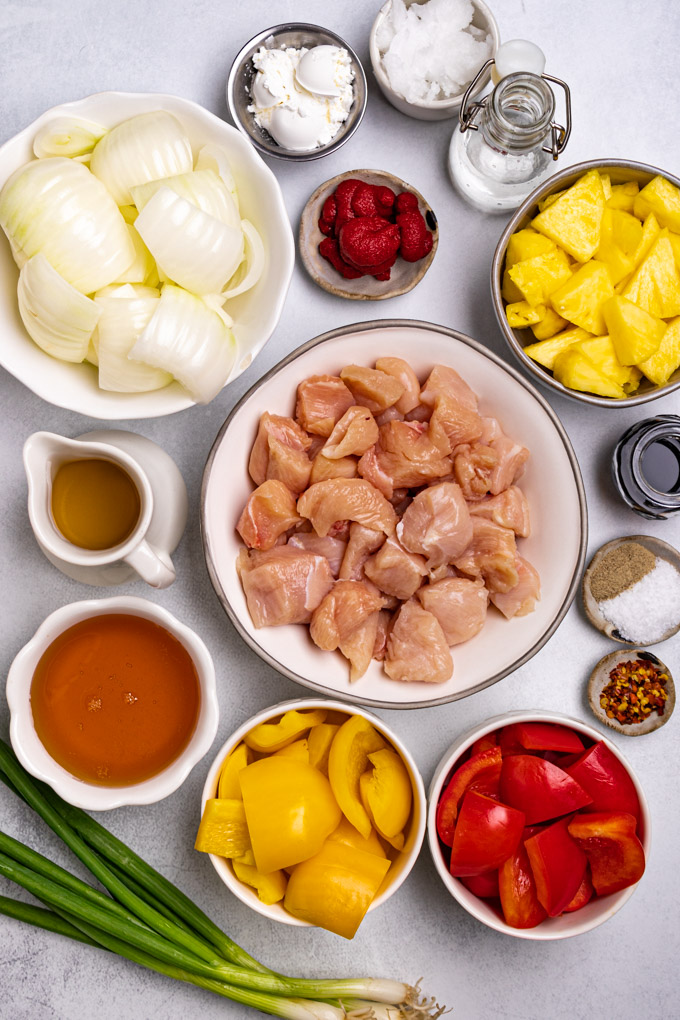
Ingredients for sweet and sour chicken
As always, the full list of ingredients, along with their measurements are in the recipe card below along with the directions, and the ability to print off the recipe. Be sure to check it out.
Chicken
- chicken breasts – cut into 2 inch pieces.
- corn starch – this is what we coat the chicken in. It gets a few crispy edges, but mostly it adds this lovely texture without deep frying the chicken while also keeping the chicken nice and juicy.
- kosher salt – to season the chicken.
- white pepper, or black pepper – again, to season the chicken. The white pepper is commonly used in Chinese dishes.
Sweet and sour sauce
- red pepper flakes – (optional) – I like the hint of spice in my sweet and sour sauce. Feel free to leave it out if you don’t.
- rice vinegar – this is what gives the sweet and sour sauce it’s sour, tangy taste.
- filtered water – just a little to give the sauce a little extra liquid to cook down.
- honey or agave nectar – the sweet part of the sweet and sour sauce. The honey, or agave provide a nice stickiness to the sauce.
- tomato paste – this is the ingredient that gives the sweet and sour sauce that iconic reddish, orange color without any food dyes
- soy sauce – for a umami saltiness. Be sure to use tamari, if needing this recipe to be gluten free.
- kosher salt – a little extra salt to balance out all the sweet.
- corn starch – to thicken the sauce a little.
- coconut oil – to cook the chicken in. You could also use another high smoke point cooking oil such as avocado oil, or grapeseed oil.
Veggies and pineapple
- white, or yellow onion – I love the way the onion gets tender, a little charred, yet remains crunchy.
- red bell pepper – I think the sweet red pepper compliments the sweetness of the overall dish nicely.
- orange or yellow bell pepper – another sweet bell pepper in a different color is a nice contrast visually – plus, it tastes great!
- pineapple – sweet, juicy pineapple goes so nicely with the sweet and sour sauce and the bell peppers. Highly recommend.
Optional garnishes
- green onions – a pop of green with a mild onion flavor is always welcome.
- sesame seeds – they can add a nice crunch.
For serving
- rice of choice – white rice, basmati rice, or jasmine rice are the most common types of rice used at Chinese restaurants.
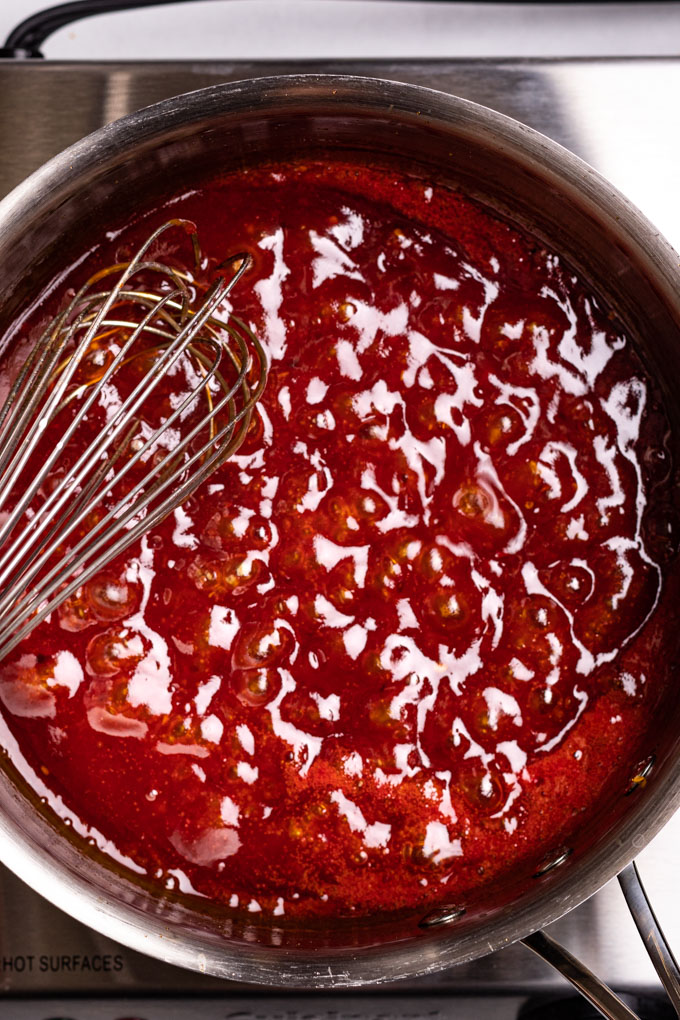
How to make sweet and sour chicken
Of course, detailed directions are written in the recipe card below. Be sure to check it out.
- prepare – cut up your chicken, and chop your veggies.
- coat the chicken in the corn starch
- cook the chicken
- make the sweet and sour sauce
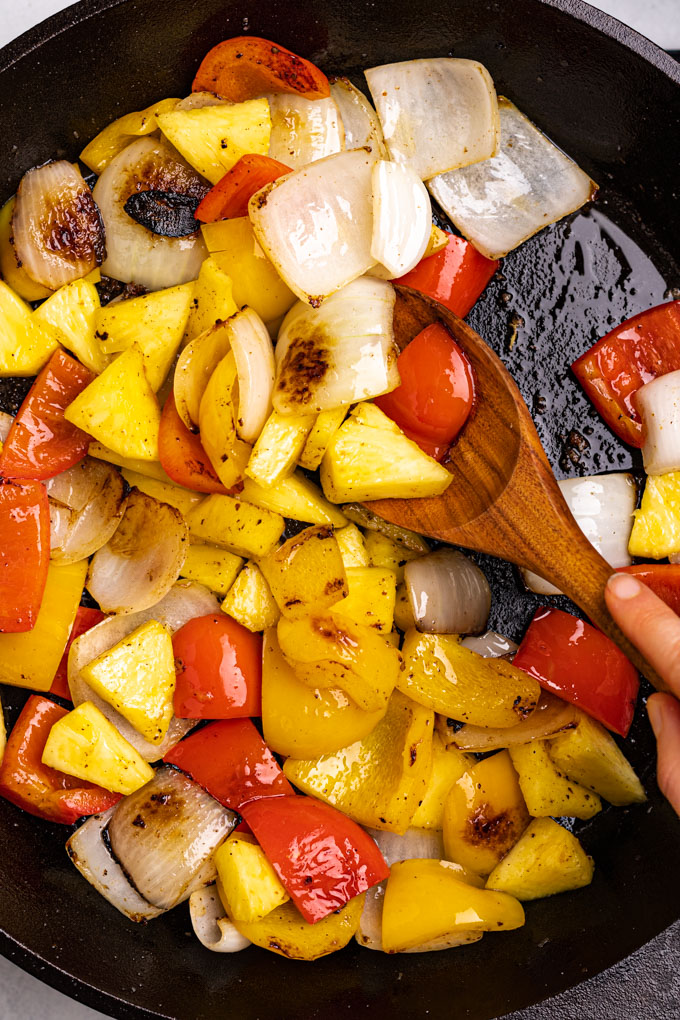
- cook the veggies
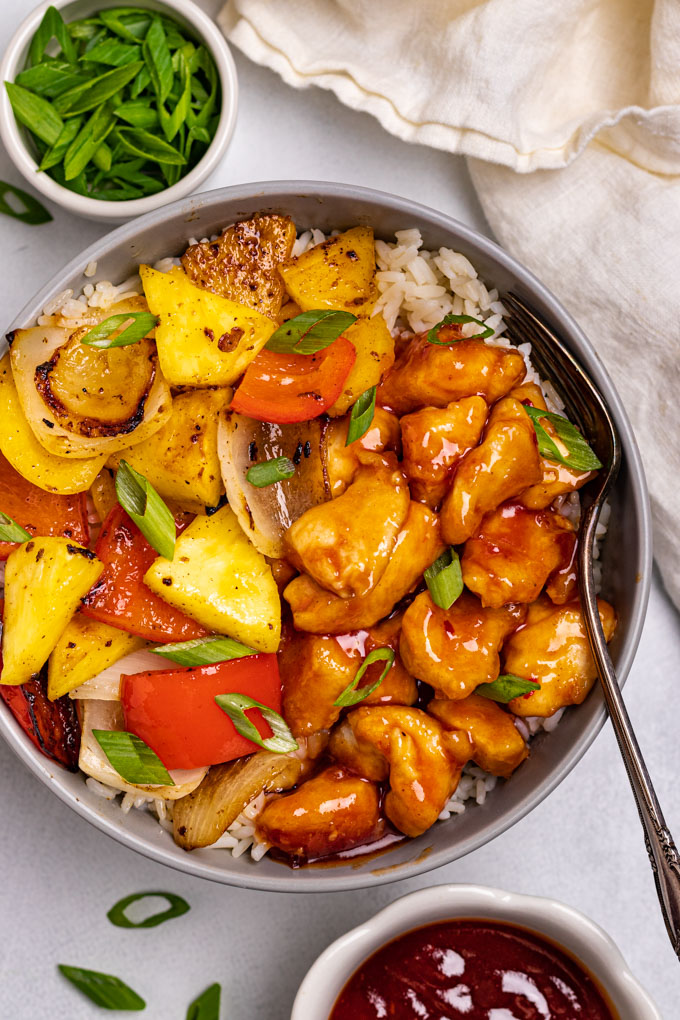
- serve
Is this sweet and sour chicken deep fried?
No.
To keep this recipe on the lighter side, I chose not to bread and deep fry the chicken.
Instead, the chicken is coated in corn starch and cooked it in a skillet. The result is juicy chicken, with a few crispy edges.
Is this sweet and sour chicken recipe gluten free?
It easily can be.
Since I use corn starch to coat the chicken, instead of a traditional breading, the chicken is gluten free.
The only other ingredient you need to be aware of when making this sweet and sour chicken gluten free, is the soy sauce. You can easily swap the soy sauce for tamari, which is gluten free. OR, for coconut aminios, which is gluten free, and soy free. Either one will work great.
What is sweet and sour sauce made of?
I can’t speak for what they use at Chinese restaurants, but the homemade version of sweet and sour sauce is quite simple.
The main components of the sauce is: rice vinegar for the tangy sour part. And, honey or agave for the sweet part.
Tomato paste is what gives the sweet and sour sauce a reddish, orange color without any food dyes.
What’s the difference between sweet and sour sauce, and orange sauce?
Sweet and sour sauce has a lot of rice vinegar in it along with honey to give it a nice tangy, sour and sweet taste.
Whereas, orange sauce for orange chicken is sweet and tastes of orange. My homemade version has orange zest, orange juice, orange marmalade, honey, and ginger in it.
If you’re interested in making orange chicken, try my lighter orange chicken recipe. It’s so good!
Of course, I can’t speak to what is in the sauces they typically use at a Chinese restaurant – these are just the homemade versions of the two sauces that I have made.
Is this sweet and sour chicken recipe good leftover?
Yes.
You do lose any crispiness that was on the chicken, but I think it is still quite good leftover.
In my opinion this homemade sweet and sour chicken is better leftover than a soggy, breaded, and deep fried sweet and sour chicken from a restaurant.
Be sure to see the recipe card for directions on how to store, and re-heat any leftovers.
Equipment I used to make this recipe
(affiliate links)
- Chef’s knife – the ideal knife for chopping up all the veggies, and the chicken!
- 12 inch cast iron skillet – A great skillet for cooking everything at a high heat.
- medium sauce pot – my go-to sauce pot.
- whisk – for whisking the sweet and sour sauce.
- tongs – ideal for tossing the chicken in the cornstarch, and flipping it in the skillet.
Reasons you will love this sweet and sour chicken recipe
- It’s packed with flavor,
- especially from that sweet, tangy sauce.
- The chicken is juicy, and a little crispy.
- It’s lighter without the deep fried chicken.
- It’s easy to make – 2 pans, 40 minutes.
- It’s packed with veggies,
- and pineapple!
- It’s easily adapted to be gluten free.
- It’s better than any sweet and sour chicken take out I have had!
More classic chicken dinner recipes for you try
- lighter orange chicken
- chicken broccoli stir fry
- sheet pan chicken fajitas
- chicken Caesar salad
- sonoma chicken salad
- honey buffalo baked chicken wings
- the best chicken noodle soup
Did you make this recipe?
Let me know how it went. Be sure to leave a comment below, along with a star rating ⭐⭐⭐⭐⭐ . This helps my recipes to rank higher in google and be seen by more people – which, helps my business to thrive so that I can continue to make more FREE recipes for you. Thanks!
Print
Sweet and Sour Chicken with Pineapple
- Prep Time: 15 mins
- Cook Time: 25 mins
- Total Time: 40 mins
- Yield: 4 1x
- Category: Entree, Chicken/Poultry, dinner
- Method: simmer, sauté
- Cuisine: Gluten Free, Refined Sugar Free, Dairy Free, healthy
- Diet: Gluten Free
Description
We love this homemade sweet and sour chicken with pineapple when we are craving Chinese food. It’s packed with so much flavor. The chicken isn’t deep fried, so it’s much lighter. Plus, it’s easy to make!
Ingredients
Chicken
- 2 chicken breasts, patted really dry, and cut into 2 inch pieces
- 4 tablespoons corn starch, or arrow root starch
- 1 1/4 teaspoon kosher salt
- 1/2 teaspoon white pepper, or black pepper
- 3 tablespoons coconut oil ( for cooking)
Sweet and sour sauce
- optional: 1/4 to 1/2 teaspoons red pepper flakes
- 2/3 cup rice vinegar (unseasoned)
- 1/4 cup filtered water
- 1/2 cup + 2 tablespoons honey or agave nectar
- 2 tablespoons tomato paste
- 2 tablespoons soy sauce (or sub tamari or coconut aminos)
- 1/4 teaspoon kosher salt
- 2 teaspoons corn starch, or arrowroot
Veggies & Pineapple
- 1 medium white, or yellow onion, cut into 1 inch chunks
- 1 red bell pepper, cut into 1 inch chunks
- 1 orange, or yellow pepper, cut into 1 inch chunks
- 1 cup of pineapple, cut into 1/2 inch pieces – (fresh is best, when possible)
- 1 tablespoon coconut oil (for cooking)
Optional garnishes
- green onions, chopped
- sesame seeds
For serving
- rice of choice: white rice, basmati rice, or jasmine rice, or even brown rice
Instructions
- Prepare – Once you get cooking, this recipe moves fast, so chopping the veggies and the chicken in advance is helpful. For the chicken breasts, you really want them to be very dry. I recommend cutting up the chicken and placing it on a plated lined with a paper towel and let it sit out and dry while you get the remaining ingredients ready. Chop the onion, red and orange/yellow peppers, and the pineapple as instructed above. It’s also a good idea to get your rice cooking (if making it on the stove) at this time. You can cook your rice however you like, but I do recommend using a frozen, microwave rice in this recipe. Cooking your rice in an instant pot, or rice cooker – where you don’t have babysit it is another great option.
- Coat the chicken in the corn starch – Heat a large 12 inch skillet, or a wok on medium high heat (I like using my 12 inch cast iron skillet). In a medium sized mixing bowl, mix together the 4 tablespoons corn starch, 1 1/4 teaspoon kosher salt, 1/2 teaspoon white pepper (or black pepper) together until well combined. Use tongs to toss the chicken pieces into the corn starch mixture until the pieces of chicken are well coated.
- Cook the chicken – To the heated skillet add 2 tablespoons of coconut oil, allow it to melt, and swirl it around in the pan to coat, allow the oil to heat for 1 minute. Once the oil is hot, add half of the chicken, so you don’t overcrowd the pan. Cook the chicken for 4 to 5 minutes, or until the underside of the chicken starts to look brown, and flip the chicken and cook another 2 minutes (the internal temp of the chicken should read 160 to 165 degrees Fahrenheit). Remove the chicken to a bowl and set aside. Add the 3rd tablespoon of coconut oil to the pan and allow it to heat up – repeat the cooking process with the second batch of chicken. Remove the chicken from the pan and set aside.
- Make the sweet and sour sauce – Meanwhile, while the chicken is cooking – make the sweet and sour sauce. Add the red pepper flakes, rice vinegar, filtered water, honey/agave nectar, tomato paste, soy sauce, and kosher salt to a medium sauce pan. Whisk together until combined. Turn the heat on high heat, bring to a boil – reduce to a mild boil, and allow the sauce to boil for 5 minutes, or until the sauce clings to the back of a spoon – be sure to whisk occasionally. Add the 2 teaspoons corn starch to a small bowl, add a little water, and whisk to create a slurry. Whisk the slurry into the sauce, allow the sauce to simmer for 1 more minute, or until thickened. Remove the sauce from the heat. Note: if the sauce got a little too thick, you can easily thin it out with a little bit of water.
- Cook the veggies – In the same skillet, right after the chicken has been cooked, and removed, add 1 tablespoon of coconut oil and add the onions – add a sprinkle of kosher salt and sauté for 5 minutes, stirring occasionally, or until the onions have become slightly charred, tender, but are still crunchy. Next, add the bell peppers and sauté for another 3 to 5 minutes, or until the peppers are slightly tender. Then, add the pineapple and cook for 2 minutes, just until warm. Remove the pan from the heat.
- To serve – Toss the chicken with the sweet and sour sauce, until well coated. Note: if you aren’t serving all 4 servings right away, it is best to keep the sauce and chicken seperate for leftovers. Serve the chicken on top of freshly cooked rice, alongside the veggies and pineapple. garnish with more sliced green onions, and/or sesame seeds. Enjoy immediatly.
- Leftovers – store the sauce, chicken, veggies, and rice in separate containers. Re-heat everything separately. To re-heat the rice, add an ice cube in the middle of the bowl of rice, and cover the bowl, heat in the microwave – this team allows the rice to become nice and fluffy. The chicken does lose a little of the crispiness it had – but, it is still very good. Leftovers will last in the fridge for up to 5 days.
Notes
gluten free – To make this recipe gluten free be sure to use tamari, or coconut aminos in place of soy sauce.
soy free option – to make this recipe soy free, use coconut aminos instead of soy sauce, or tamari.
pineapple – In a pinch you can used canned pineapple, but I recommend using fresh, if you can. You can easily cut up the fresh pineapple in advance from when you make the recipe. Or, you can buy pre-cut fresh pineapple at the store.
coconut oil – I like using coconut oil when making Asian dishes. It doesn’t make anything taste coconutty, but it does compliment the sweetness of the dish well. You could also use another high smoke point cooking oil such as avocado oil, or grapeseed oil.
Cooking rice options – You can of course cook your rice however you like. But, I often times opt for a frozen, microwave rice that takes 4 to 5 minutes for recipes like this one. Another good option is cooking your rice in an instant pot, or rice cooker where you don’t need to babysit it. Depending on how long it takes to cook your rice will depend on when you want to start it in the recipe.



Leave a Reply