This post may contain affiliate links. If you buy something through one of these links, we may earn an affiliate commission - at no extra cost to you.
Hello, last day of August.
Let us say goodbye to August with one final summer treat, shall we?
A cherry crisp!!!!
This spring we planted a cherry tree!!! Paul likes to refer to it as “the magic cherry tree”. It is grafted with 4 different types of sweet cherries, on one tree!!! So excited!!!
We didn’t receive any cherries this year, but we hope to have an abundance of sweet cherries next summer. Obviously, I have had cherries on the brain.
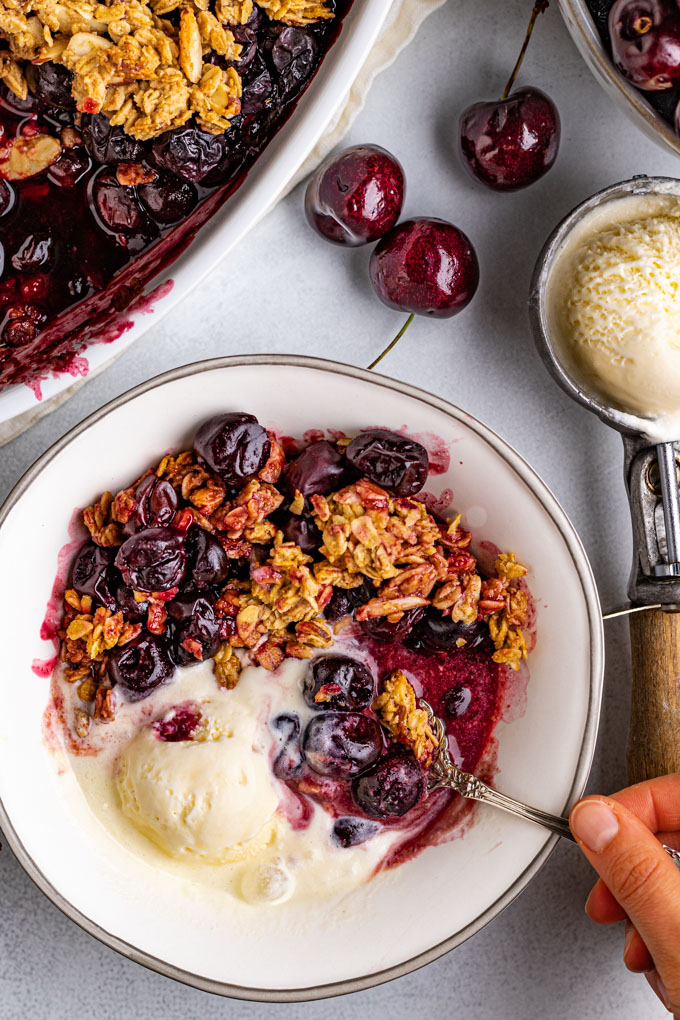
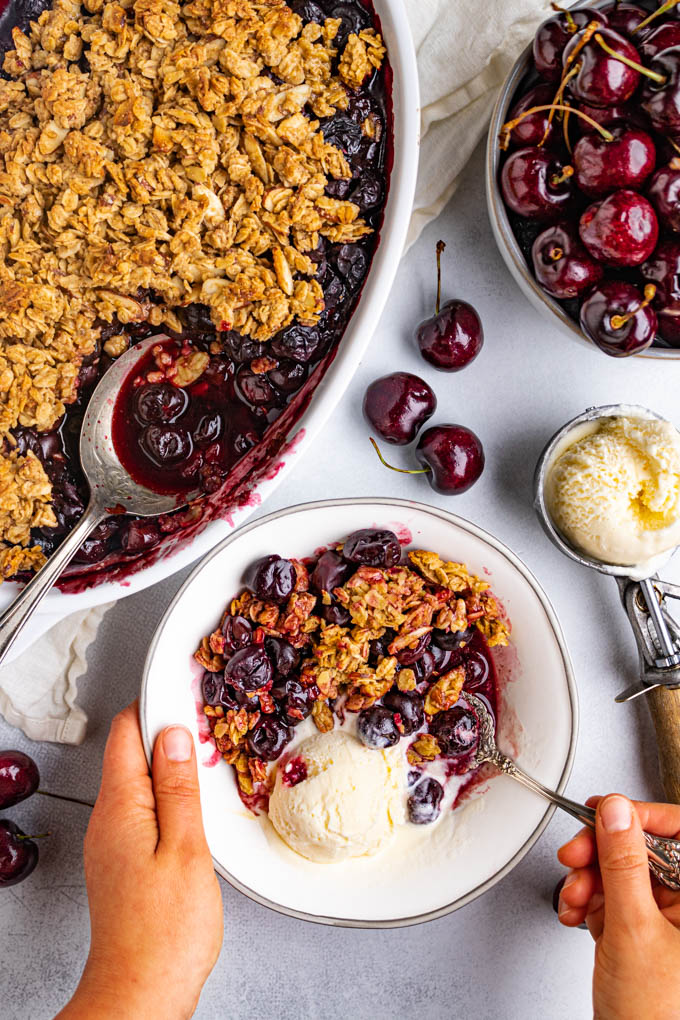
This cherry crisp has juicy, plump, sweet cherries that are swimming in a lovely cherry sauce. It is topped with an oat-y crisp topping that is buttery and sweetened with maple syrup. The cherry crisp is served warm, and alongside some cold vanilla ice cream that melts into the cherry crisp juices and creates the most delicious, luscious summertime dessert.
OMG it’s so, so good!
The best part, is that the cherry crisp is super easy to make – 45 minutes total – and it only requires simple ingredients. It is gluten free due to using oats, and oat flour in the topping.
And, it uses 100% frozen cherries, so you can make this cherry crisp all year long, if you want.
Plus, there is no pitting of the cherries required – unless, of course, your past self needed to pit some cherries in order to freeze them – still, making the cherry crisp in the moment, is super easy!!!
Turns out cherry crisp was a challenging recipe for my to nail down.
I found that using fresh cherries ended up being dry, and not juicy enough. Whereas frozen cherries (the first times I tested it) yielded too much juice. Finally, I found the sweet spot. A cherry crisp that wasn’t dry, but not watery, and that had tender, juicy cherries.
The secret was to defrost the cherries before baking, and drain the cherries from the liquid!
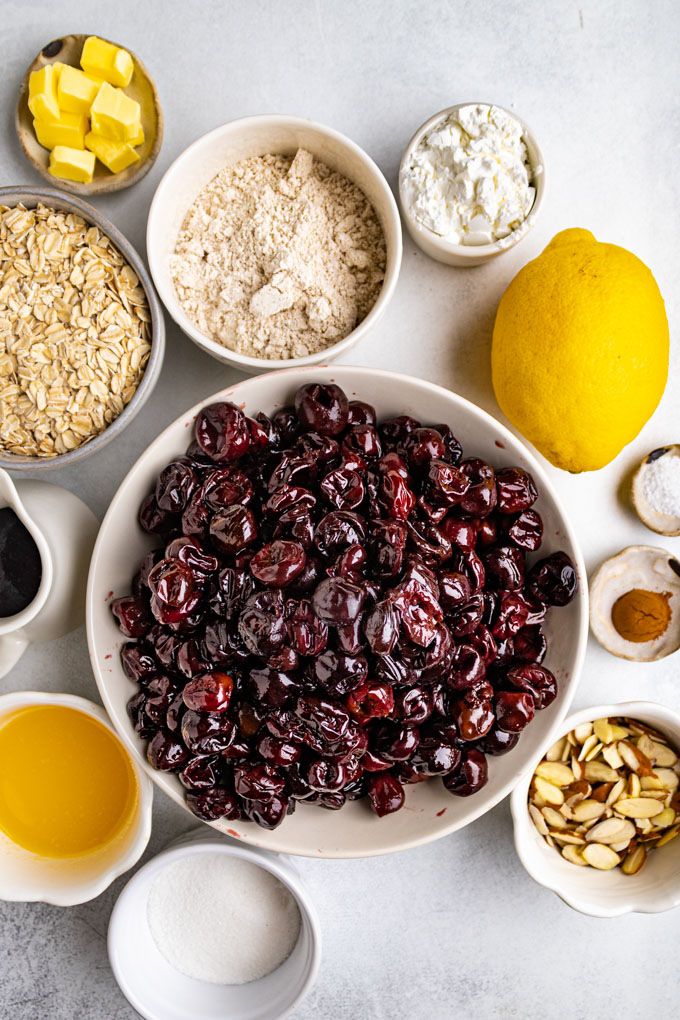
Ingredients for cherry crisp
Be sure to see the recipe card below for the measurements of the ingredients.
Crisp Topping
- oat flour – helps to bind the topping together. I like using the oat flour because it’s inexpensive, nutritious, and easy to make yourself. Plus, I always have some on hand. (See notes in the recipe card below for how to make oat four).
- cinnamon – for a hint of warming spice that goes so well with oats and cherries. Not so much that it screams fall.
- kosher salt – all sweet things need a hint of salt to bring out the flavors.
- rolled oats – an essential ingredient to a good crisp. They’re nutritious, packed with fiber – and, they get all crispy and delicious when baked.
- sliced almonds – these are optional. I really love the extra crunch they add to the oat topping. If you want to omit them, just replace them with more oats.
- pure maple syrup – to sweeten things up. I love using the maple syrup here because it adds a nice caramel-y, flavor.
- unsalted butter – to help bring a richness to the topping, and to help crisp it up. (See notes of the recipe card for how to make this recipe vegan/dairy free).
- almond extract – Just a hint. Almond goes so well with cherries. If you don’t like almond extract you can omit it, or swap it with vanilla.
Cherry filling
- frozen sweet cherries – that are defrosted and pitted. In my many attempts to get just the right juicy texture, I found frozen cherries to work the best. BONUS: you can make this cherry crisp recipe all year round!!!
- granulated sugar, or coconut sugar – even thought the cherries are sweet, they need just a little bit of sugar to round out the flavors.
- lemon zest – for a fresh, bright taste.
- lemon juice – fresh squeezed, please. The lemon juice brings an acidity to the cherries which helps to brighten things up, and round out the flavors.
- cinnamon – again, just a hint for some warming spice, and depth of flavor.
- kosher salt – for balance.
- almond extract – optional, if you don’t like almond extract. But, cherries, and almond is a match made in heaven.
- pure vanilla extract – for some more flavor that is perfection when combined with cherries.
- cornstarch – to help thicken up the juices.
- unsalted butter – I place pats of butter on top of the cherry filling, before placing the crisp topping on top. The butter helps to thicken up the juice of the cherries and make it a more luscious sauce.
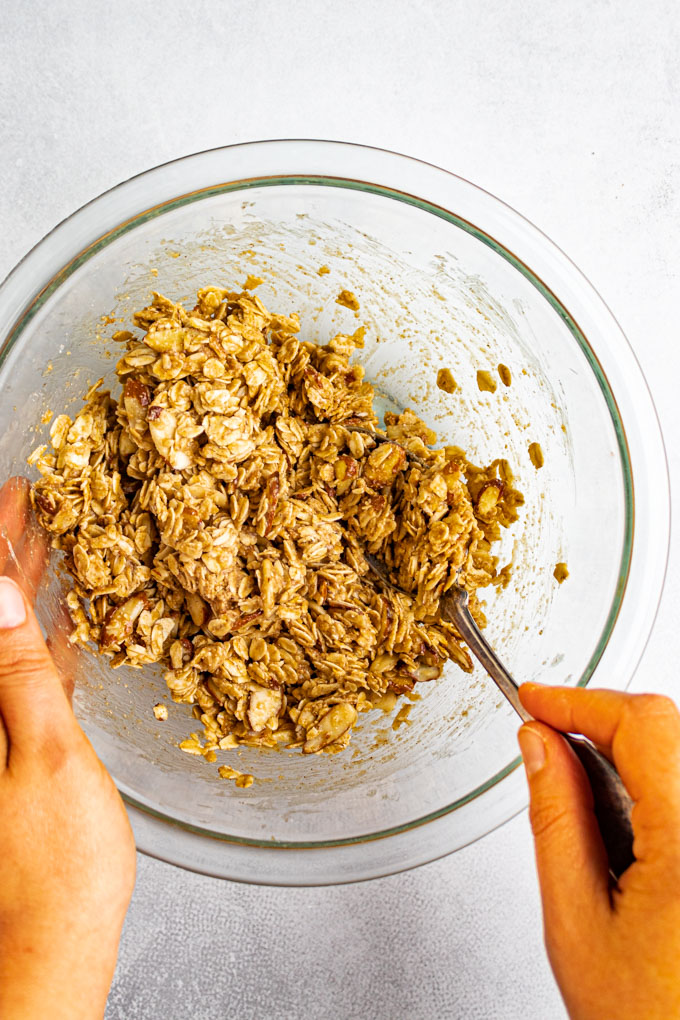
How to make cherry crisp
Remember, more thorough directions are in the recipe card below.
- Defrost the cherries – Several hours in advance, you need to defrost the cherries. And drain the from their juices, reserving 3 tablespoons for the cornstarch slurry.
- Prepare – preheat the oven.
- Make the crisp topping – Mix all the crisp topping ingredients together. Then, pop it in the fridge to harden. This helps the crisp to stay in nice crunchy clumps.
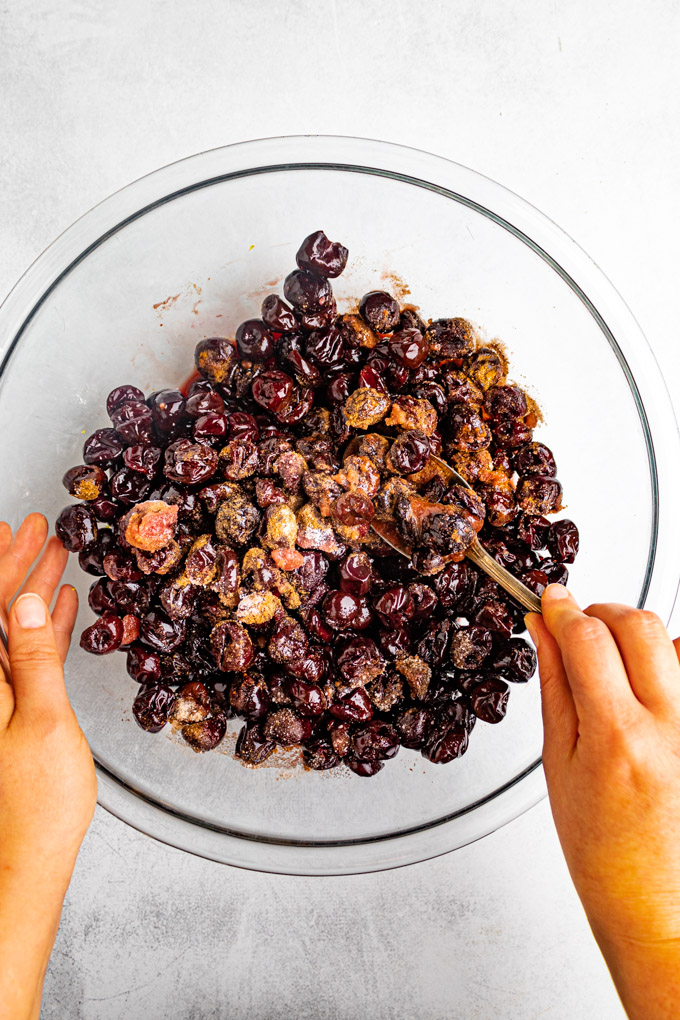
- Make the cherry filling – Mix all of the cherry filling ingredients together.
- Make the cornstarch slurry – Use the reserved cherry juice to make a cornstarch slurry.
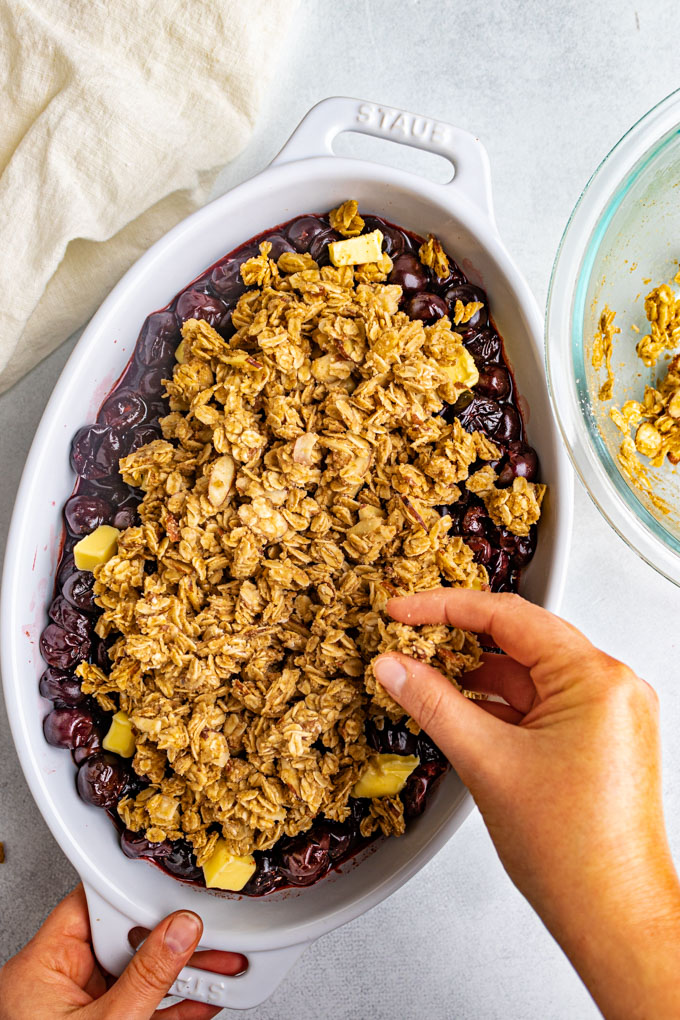
- Assemble – Assemble the cherry crisp for baking.
- Bake – Bake until the cherry filling is bubbling, and the crisp is golden brown.
- Cool – Allow the crisp to cool for a bit, so you don’t burn your mouth.
- Serve – serve warm with a scoop or two of vanilla ice cream!!! It’s the only way a crisp should be eaten!!!!
Why I use frozen cherries to make this cherry crisp?
I tested this recipe multiple times, and I found that fresh cherries were too dry. They didn’t yield any juices, which IMO is essential to a good crisp. The warm juices of the fruit combining with the cold ice cream – yum!!!
In doing a little research, I did find that I could have still gotten that juicy result from fresh cherries if I would have cooked the cherries down a little in a sauté pan to create a syrup, before baking. Much like the texture of a canned cherry pie filling. Although, I am sure that would have been delicious, I wanted to keep the method of this cherry crisp as simple as possible.
Because, that is the lovely part about making a crisp, after all, it’s supposed to be EASY!!!
So, I found that frozen, defrosted cherries worked the best. The cherries still remain plump, and juicy, with a little bite to them. While giving off enough sauce-y goodness that will accompany some vanilla ice cream.
Bonus: using frozen cherries means that you can make this crisp all year round.
Hello, cherry crisp in the dead of winter – when need taste of summer to keep me going!!!
Can I use other types of frozen sweet cherries in this recipe?
Yes.
I used frozen bing cherries. But, you can easily use any other type of sweet cherry you can get/have on hand.
Keep in mind that different types of sweet cherries can vary in levels of sweetness; therefore, you may want to add a little more sugar to your cherries, if needed. Bing cherries are usually considered to be the sweetest variety of cherry.
Can I freeze my own sweet cherries to make cherry crisp?
Absolutely.
Of course, you want to stem, and pit the cherries before freezing them. I recommend using a cherry pitter. It makes the job a lot easier.
I fully plan to make this crisp using cherries from our cherry tree, in the future.
Come on, baby cherry tree, we are cheering for you!!!
Is this cherry crisp recipe gluten free?
Yes.
The oat flour, and the oats are naturally gluten free, making this crisp a great one to share with anyone who has an allergy.
Just be sure to use certified gluten free oats.
Can I re-heat the leftover cherry crisp?
Yes.
I have directions on how to re-heat the crisp in the oven, they are in the notes of the recipe card below.
The result is a still crisp topping, with juicy cherries, and a thicker cherry sauce.
Not as good as when it’s fresh. But, it’s still pretty darn tasty.
Can I make the cherry crisp in advance?
Yes, partially.
You can make the crisp topping, then store it in the fridge. And you can mix up most of the cherry filling ingredients. Assemble it just before baking.
Directions for making the crisp ahead are in the notes of the recipe card.
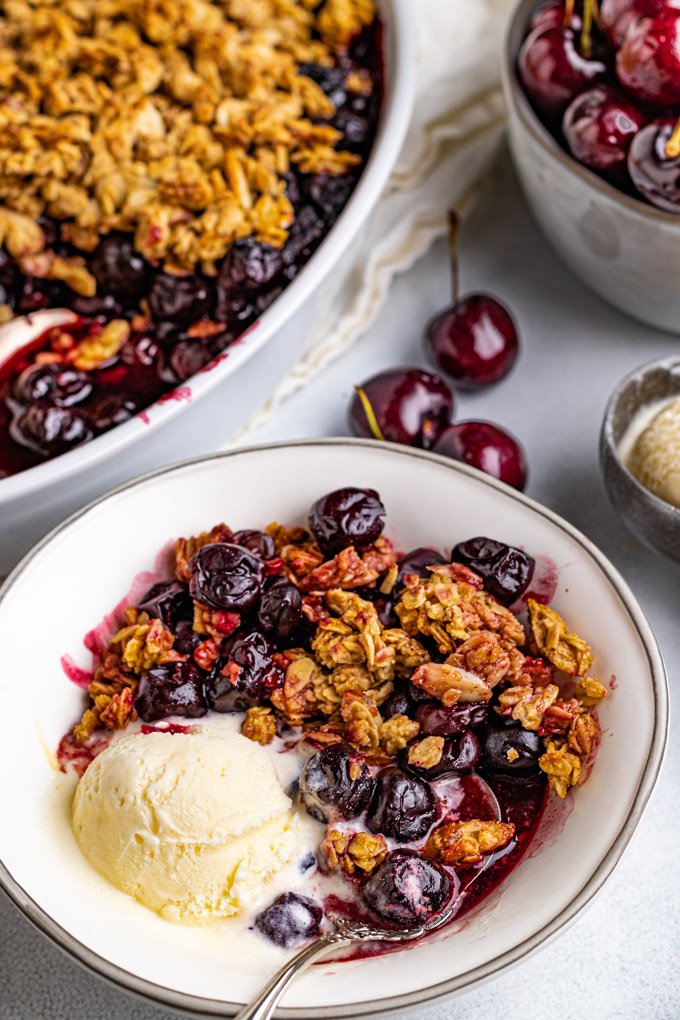
Reasons you’ll go crazy for this cherry crisp recipe
- It’s so delicious.
- Crispy oat topping,
- with juicy cherries,
- served with cold vanilla ice cream!!!
- It’s easy to make – 45 minutes, and done!
- It uses frozen cherries, so it’s even easier to make,
- and can be made all year long.
- It’s a great way to use an abundance of frozen cherries up.
- It’s naturally gluten free.
- It uses simple ingredients.
- It’s impressive,
- yet, it’s effortless to make.
- It’s nostalgic.
- It’s prefect for many occasions.
More fruity summertime desserts for you to love
- Instant pot cheesecake with cherry topping
- lemon cheesecake cookie cups with berries
- blueberry cake donuts with lemon glaze (baked)
- the best key lime pie (gluten free)
Did you make this recipe?
Let me know how it went. Leave a comment below, along with a star rating. I love hearing from you!
Print
Cherry Crisp (with Frozen Cherries)
- Prep Time: 15 mins
- Cook Time: 30 mins
- Total Time: 45 minutes
- Yield: 7 to 8 1x
- Category: dessert, baking
- Method: baking
- Cuisine: gluten free, egg free, nut free
- Diet: Gluten Free
Description
This cherry crisp recipe is the perfect summer dessert. It features frozen cherries that become juicy, along with a crunchy oat topping. Serve it warm with vanilla ice cream for the ultimate experience.
Ingredients
Crisp Topping
- 1/2 cup oat flour + 3 tablespoons – if needed (see notes)
- 1/2 teaspoon cinnamon
- 1/4 teaspoon kosher salt
- 1 cup rolled oats
- optional: 1/4 cup sliced almonds (sub with more oats, if desired)
- 1/4 cup pure maple syrup
- 1/4 cup unsalted butter, melted
- optional: 1/4 teaspoon almond extract (or sub with pure vanilla extract)
Cherry Filling
- 6 to 7 cups (2 to 2.5 pounds) frozen sweet cherries that are pitted – defrosted
- 1/4 cup granulated sugar (or, sub coconut sugar)
- zest of 1 lemon
- 2 tablespoons fresh squeezed lemon juice ( about 1/2 lemon)
- 1/2 teaspoon cinnamon
- 1/4 teaspoon kosher salt
- optional: 1/4 to 1/2 teaspoon almond extract
- 1 teaspoon pure vanilla extract
- 3 tablespoons cornstarch
- 2 to 3 tablespoons unsalted butter, cubed
For serving
- vanilla ice cream
Instructions
- Defrost the cherries several hours in advance: If you haven’t already done so, defrost the cherries. I recommend defrosting them at room temp for 3 to 4 hours, or in the fridge overnight. I don’t recommend heating them in the microwave – it will break down the cherries too much. Be sure to save 3 to 4 tablespoons of the cherry juice – the rest can be discarded. You could also make the oat flour, at this time, if you don’t already have some (see notes on how to make it).
- Prepare: Preheat the oven to 400 degrees Fahrenheit.
- Make the crisp topping: To a medium sized mixing bowl add the oat flour, cinnamon, kosher salt, rolled oats, and sliced almonds (if using) – mix to combine. Add the maple syrup, melted butter, and almond extract (if using), mix until the crisp topping is the texture of wet sand. If it seems a little loose then you can stir in an extra 1 to 3 tablespoons of oat flour. Transfer the crisp topping to the fridge to allow the butter to solidify – this helps the crisp to sort of create yummy clusters on top of the cherry filling.
- Make the cherry filling: To a large mixing bowl add the defrosted, and drained sweet cherries, along with the granulated sugar lemon zest, lemon juice, cinnamon, kosher salt, almond extract (if using), and vanilla extract – stir until well combined.
- Make the cornstarch slurry: To a small bowl add the cornstarch, along with the 3 tablespoons of reserved cherry liquid from defrosting the cherries – whisk until no lumps remain. Add the slurry to the cherry mixture, stirring until well combined.
- Assemble: Transfer the cherry filling to a 9×13 oval baking dish, or a 9×9 square baking dish. Use a spoon to spread the cherries out evenly. NOTE: It’s okay if it seems like a tight fit, just be sure to place the baking dish underneath a sheet pan that’s lined with foil to catch any spills. Add the 2 to 3 tablespoons of butter on top of the cherries, randomly. Use your hands to add the crisp topping to the cherry filling, making sure to pile it high. I like to leave a small edge of cherry exposed so that I can see when it’s bubbling in the oven, plus it looks pretty that way.
- Bake: Bake at 400 degrees for 20 to 30 minutes, or until the cherry filling is bubbly, and the topping is golden brown and crispy. If the topping starts to get a little too dark, you can tent the crisp with foil to prevent it from burning.
- Cool: Allow the crisp to cool for at least 15 minutes. This allows the juices to thicken slightly, and prevents you from burning your mouth.
- Serve: Serve warm, with vanilla ice cream. It’s the only way! The crisp is best eaten the day of – see notes on how to re-heat the leftovers.
Notes
oat flour – To make oat flour, simply add rolled oats to a high speed blender, or food processor, and blend on high until a fine flour is achieved. You will get a finer consistency using a high speed blender, than a food processor. You can make a large batch of oat flour, and store it in a canister for up to 6 months. Or, you can easily buy oat flour already made at the store.
frozen cherries VS fresh cherries – I tested this recipe many times. The first time was using all fresh cherries – the result was a very dry crisp. I found the best crisp without needing to first cook the fresh cherries to make a sauce, was to use frozen, defrosted, and drained cherries. It gave a sauce-y ness to the crisp that mixed with the vanilla ice cream in all the right ways – while still maintaining juicy, plump cherries to bite into. So good! So, I recommend sticking with using frozen cherries, even if you freeze fresh cherries yourself.
sweet cherries – I used frozen bing cherries – they worked great. You can use any variety of sweet cherries you like, or can get.
sugar – Keep in mind that different varieties of sweet cherries may vary in levels of sweetness, so you might want to add a little more sugar to taste, if your cherries are a little less sweet than bing cherries might be.
dairy free/vegan option– to make this recipe dairy free/vegan you can swap the butter in the crisp topping for coconut oil, or vegan butter. You can replace the pats of butter that goes on top of the fruit with vegan butter. Also, be sure to serve the cherry crisp with dairy free/vegan vanilla ice cream.
gluten free – be sure to use gluten free oats, if necessary.
re-heat leftovers – Although, the crisp is best when eaten the day it’s made, it can be re-heated really well, at least once. Allow the crisp to cool completely in it’s baking dish. Once cooled, cover with foil, and place it in the fridge. once ready to re-heat it, pre heat your oven to 350 degrees Fahrenheit, and bake until the crisp is warmed through, and bubbly – about 30 minutes. The juices will have thickened even more than last time, just FYI. If you still have leftovers after this point, I recommend just heat this portion in the microwave. It will get too dried out baked in the oven again – it’s not as crispy, but still worth eating.
make ahead – To make the crisp in advance, you can make the topping, and store it in the fridge until you are ready to use. You can mix up the cherry filling, I would leave out sugar, and the cornstarch, just until you’re ready to assemble. Then, assemble the entire crisp just before baking.




Leave a Reply