This post may contain affiliate links. If you buy something through one of these links, we may earn an affiliate commission - at no extra cost to you.
Is there anything better than a chocolate chip cookie? Soft, chewy, buttery dough that is studded with chocolate chips? I think not! Except, for when we can turn that favorite cookie into a gluten free chocolate chip cookie!!! I promise, you won’t be able to tell that it’s gluten free at all!
Trust me, these gluten free chocolate chip cookies are insanely good. The brown butter in there adds hints of nutty, toasty, caramel-y flavors. It really makes this cookie shine!! I don’t know how I have waited this long to put browned butter into my cookies!!!
These gluten free chocolate chip cookies are easy to make, they come together in a flash because we use an all-purpose gluten free flour blend! They only require 10 ingredients, one bowl, and just a silicone spatula for mixing – no power tools required. The cookie dough can be made a few days in advance before baking, and is freezer friendly.
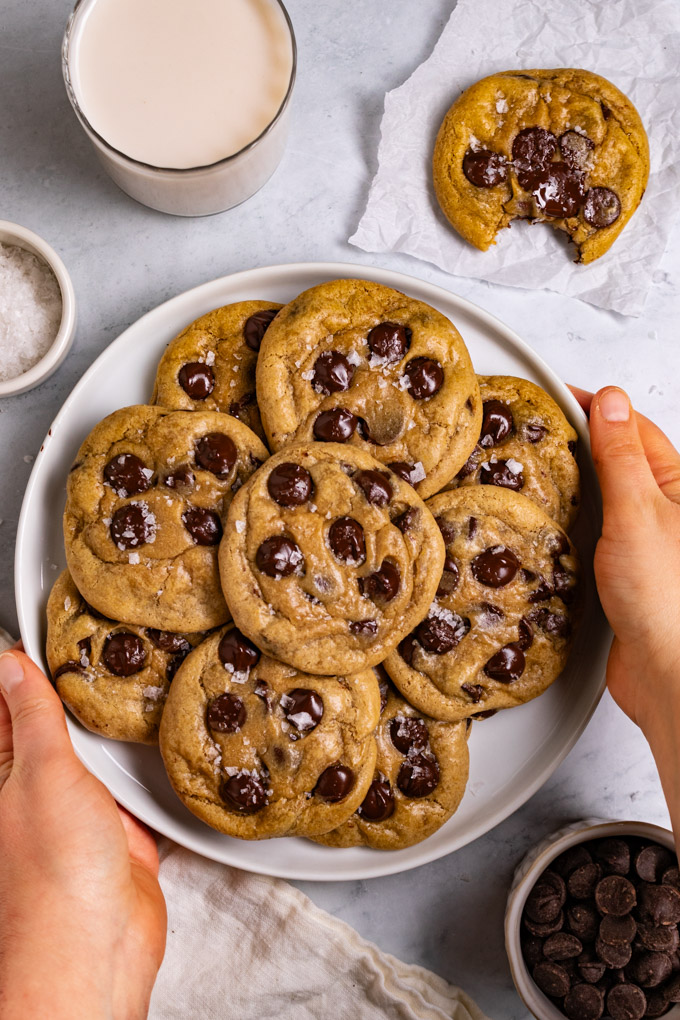
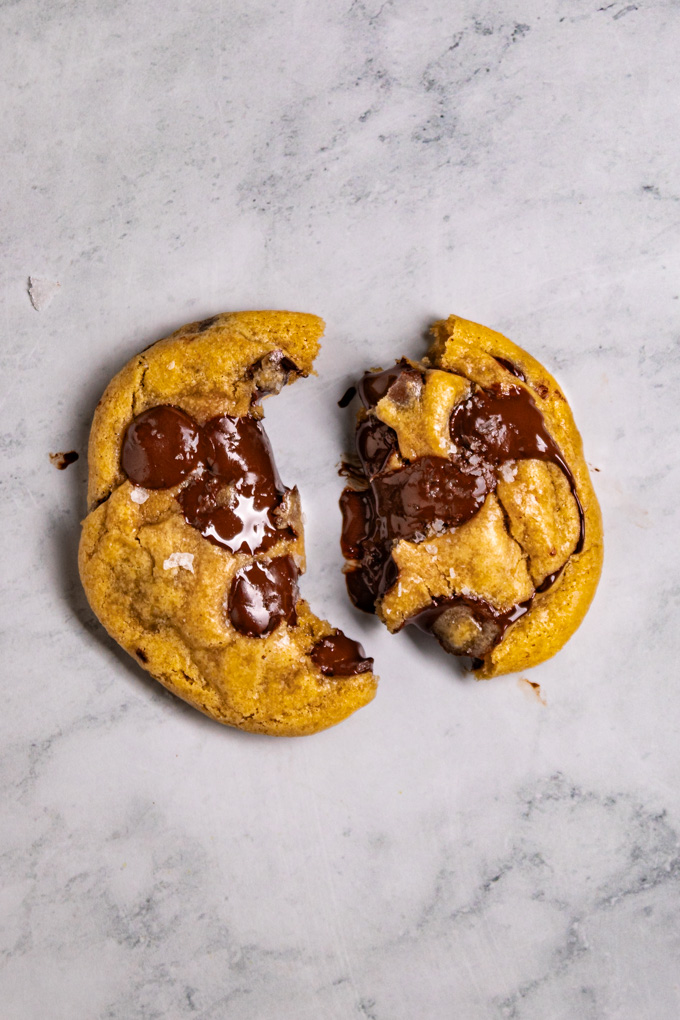
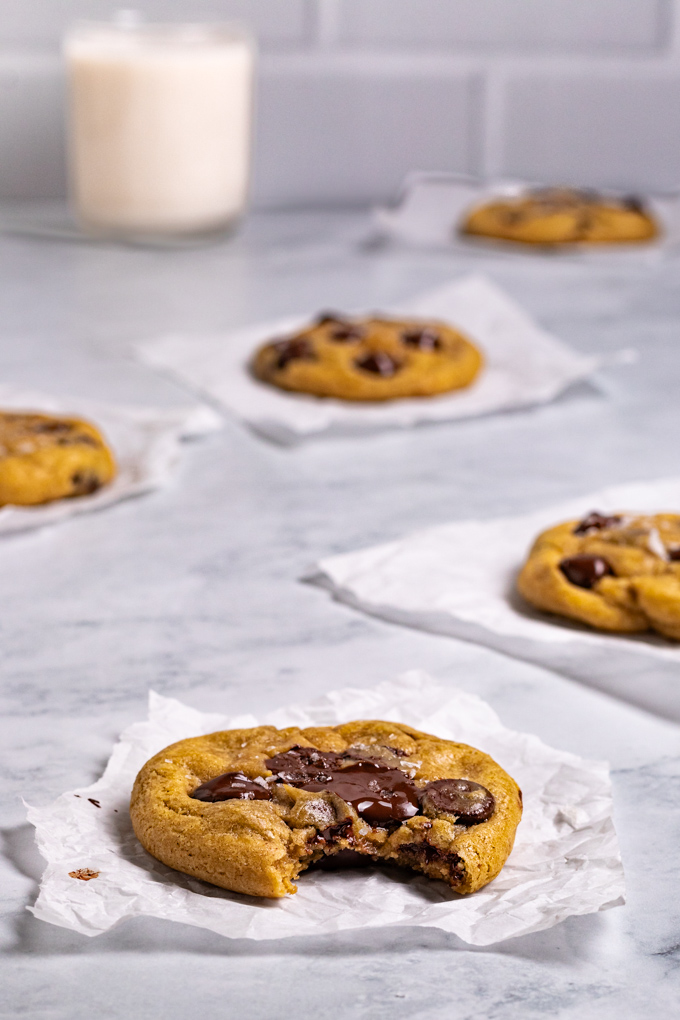
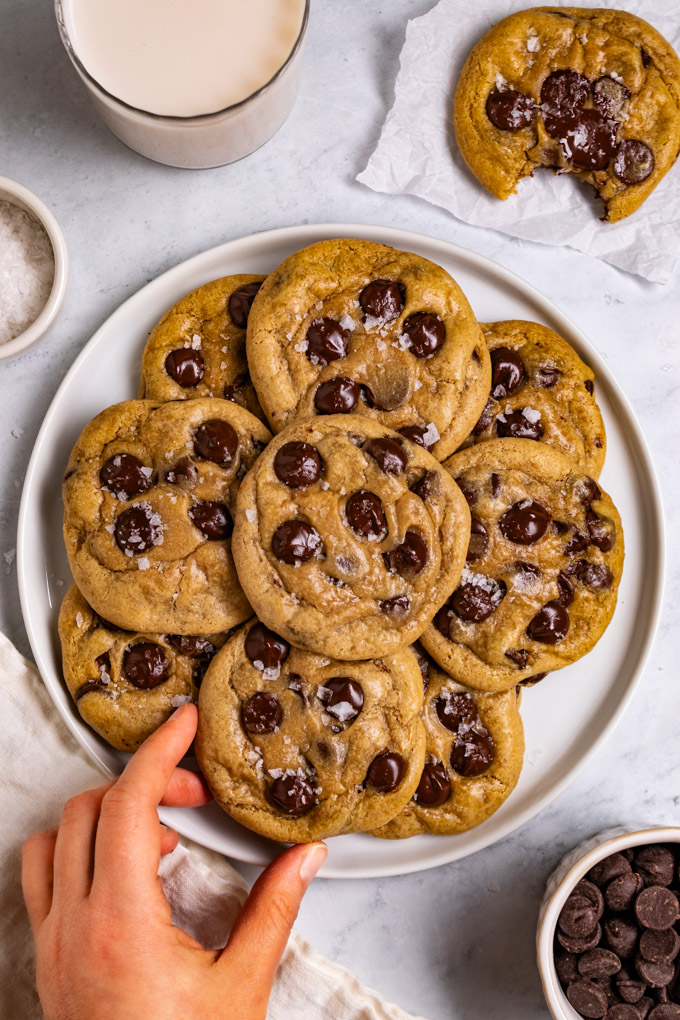
They are buttery, soft, and chewy in the center with a nice crispy edge, and they are loaded with chocolate chips. They are so good while they are slightly warm, but also a delight when they are eaten at room temperature.
These cookies are now your new go-to gluten free chocolate chip cookies! They’re easy, reliable, and they will always satisfy a cookie craving!
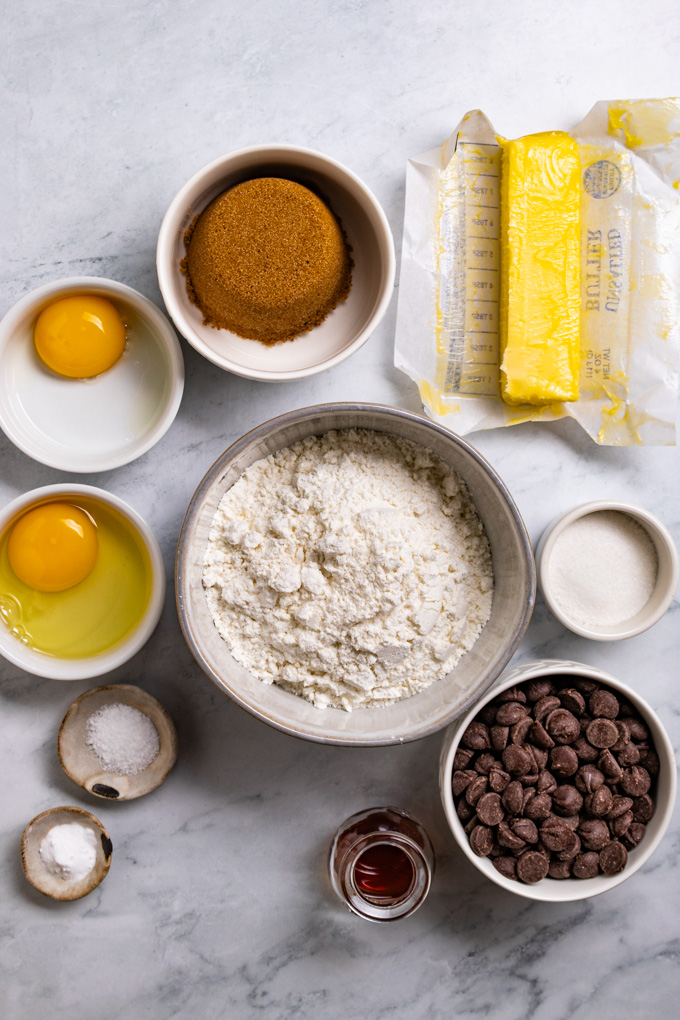
Ingredients for gluten free chocolate chip cookies
As always the full list of ingredients, along with the measurements are in the recipe card below.
- unsalted butter – this butter is melted down and turned into brown butter for that lovely hint of nutty flavor. I promise, it’s worth it!
- dark brown sugar – using dark brown sugar results in a chewier cookie. Plus the extra moisture from the molasses adds so much good flavor. FYI all brown sugar is is granulated sugar, and molasses. Did you know?
- granulated sugar – a little granulated sugar adds some sweetness without adding extra moisture. The combo of the two sugars work really well together.
- kosher salt – to balance out the sweetness, and bring out the flavors
- whole egg – for binding, lift, and texture.
- egg yolk – the other secret to a chewy cookie is to use an extra egg yolk. By eliminating the egg white – which has water in it – you are adding extra richness, and chewy texture from an egg yolk.
- vanilla extract – what is a cookie without the lovely taste of vanilla? We add quite a bit, because more is more when it comes to vanilla!
- all-purpose gluten free flour blend – I wanted to make this cookie easy to make by using a simple, already-put-together, flour blend. I tested this recipe using a few of my go-to gluten free flour blends, and I share my favorites in the notes of the recipe card below.
- baking soda – baking soda is our leavening agent. It provides just the right amount of lift, while still keeping the cookie chewy, instead of cakey.
- chocolate chips – the star of the show! My favorite is bittersweet chocolate chips (60% cocoa), but feel free to use semi-sweet, or milk chocolate – or a mix, if you prefer.
- flaky finishing salt (optional) – I can’t resist adding a sprinkle of flaky sea salt on top of the cookies. I live for that salty sweet combo. Feel free to leave it off if you’re not a fan.
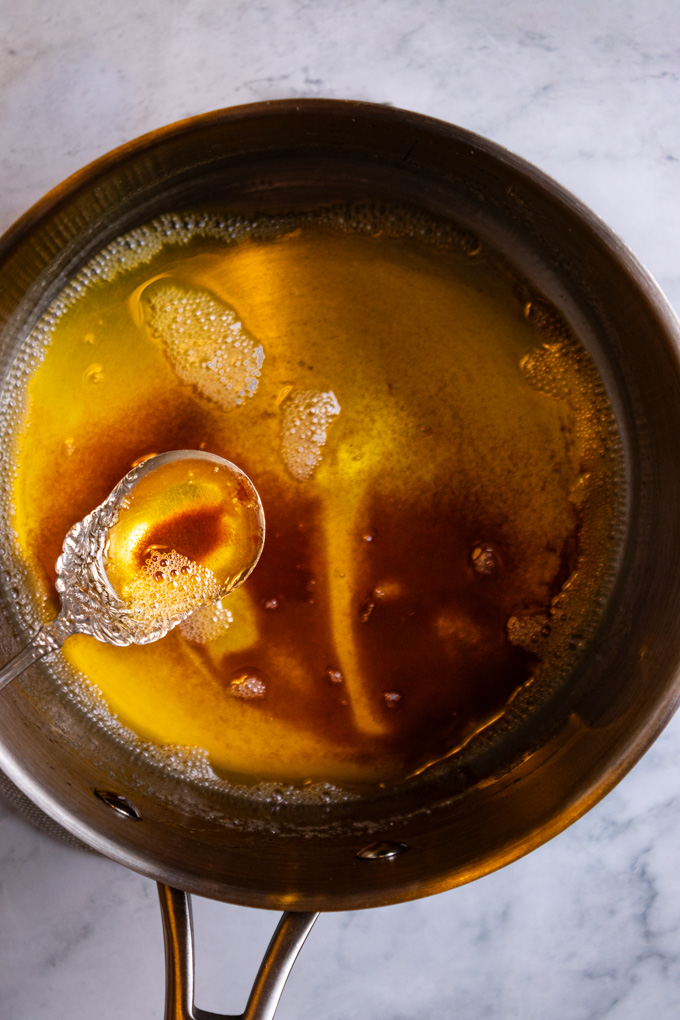
What is browned butter?
Browned butter is when the milk solids in the butter have been cooked so that they are browned. The result is a butter that has a nutty, toasty, almost caramel-y flavor to it.
It’s taking delicious butter to the next level!
Why use browned butter in gluten free chocolate chip cookies?
To add extra nutty, toasty, caramel-y flavor to the final cookie. It’s seriously so good.
Brown butter cookies totally live up to the hype!
Besides, to cerate the ultimate chewy cookie, using melted butter, instead of softened butter, is ideal. If you’re going to melt the butter anyways, why not brown it?!?!
Using softened butter vs using melted butter in cookies:
Softened butter in cookies helps to create air bubbles that expand in the oven resulting in a cakier cookie. This is great, for certain types of cookies.
Melted butter on the other hand, will make the cookies more dense, and chewy with crispy edges. This, to me, is the ideal chocolate chip cookie. Anyone else agree?!
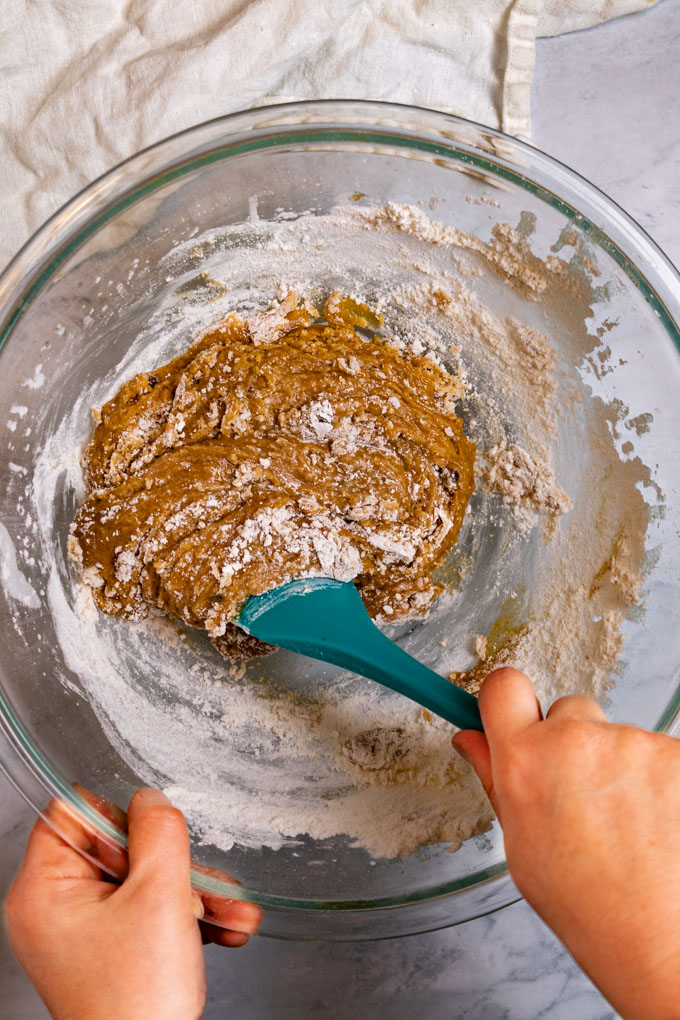
What makes these chocolate chip cookies gluten free?
Using an all-purpose gluten free flour blend is all it takes to make these cookies gluten free!
I tested this recipe using both Bob’s Red Mill gluten free 1 to 1 baking flour, and Cup4Cup multipurpose gluten free flour. While both flours created a really great cookie, Cup4Cup is the one I recommend the most.
Cup4cup gluten free flour created a lovely chewy cookie that was smooth in texture – you cannot tell that the cookie is gluten free at all. Plus, they just looked a little nicer.
Bob’s Red Mill gluten free 1 to 1 baking flour was also really good, but the cookie had a slightly grainy texture to it, and was a little bit more cakey in texture.
While, I wouldn’t steer you away from using Bob’s Red Mill flour for this recipe if it’s what you have on hand, but for the BEST gluten free chocolate chip cookie, I do recommend Cup4Cup.
Either journey you choose, you will have a delicious, satisfying cookie.
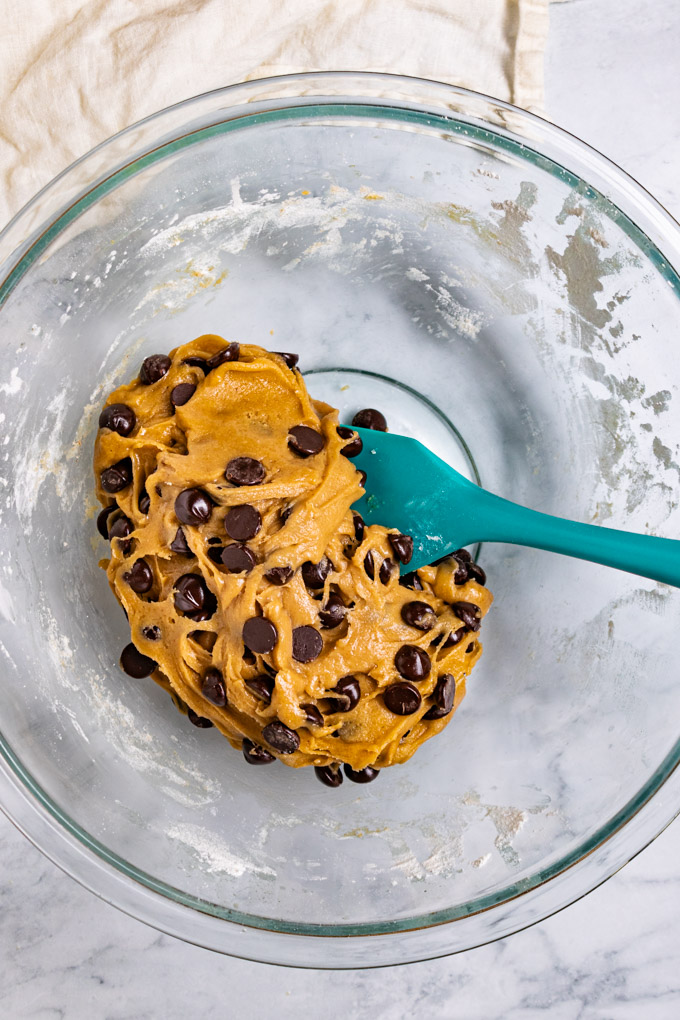
Can you tell that these gluten free chocolate chip cookies are gluten free?
Not at all!
I can say this confidently as someone who doesn’t need to eat gluten free. I know what the real deal tastes like, and how to compare it to the gluten free version.
What kind of chocolate chips can I use for these gluten free chocolate chip cookies?
Honestly, any kind you like.
I like using bittersweet/dark chocolate chocolate chips that has 60% cocoa in it.
Feel free to use semi-sweet, or milk chocolate chocolate chips if that’s what you love.
You can even chop up a baking chocolate bar if you want. I never got around to testing the cookies with this, but I know it can’t be a bad thing.
Why chilling the gluten free chocolate chip cookie dough is essential, before baking:
The only semi-annoying part about this cookie recipe, is that you have to chill the cookie dough for at least 2 hours before baking it. But trust me, it’s worth it. I tested the cookies without chilling the dough and there was a huge difference.
Reasons why chilling the cookie dough is necessary
- too sticky – the cookie dough is too sticky to work with right after mixing up the dough.
- the flour gets fully hydrated – by chilling the cookie dough, the flour gets fully hydrated, resulting in better texture.
- the flavors develop – the flavors are allowed to fully develop as the dough chills.
- the cookies don’t spread too much – when the ingredients in the dough is chilled it causes the cookies to spread slower when in the oven, resulting in a thicker, chewier cookie.
Can I freeze the cookie dough?
YES!
You can absolutely freeze the cookie dough if you either don’t want to bake all of the cookie dough right away, or if you just want to have a batch waiting in the freezer so that you can bake cookies at a moment’s notice. Highly recommend!
I have included directions on how to freeze the cookie dough in the notes of the recipe card below!
Equipment & Ingredients I used to make this recipe
- Cup4Cup multipurpose gluten free flour blend – this is the gluten free flour I recommend for the best results for these cookies.
- Bob’s red mill gluten free 1 to 1 baking flour – This is my second favorite flour I used to make this cookie recipe. Both were very good, but cup4cup was a little better in texture.
- flaky finishing salt – Maldon is my go-to finishing salt for having that extra hit of salty sprinkled on top for that balanced flavor. This salt is ideal for finishing, because the crystals are chunky, and nice and soft.
- 2 large rimmed baking sheet pans – I will always be in love with USA pans!
- parchment paper sheets – having pre-cut parchment paper is such a time saver!
- medium cookie scoop – A spring-loaded cookie scoop helps you to easily measure out even amounts of dough.
- cookie spatula – this is great for evenly pressing the cookies down slightly before baking. They’re also nice for removing the cookies from the pan, after baking, and cooling.
Reasons you will fall in love with these gluten free chocolate chip cookies
- They’re delicious – chewy, buttery cookies, studded with chocolate chips.
- They’re easy to make – thanks, gluten free flour blend!
- They only require 10 ingredients.
- They’re made in 1 bowl – no mixers required.
- They have brown butter in them to make them extra special!
- They don’t taste gluten free at all!
- You can freeze the cookie dough! Hello, fresh baked cookies at a moment’s notice!
- They’re a classic cookie, and a favorite dessert among many!
More cookie recipes
- gluten free sugar cookies (cut outs)
- strawberry chocolate chip cookies (gluten free)
- gluten free thin mints
- pumpkin snickerdoodle cookies (gluten free)
- healthy chocolate oatmeal cookies (flourless)
- crunchy no bake chocolate cookies
- coconut macaroons (sweetened with honey)
Christmas cookie recipes to try
- chewy gluten free molasses cookies
- three Christmas cookies, from one simple dough
- pecan pie cookies (without corn syrup)
- peanut butter blossom cookies (gluten free)
- thumbprint cookies (gluten free)
Leave a comment
If you made this recipe, please leave a comment below, along with a star rating. This helps my recipes to be seen by more people. Thanks, friends!
Print
Gluten Free Chocolate Chip Cookies (with Brown Butter)
- Prep Time: 15 mins
- Chill time: 2 hours
- Cook Time: 17 mins
- Total Time: 2 hours 32 minutes
- Yield: 12 to 13 1x
- Category: dessert, baking, cookies, chocolate
- Method: baking
- Cuisine: gluten free, vegetarian
- Diet: Gluten Free
Description
These cookies are the best! They are chewy, buttery, and bursting with chocolate chips. That browned butter adds so much flavor. Best part, you’ll never be able to tell that they’re gluten free!
Ingredients
Wet Ingredients
- 1/2 cup (4 ounces) cup unsalted butter (1 stick)
- 1/2 cup dark brown sugar
- 2 tablespoons granulated sugar
- 1/2 teaspoon kosher salt – I use Morton – (If using table salt reduce to 1/4 teaspoon)
- 1 large whole egg
- 1 egg yolk
- 1 tablespoon pure vanilla extract
Dry Ingredients
- 1 1/2 cups all purpose gluten free flour blend (see notes on brand suggestions)
- 1/4 teaspoon baking soda
- 1 cup chocolate chips (I like using bittersweet – 60% cocoa – but feel free to use your favorite)
Optional Topping
- Flaky finishing salt – I use Maldon
Instructions
- Brown the butter – Add the butter to a medium sauce pan (a light colored pan is best to be able to see when the butter is browned), turn the heat on to medium heat to get the butter melted. Once the butter is melted, turn the heat to medium-low, and stir the butter constantly. If the butter sputters at any point, then reduce the heat. You want the butter to cook until the milk solids, and the liquid of the butter begins to look golden brown, and the butter begins to smell nutty, or toasted – remove the pan from the heat immediately and transfer the butter into a large mixing bowl – make sure to scrape out all the little browned bits. The process should take about 5 minutes. Note: if the milk solids look black then you have burnt the butter. They can look dark brown, but black is burnt – I recommend starting over.
- Cool the butter – Allow the butter to cool in the mixing bowl for 5 minutes.
- Mix in the wet ingredients – To the still warm, but slightly cooled brown butter, add the brown sugar, granulated sugar, and kosher salt – mix using a silicone spatula, until well combined. Then, stir in the whole egg until well combined, then stir in the egg yolk until well combined. Add the vanilla, and stir until well combined.
- Mix in the dry ingredients – Add the all purpose gluten free four blend, along with the baking soda. Mix until well combined, and a cohesive cookie dough has formed. Add the chocolate chips and stir until well combined.
- Chill – Cover, and chill the dough in the fridge for at least 2 hours – you can chill this dough in the fridge for up to 3 days, if you want. Note: don’t skip the chilling step, this allows the butter to solidify, and for the dough to not be super sticky. It also helps in hydrating the dough fully so that the cook is less grainy in texture – which is huge for a gluten free cookie.
- Prepare – 15 minutes before you plan to bake the cookies arrange your oven racks so that one is in the center, and one rack is closest to your heat source. pre-heat your oven to 350 degrees Fahrenheit. Line 2 large rimmed baking sheet pans with parchment paper – set aside. NOTE: if you chilled the dough for longer than 2 hours, you will need to let the dough sit out at room temp for 10 to 15 minutes before scooping the dough.
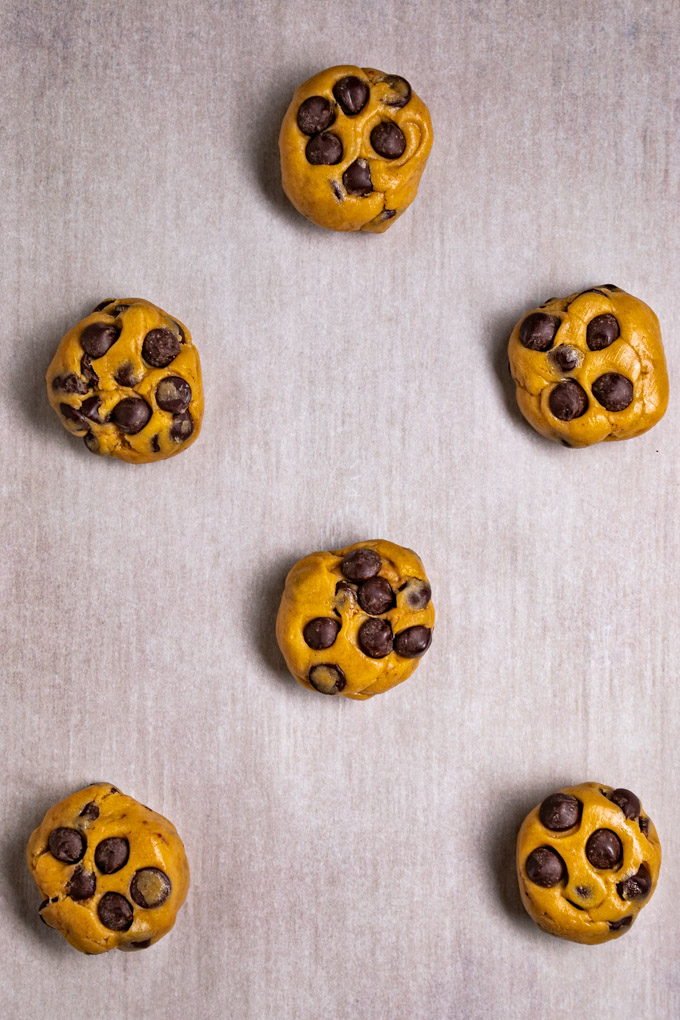
- Scoop the dough – Use a medium cookie to scoop to scoop a heaping ball of dough (you want about 2 tablespoons of dough), place the dough ball on the prepared baking pan. Repeat until you have worked through all the dough. Next, use your hands to roll the dough into balls, and divide the cookies between the two baking pans, making sure to leave 3 inches of space between each cookie – they do spread while baking.
- Flatten the dough balls – Use the back of a small cookie spatula to press the dough balls down slightly.
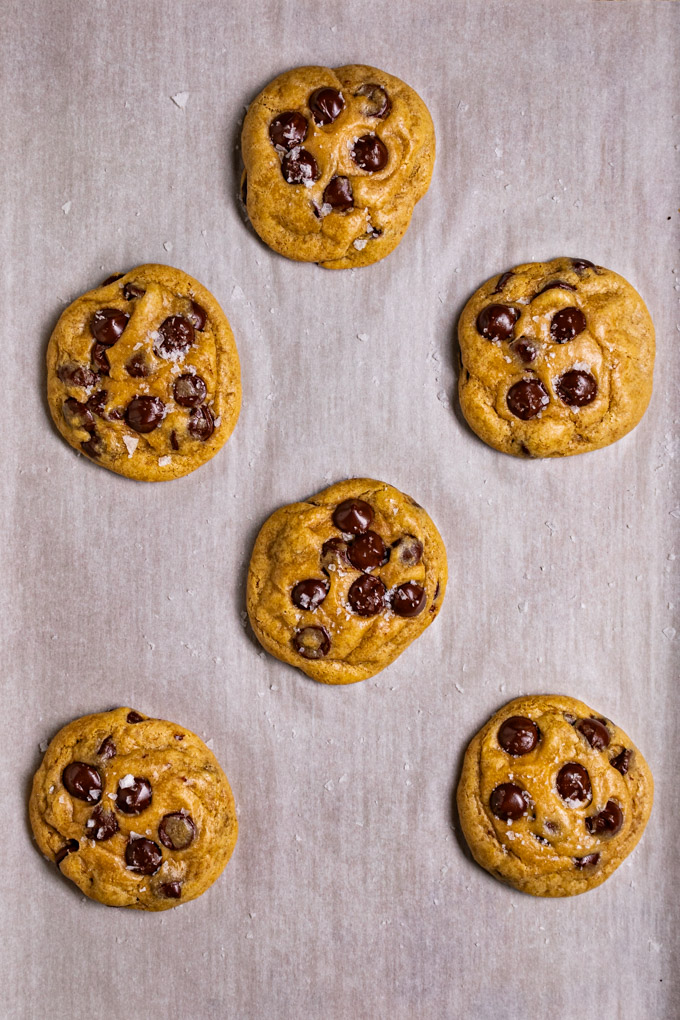
- Bake – bake the pan of cookies on the oven rack closest to the heat source for 10 to 12 minutes, or until the cookie is golden brown, the edges are set, and the center is still gooey/raw looking (especially if you want a soft, center). Note: I recommend baking one pan of cookies at a time for the best results. If baking both trays at the same time, place one tray in the center of the oven, and the other closest to the heat source. Make sure to swap the pans half way through baking time.
- Cool – Place the pan on a cooling rack and allow the cookies to cool for 15 minutes before touching, as they are still very delicate at this point.
- Sprinkle with finishing salt – if using, sprinkle the cookies with flaky sea salt, as they are cooling.
- Enjoy – once the cookies have cooled for 15 minutes you can enjoy them while they are still warm – so good! Or, you can allow them to cool completely before eating as well – also really good!
- For storage – Allow the cookies to cool completely, making sure the chocolate chips have re-solidified. Store the cookies in an airtight container at room temperature. They will keep for 5 days, but are at their best when eaten within 1 to 2 days of baking them.
Notes
Gluten free flour blend – Make sure your gluten free flour blend that has xanthan gum in it. I highly recommend cup4cup for this recipe. I had the best results using cup4cup – both in texture, and in how the cookie looked. I also tested this recipe using bob’s red mill gluten free 1 to 1 baking flour – this flour blend also worked great, and was delicious, but did yield a slightly grainy texture in the cookie. Overall, we preferred using the cup4cup.
Chocolate chips – you can replace the chocolate chips with a chopped chocolate bar, for a slightly different result. I never got around to testing the cookies this way, but I bet it is another delicious option.
To freeze the cookie dough – Portion out the cookie dough as instructed above, flatten out the cookie dough also as instructed above. Place them on a parchment lined baking pan so the dough isn’t touching. Place the pan in the freezer and freeze until solid. Once solid you can transfer the dough balls to a storage bag and keep in the freezer for up to 6 months. When ready to bake, place on a cookie sheet (you can even just pull out 1 to 2 cookies, if you want), and bake as instructed above. You may need to add an extra 2 to 6 minutes of baking time, just keep an eye on them.



Leave a Reply