This post may contain affiliate links. If you buy something through one of these links, we may earn an affiliate commission - at no extra cost to you.
Hello! GLUTEN FREE LEMON BARS!!!
I LOVE YOU!!!!!
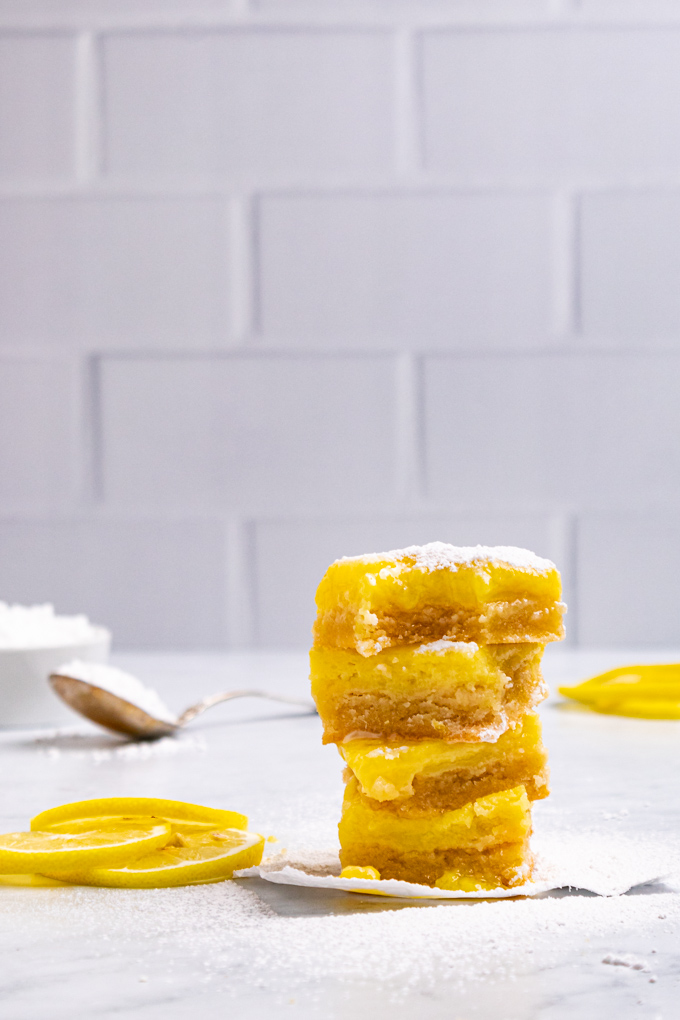
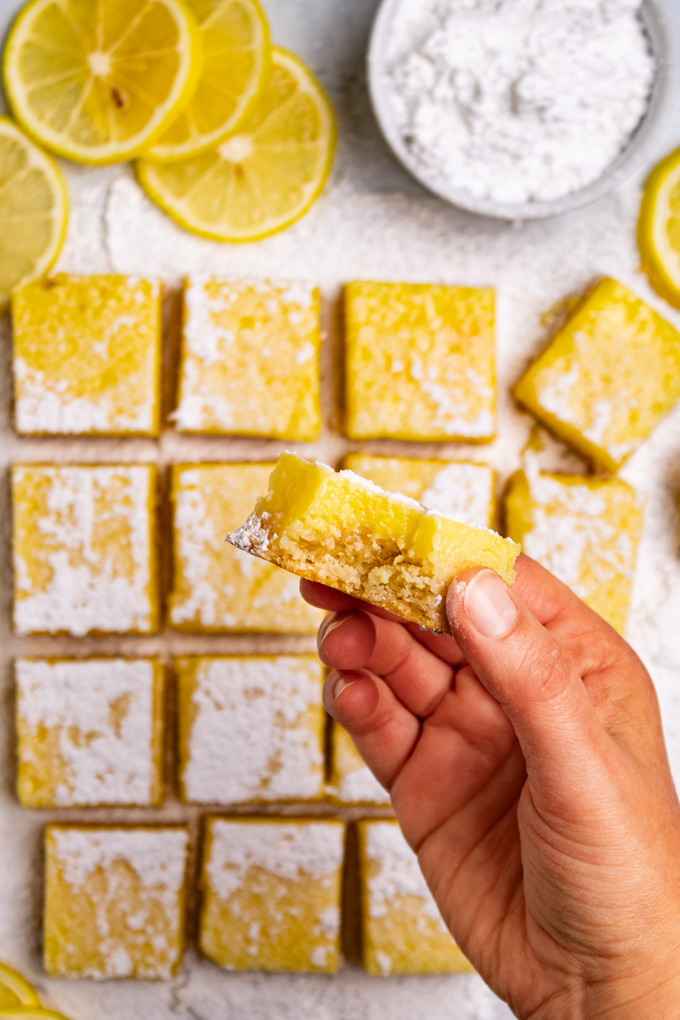
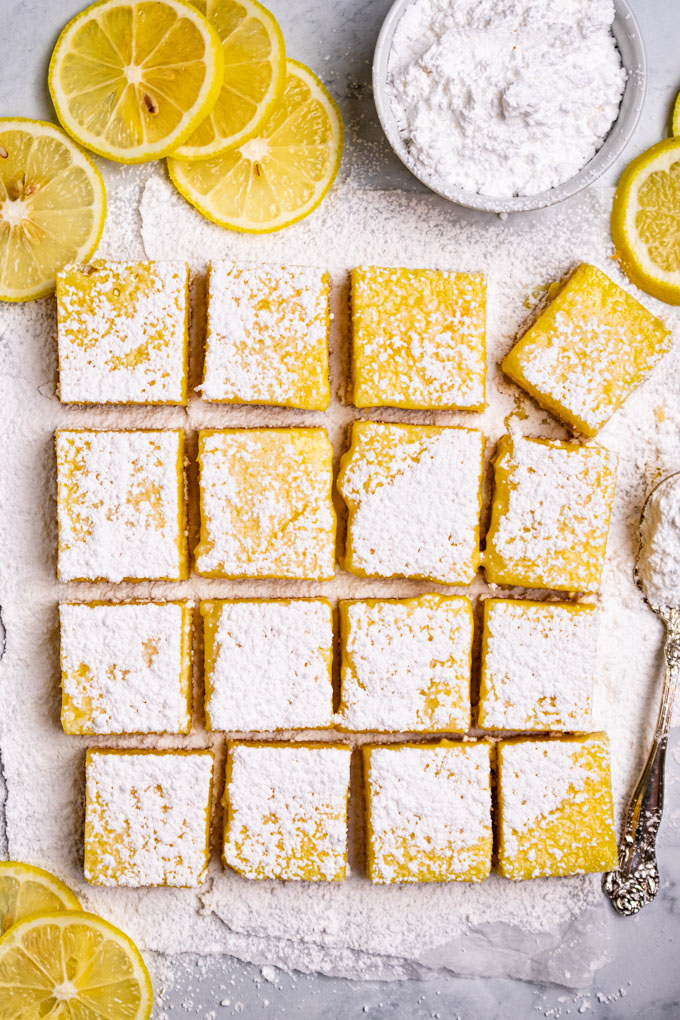
Gluten free lemon bars are bright, sunny, perfectly balanced in tartness, and in sweetness, with a lovely soft crust. They are the ultimate dessert for winter, spring, or summer!
I honestly can’t think of a more classic way to showcase lemons.
Maybe a lemon meringue pie, but other than that, lemon bars really takes the cake! What’s great about lemon desserts, I think, is that they are meant for many seasons. During the summer, they are refreshing. During the winter, they are a sunny, vibrant uplifting treat. And, during the spring they are a premonition into brighter days to come.
Even though I am sharing this recipe for gluten free lemon bars during August, I know they would also be perfect for Christmas, Thanksgiving, or Easter gatherings. As well as summertime pot lucks, baby showers, wedding showers, Mother’s Day….and really any occasion you can think of!
The best part: they are gluten free, so they’re great for sharing. And, I promise, no one will be able to tell that they’re gluten free. Not one bit.
Gluten free lemon bars are easy to make. They take just over an hour of hands-on time to make. They do need to chill in the fridge – after they’re cooled – for 4 to 8 hours (or longer), before serving. Which means, they are the perfect make-ahead-dessert! They’re well balanced between tart and sweet, and they are bursting with zingy lemon flavor, with a soft, buttery crust.
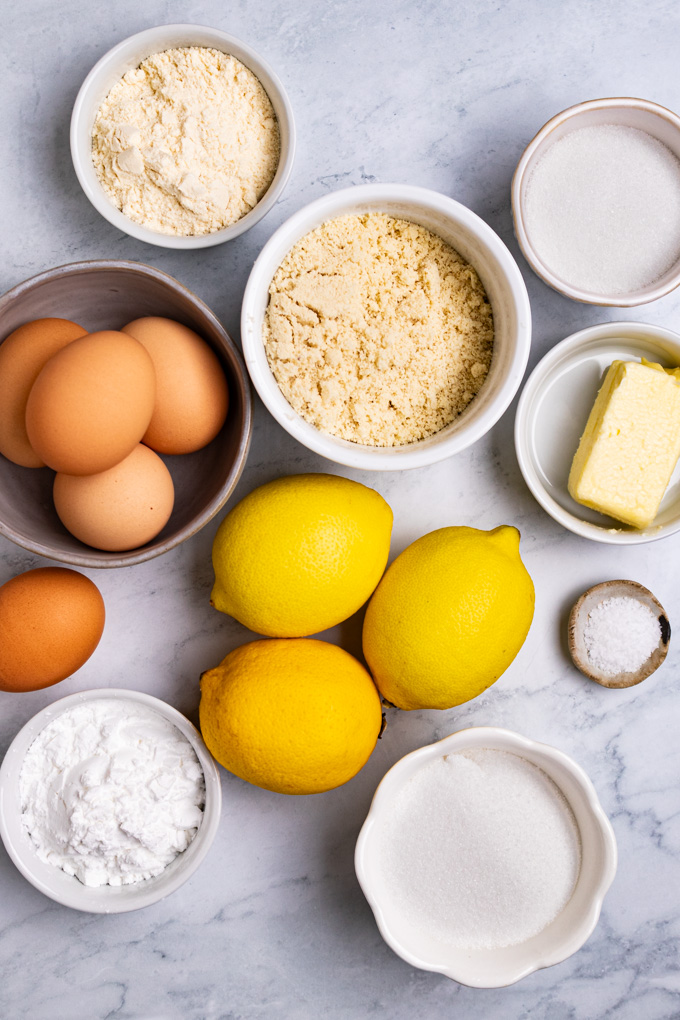
Ingredients for gluten free lemon bars
As always, the list of ingredients, along with measurements are in the recipe card below. Be sure to check it out!
- unsalted butter – for a buttery crust that you will love.
- granulated sugar – to sweeten both the crust, and the lemon filling.
- kosher salt – to help bring out the flavors.
- eggs – an egg white goes into the crust to help bind it and provide structure. While the yolk, and some whole eggs go into the lemon, custard filling.
- blanched almond flour – to provide a sweet, crumbly texture to the crust.
- tapioca flour/starch – to help bind, and add structure to the crust, while keeping it soft.
- coconut flour – to help absorb the extra liquid in the crust. Plus, it adds great flavor.
- lemon zest – fresh lemon zest really helps to amp up the lemony flavor. Seriously, don’t skip.
- juice of lemons – fresh squeezed lemon juice only, please. You just aren’t going to get as good of a flavor if you use bottled lemon juice.
- powdered sugar (optional) – It’s traditional to dust lemon bars with powdered sugar before serving it – it looks pretty, and adds an extra bit of sweetness. But, I personally prefer my lemon bars without powdered sugar, so it is optional.
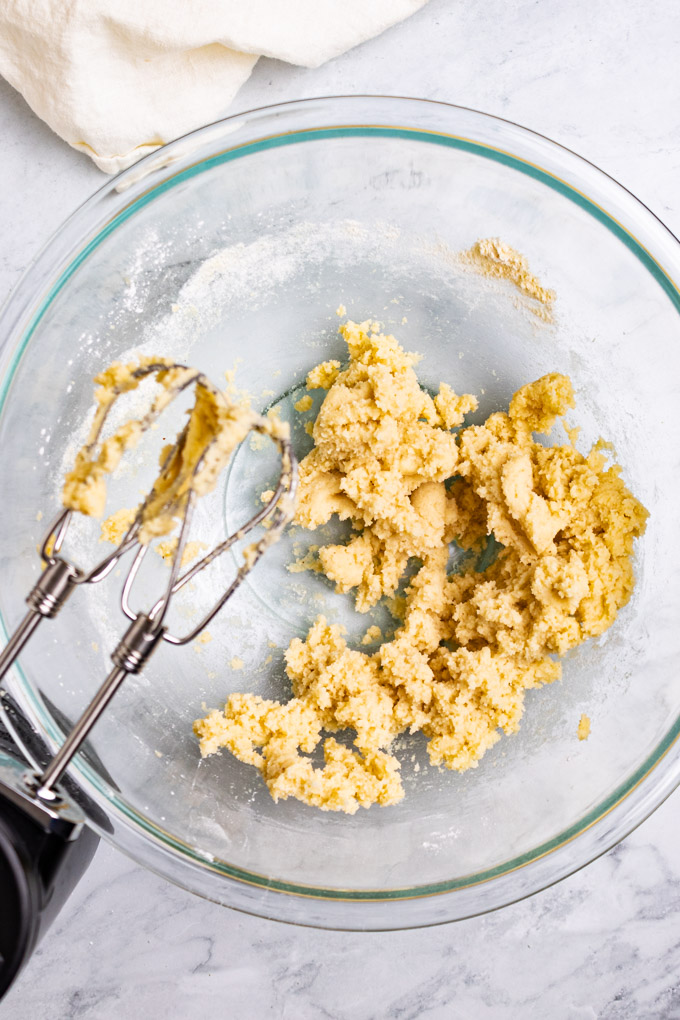
How to make gluten free lemon bars
A reminder that detailed directions are written in the recipe box below. This is just a preview, so be sure to check it out.
- Prepare – prepare your baking dish and preheat the oven.
- Make the crust– It’s easy to make, all you need is a mixing bowl, and a hand mixer.
- Press the crust into the baking dish
- Bake the crust
- Make the lemon filling – make the lemon topping while the crust is baking.
- Add the lemon filling to the crust – while the crust is fresh from the oven
- Bake the lemon bars with the lemon filling
- Cool – allow the lemon bars to cool completely.
- Chill – serving lemon bars chilled is a must.
- Cut the lemon bars
- Serve the lemon bars! YUM!
Are lemon bars gluten free?
No. Most lemon bars aren’t gluten free.
There is all purpose flour in the gluten crust, and sometimes in the lemon filling itself.
How are these lemon bars gluten free?
This lemon bar recipe is gluten free!
They are made gluten free by using a combination of almond flour, tapioca starch, and coconut flour for the crust. All three of these flours are naturally gluten free, and grain free as well.
There is a little tapioca flour in the lemon filling as well to help thicken it up.
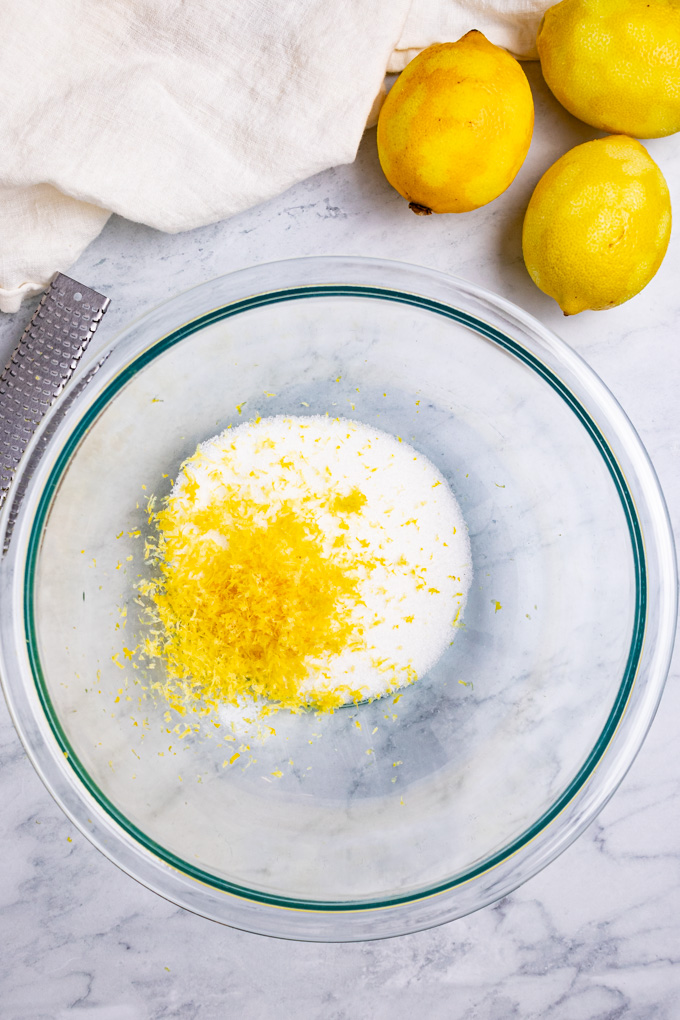
What is lemon bar filling made of?
There are various ways to make lemon bars. However, the most common ingredients in lemon bar filling is sugar, lemon zest, whole eggs, egg yolks, and lemon juice. Some recipes also contain flour to help thicken the lemon bar filling.
These gluten free lemon bars contain sugar, lemon zest, egg yolk, and whole eggs, lemon juice, and a small amount of tapioca starch.
Simple.
Why you should use fresh lemons when making lemon bars?
Fresh lemons taste more fresh, and lemony, and delicious. Plain and simple!
You’re never going to get as good of a flavor from using a bottled lemon juice. And, that’s the truth.
Plus, you are making use of the lemon zest, which really adds a ton of flavor to the lemon bars. Without the zest the lemon bars are lacking in that lemony, zippy flavor.
It’s just not worth cutting the corners for this recipe. Trust me.
A note on refined sugar-free version of these gluten free lemon bars
In the notes of the recipe card, I share the option for how to make these bars refined-sugar free by using honey in the lemon filling, and coconut sugar in the crust. They were good, and they are an option if this is what you prefer….but here are my thoughts:
You know I prefer to bake with the more natural sweeteners whenever possible, but this recipe really is best with granulated sugar, for 3 reasons:
- the granulated sugar provides a better texture for the crust.
- the granulated sugar allows the lemon flavor to really shine. The honey kind of masks that bright lemon flavor a bit.
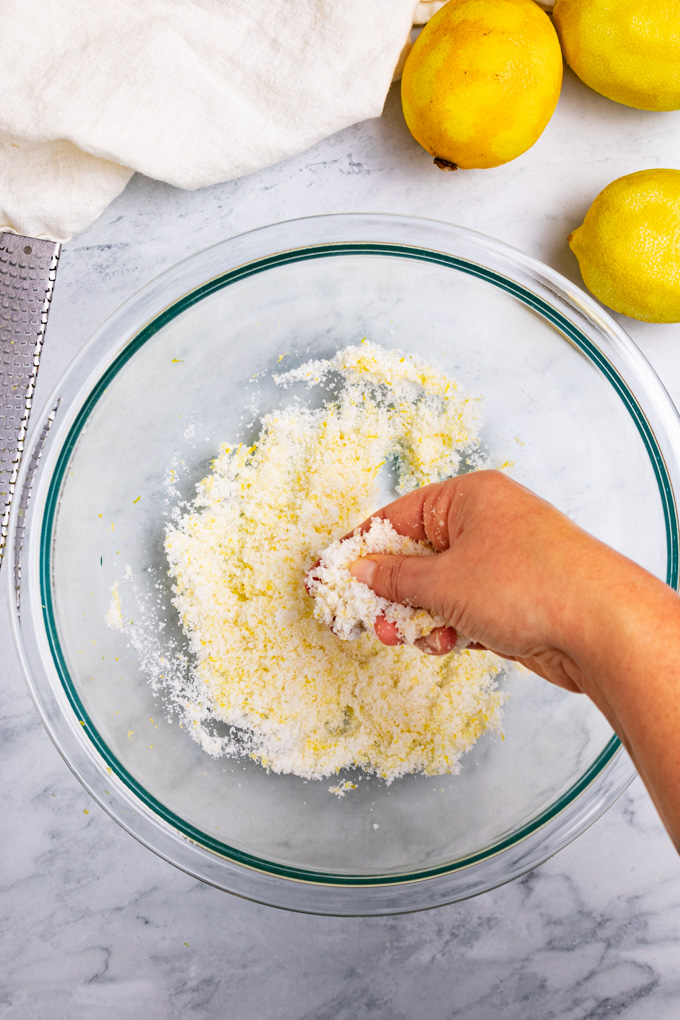
- lemon sugar: using the granulated sugar, you can massage the lemon zest in to the sugar. The crystals help to bring out the lemon oils living in the zest, making the lemon bars even more lemony in flavor than without this step. It makes a huge difference!
My point is: sometimes using natural sweeteners is great. Sometimes, there is no substitution for the texture, and pure sweet flavor that granulated sugar provides in baked goods.
And, sometimes, we just need a lemon bar to really be it’s best!
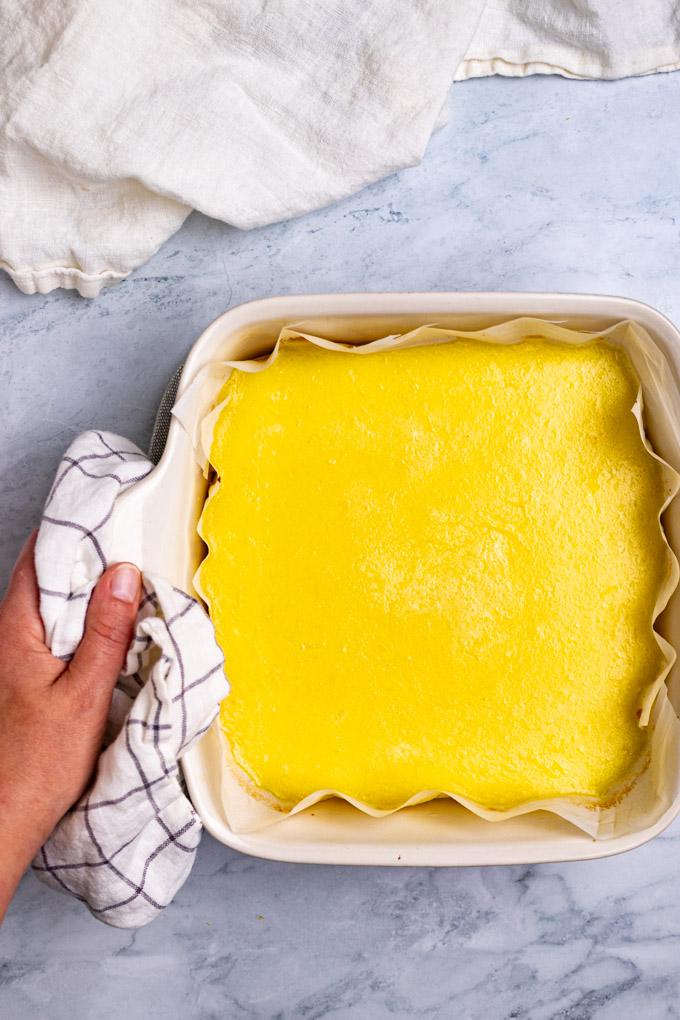
How to store gluten free lemon bars
Store the cut lemon bars in an air tight container, without stacking them. If you’re not concerned about how they will look, you can store another layer of lemon bars on top with parchment paper in between.
How long will the lemon bars keep?
Up to 5 days.
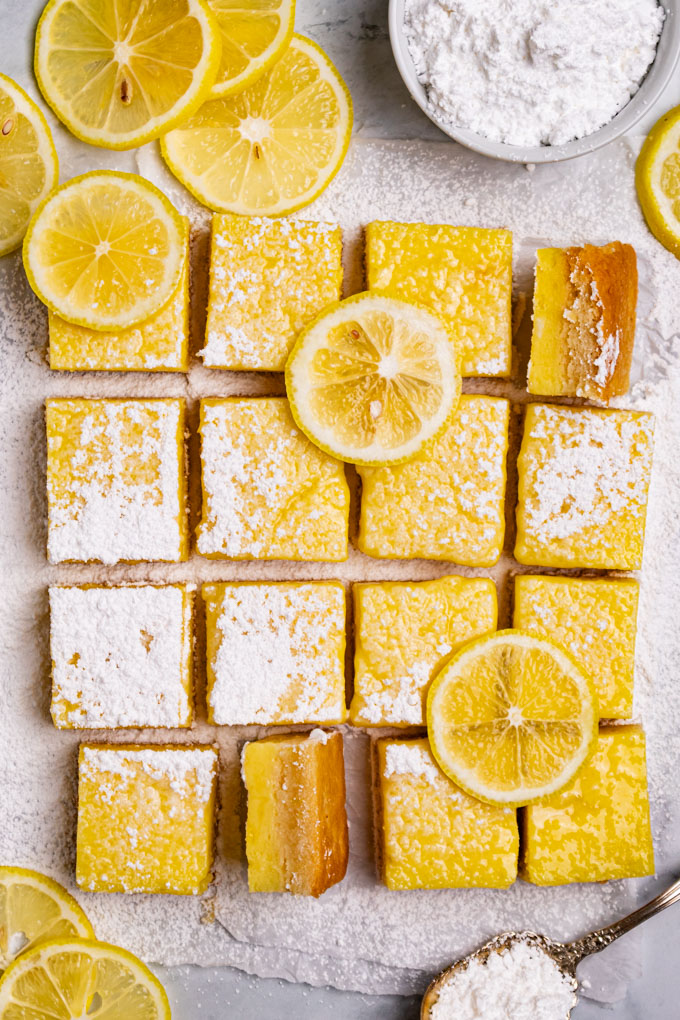
A note about powdered sugar on gluten free lemon bars
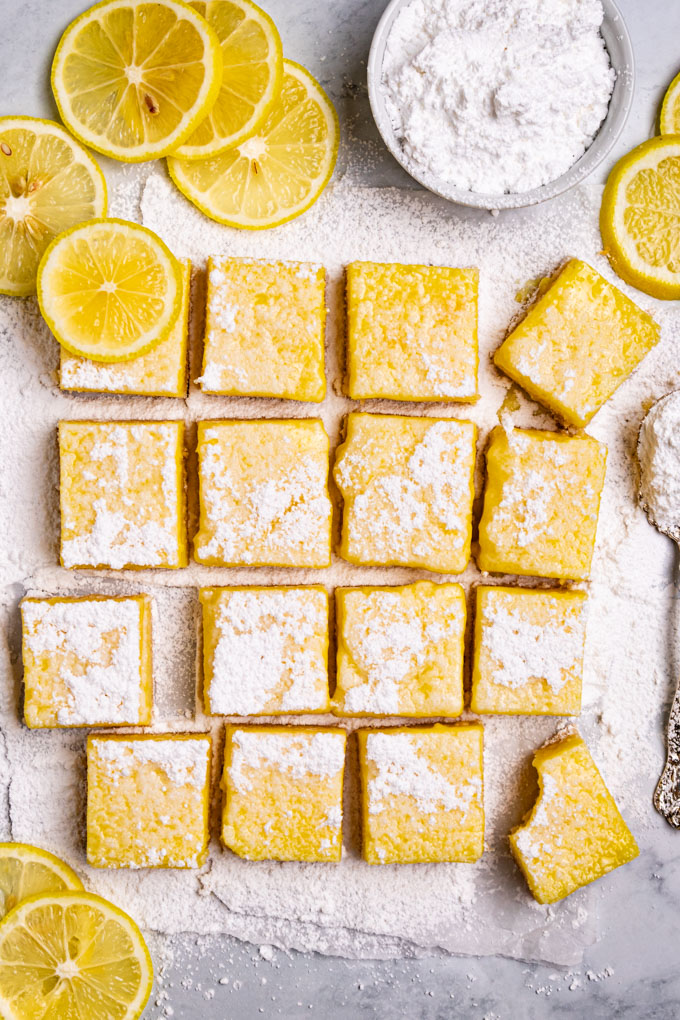
It is traditional to serve lemon bars with powdered sugar dusted on top of them. And, I agree, they look extra pretty with powdered sugar.
However, I personally don’t like adding the powdered sugar when I am eating them myself. Here’s why:
- The added sweetness takes away from the tartness of the lemon that I love. Plus, they are already perfectly sweet to begin with.
- The powdered sugar melts pretty quickly due to the wetness of the lemon bars. So, it only looks pretty for a few moments after dusting the lemon bars. Therefore, IMO, the powdered sugar is more of a hassle than it’s worth.
But, at the end of the day, these are your lemon bars, so you do you.
And, honestly, if I was serving these lemon bars at a dress-up party, I would probably dust them with powdered sugar so they will be as pretty as you are!!
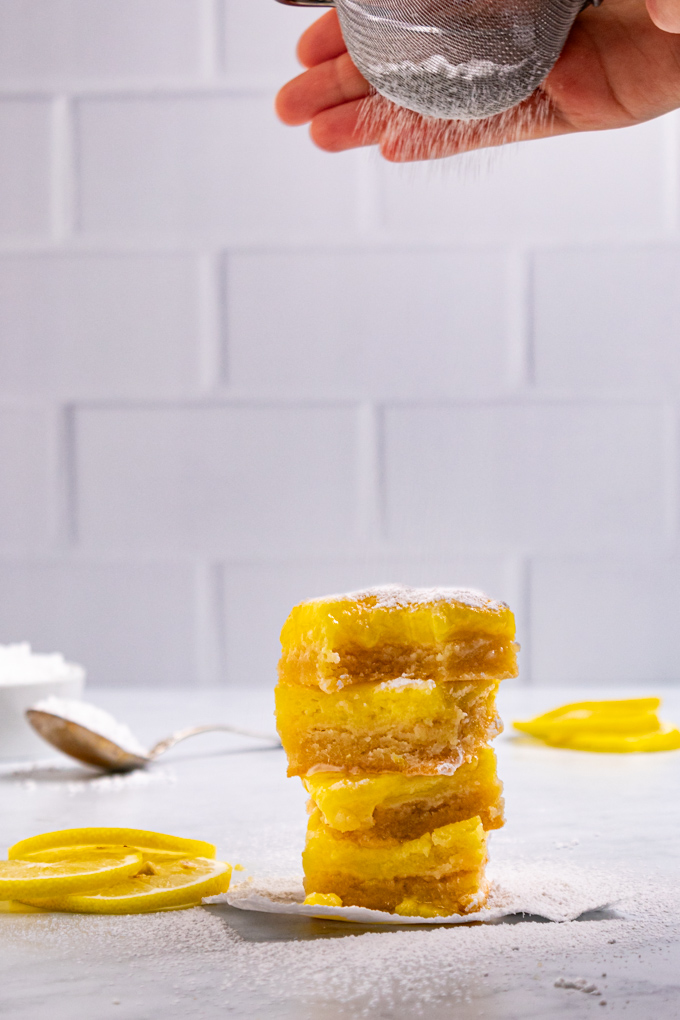
When to make/serve these gluten free lemon bars
- Winter: when you need something sunny to brighten your day.
- Serve them at Thanksgiving,
- or Christmas gatherings.
- Make them for a Christmas cookie exchange to switch things up.
- Spring: when you need something to remind you that brighter days are on their way.
- Mother’s day – gift them to that special mom in your life.
- Summer: when you want a refreshing, tart, lemon, treat.
- Bring them to summer potlucks.
- 4th of July,
- Labor Day
- Bring them to parties anytime of the year:
- baby showers
- bridal showers
- office parties
- graduations
- birthdays, etc.
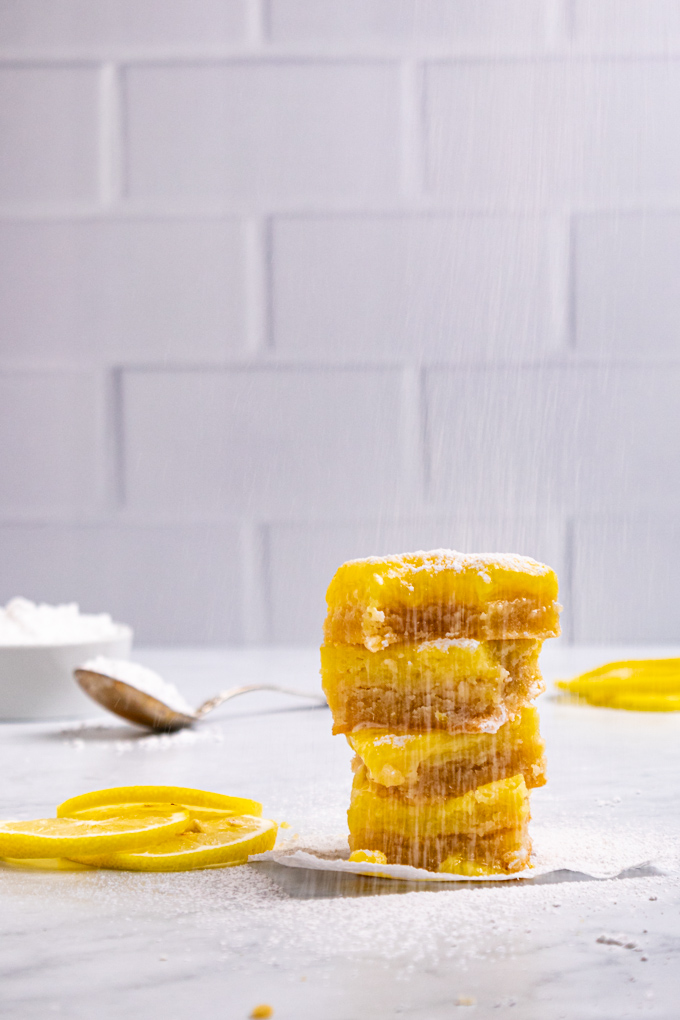
Equipment I used to make this recipe
- 8×8 ceramic baking dish – I recommend using a ceramic dish, such as this one, and not a metal one, for this recipe.
- parchment paper sheets – these parchment paper sheets make preparing your pan even easier.
- mixing bowl (s) – you will need two mixing bowls for this recipe.
- cordless hand mixer– I can’t praise this cordless hand mixer enough. LOVE not needing to plug it in!
- electric citrus juicer – I love how much lemon juice this electric juicer gets out of the lemons. It’s so fast, and easy too.
- (small) fine mesh siv – for straining out the pulp and seeds of the lemon juice. And, for sprinkling the powdered sugar on top later.
- cooling rack – allows air to circulate the hot lemon bars to help cool it down faster.
Reasons you will love these gluten free lemon bars
- They’re tart, sweet, lemony, and bright.
- gluten free – great for sharing in case anyone is allergic.
- easy to make – can be made ahead.
- the perfect desert for so many parties, and holidays – (see list above).
- They have that classic lemon bar taste we all know and crave!
More gluten free desserts for you to enjoy
- blueberry cake donuts with lemon glaze (baked)
- the best key lime pie (gluten free)
- strawberry chocolate chip cookies (gluten free)
- instant pot cheesecake with cherry topping
- lemon cheesecake cookie cups with berries
Leave a comment
Let me know how you liked the recipe, be sure to leave a comment below along with a star rating. This helps my recipes to be seen by more people, I appreciate it. Thanks!
Print
Gluten Free Lemon Bars
- Prep Time: 15 mins
- Chill Time: 4 to 8 hours
- Cook Time: 50 mins
- Total Time: 1 hour 5 mins
- Yield: 7 to 9 bars 1x
- Category: Dessert, baking, easy
- Method: mixing, bakign
- Cuisine: Gluten free, dairy free
- Diet: Gluten Free
Description
Gluten free lemon bars are the perfect balance of tart, and sweet. They have a soft, buttery crust with a thick, zingy lemon topping. They’re great for parties, or Holidays during the winter, spring, and summer.
Ingredients
Crust
- 1/4 cup unsalted butter, room temp (half of a stick)
- 1/3 cup granulated sugar (see notes)
- 1/4 teaspoon kosher salt (if using table salt, reduce to 1/8 teaspoon)
- 1 egg white, room temp (reserve the egg yolk)
- 1 cup blanched almond flour
- 1/4 cup tapioca flour/starch
- 1/4 cup coconut flour
Lemon Filling
- zest of 3 to 4 lemons ( about 1 tablespoon of zest)
- 1/2 cup granulated sugar (See notes for refined-sugar-free option)
- 1/4 teaspoon kosher salt (if using table salt, reduce to a pinch)
- 4 whole eggs, room temp
- 1 egg yolk (that was reserved from making the crust)
- 1/2 cup fresh squeezed lemon juice (about 2 to 3 lemons)
- 2 tablespoons tapioca flour/starch
Optional topping
- powdered sugar, for dusting over the lemon bars, if desired.
Instructions
- Prepare – 2 hours before you’re going to bake place your butter and eggs on the counter so they can come to room temperature. Line an 8×8 ceramic baking dish with parchment paper (sides included. See notes for a video tutorial). Arrange your oven racks to have one of the racks in the center of the oven, if not already. Preheat your oven to 350 degrees Fahrenheit.
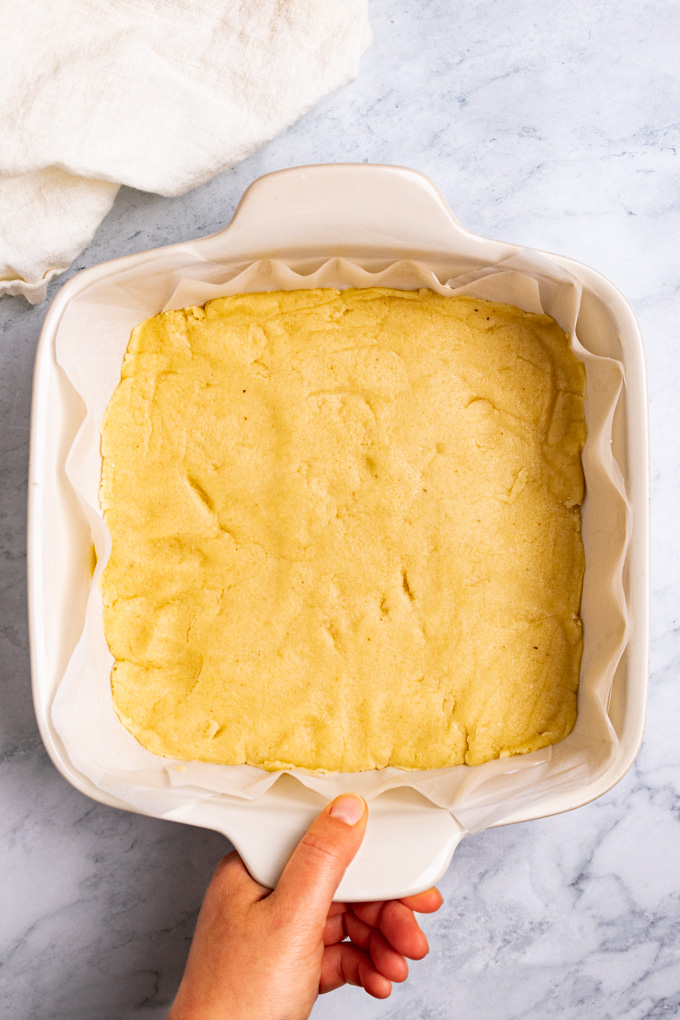
- Make the crust – Add the room temp butter, 1/3 cup granulated sugar, and 1/4 teaspoon kosher salt to a large mixing bowl. Use hand mixer to cream the sugar, butter, and salt together until it is fluffy. Add the egg white, and use the hand mixer to combine the ingredients together. Note: the egg white and butter will separate and look kind of gross, that’s okay, it will all come together once the flour is added. Next, add the flours to the bowl, the blanched almond flour, tapioca flour, and coconut flour – start the hand mixer on low, and then increase it to a higher speed as the flour is incorporated. Once the dough is mostly mixed, turn off the hand mixer, and use a spatula to make sure all the flour is incorporated. It should be a nice thick, dough that resembles a sugar cookie dough. NOTE: The dough shouldn’t be super sticky, but if it is, give it 5 minutes for the coconut flour to absorb any excess liquid.
- Press the crust into the baking dish – Transfer the dough into the parchment-lined-baking dish by adding chunks of the dough to the baking dish so that each area of the baking dish as some dough. Use your fingers, or a spatula to press the dough into the pan. Then, use the bottom of a drinking glass, or measuring cup, along with a small square of parchment paper to prevent sticking, to evenly press dough into the baking dish, making sure to get the corners, and edges nice and even too.
- Bake the crust – Bake the crust on the center rack of the oven for 25 to 30 minutes, or until the edges begin to turn golden brown, and the center is dry to the touch.
- Make the lemon filling – while the crust is baking, make the lemon filling. First, wash, and dry the beaters of your hand mixer, because they will be used again. Then, use a microplane to zest the lemons into a medium sized mixing bowl until you have about 1 tablespoon of lemon zest. Add the 1/2 cup of granulated sugar, and the 1/4 teaspoon kosher salt, to the bowl with the lemon zest and use your clean fingers to massage the lemon zest into the sugar until the sugar looks like the texture of wet sand, and has turned a pail yellow color. NOTE: don’t skip this step, it helps to release the oils in the lemon zest to create an extra delicious lemon bar. Trust me, it’s worth it. Then, add the 4 whole eggs, plus, the 1 egg yolk that was reserved from earlier – use your hand mixer to beat the eggs with the sugar until the sugar is fully dissolved, and no streaks show in the eggs. Set aside.
- Juice the lemons – Juice just over a 1/2 cup of lemon juice either using a handheld lemon lime juicer, or an electric citrus juicer (my preferred method for this recipe), to juice the lemons. Use a small fine mesh siv to strain out any pulp, or seeds from the juice. Be sure to measure the juice again after straining it to ensure you have a 1/2 cup of juice.
- Make the slurry – Add the 2 tablespoons of tapioca flour to a small bowl. Then, add 3 to 4 tablespoons of the lemon juice to the tapioca flour, use a fork to whisk the two together until there are no more lumps.
- Finish the lemon filling – Add the slurry mixture and the remaining lemon juice into the bowl with the eggs and sugar. Use your hand mixer to beat on low to combine really well to ensure there are no lumps from the tapioca flour. Set aside until the crust is done baking.
- Add the lemon filling to the crust – Once the crust is done baking (it should be golden brown on the edges, and firm to the touch in the center), remove the crust from the oven and reduce the oven temp to 325 degrees Fahrenheit. Carefully poor the lemon filling on top of the crust, being sure to scrape out the bowl.
- Bake the lemon bars with the lemon filling – Carefully transfer the lemon bars back to the oven and bake for 15 to 17 minutes, or until the edges are set, and the center is slightly jiggly when you give the pan a gently shake. If it needs a little more time, I suggest checking it every minute until it’s done.
- Cool – Once the lemon bars are done baking, allow them to cool on wire rack. It will take several hours for them to cool completely.
- Chill – Once the lemon bars are fully cooled, cover the pan with plastic wrap and transfer it to the fridge to chill for a minimum of 4 hours, but 8 hours, or more is best. The lemon bars not only taste best when chilled, but they hold their shape best when chilled too. So, this is a great make-ahead dessert.
- Cut the lemon bars – once the lemon bars are chilled, and you’re ready to serve them, carefully lift the bars out of the pan using the edges of the parchment paper, and place the bars on a cutting board. Use a sharp chef’s knife to cut the bars into even squares. TIP: If you want the bars to look extra nice then I recommend cutting off a thin edge around each edge of the bars to create and extra pretty looking edge (especially if the parchment paper made the bars kind of “wavy”). Another tip, is to wipe the knife off with a damp paper towel between each cut – this will give the lemon bars a super clean looking cut. This isn’t super necessary, but if you’re serving the lemon bars at a party or something, it’s a nice touch.
- Serve – Make sure to serve the lemon bars chilled, straight from the fridge, for the best texture. You can serve the lemon bars as is. Or, you can use a fine mesh siv to dust some powdered sugar over the top. This is traditional with lemon bars, however, I don’t find it to be necessary when I am just eating them myself. Keep in mind the powdered sugar will melt due to the moisture on the lemon bars, so you will want to do this step just before serving. Note: you can cut them up ahead of time an store them in an air tight container in the fridge until you are ready to serve.
Notes
Baking Dish I used – I used this ceramic 8×8 baking dish. When I tried to use an 8×8 metal baking dish, the lemon filling spread everywhere for some reason. I recommend using this baking dish, or a similar ceramic 8×8 baking dish.
Parchment paper video tutorial – These bars love to stick, so be sure to use parchment paper to line the bottom of, and sides of your baking pan. Here is a tuitional on an easy method – how to line a baking pan
refined sugar free option – To make this recipe refined-sugar-free, you can swap the granulated sugar in the crust for 1/3 cup coconut sugar. And, you can swap the granulated sugar in the lemon filling, for 1/2 cup honey. If using the honey, you will need to cook the bars for 16 to 20 minutes.
Note about refined sugar free option given above – Although the the option given above still made a very delicious lemon bar, we much preferred the recipe as I wrote it. The lemon bars using the granulated sugar have a much more bright, clean, zippy, lemon flavor to them with a tender, sugar-cookie-like crust. The refined sugar free version, was still very good, and worth making, just not our absolute favorite.
Dairy Free option – You could swap the butter for vegan butter.
How to store the lemon bars – Store the cut lemon bars in an air tight container, without stacking them. If you’re not concerned about how they will look, you can store another layer of lemon bars on top with parchment paper in between. They will keep for up to 5 days.






I’d never tried thickening a sauce with a mixture of coconut flour and corn starch before, but it worked like a charm! Thanks for the recipe!
That’s awesome. Glad to hear you enjoyed the recipe, Emily! 🙂