This post may contain affiliate links. If you buy something through one of these links, we may earn an affiliate commission - at no extra cost to you.
This post, on how to make sauerkraut, was previously published in 2019. It has been updated for a better user experience. Enjoy!
One of the things I have enjoyed the most on this recipe blog adventure, is learning how to make sauerkraut, along with other simple fermented foods – such as, my easy fermented salsa.
Aside from the fact that fermented foods often taste even better than their non-fermented counterparts – fermented foods are incredibly healthy, and are super fun to make. Essentially, you are allowing food lacto-ferment, which ultimately helps to preserve the food for longer periods of time.
It’s like a cool food science experiment that I wish we would have learned about in high school!
Sauerkraut was the very first fermented food that I learned how to make, and I haven’t been able to stop making it since.
This post for how to make sauerkraut has been a pretty popular one on my blog. Since it was last published in 2019, I knew it was time for a glow up. Better SEO (search engine optimization), new and improved photos, and answering questions that were asked in the comments – the works!
Making homemade sauerkraut is way easier than you may think.
It only requires 2 ingredients – cabbage, and kosher salt (caraway seeds are optional) – and, about 30 minutes of hands on time. Of course, you then have to allow the cabbage to ferment for about 3 to 14 days, depending on temperature in your atmosphere. But, trust me, it is well worth it.
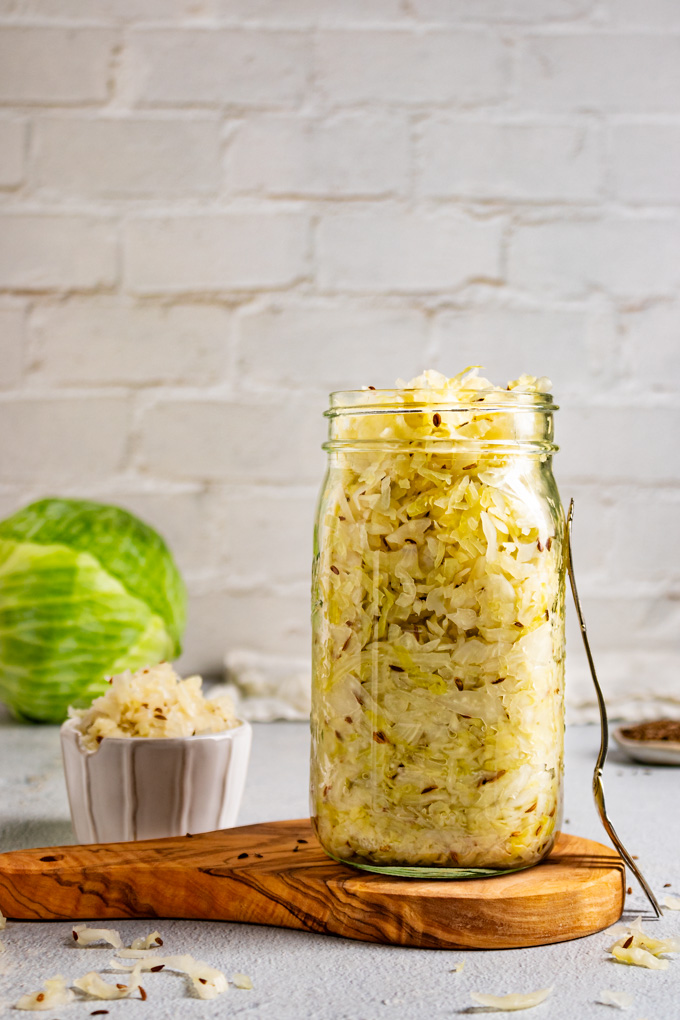
The sauerkraut is crunchy, tangy, with that hint of umami fermented funk. It is versatile: eat it straight from a bowl, pile it on top of a brat, add it to a sandwich, the possibilities are endless. The best part, is you are getting a dose of gut-friendly probiotics (more on that later), that you made yourself!!!!
Go YOU!!!!
What is sauerkraut?
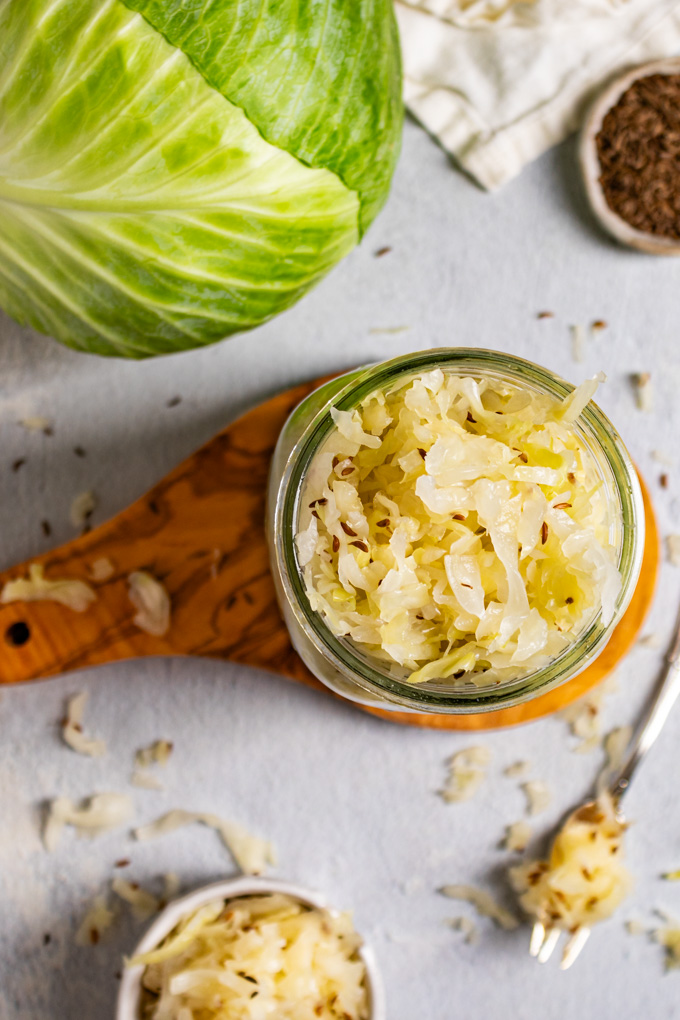
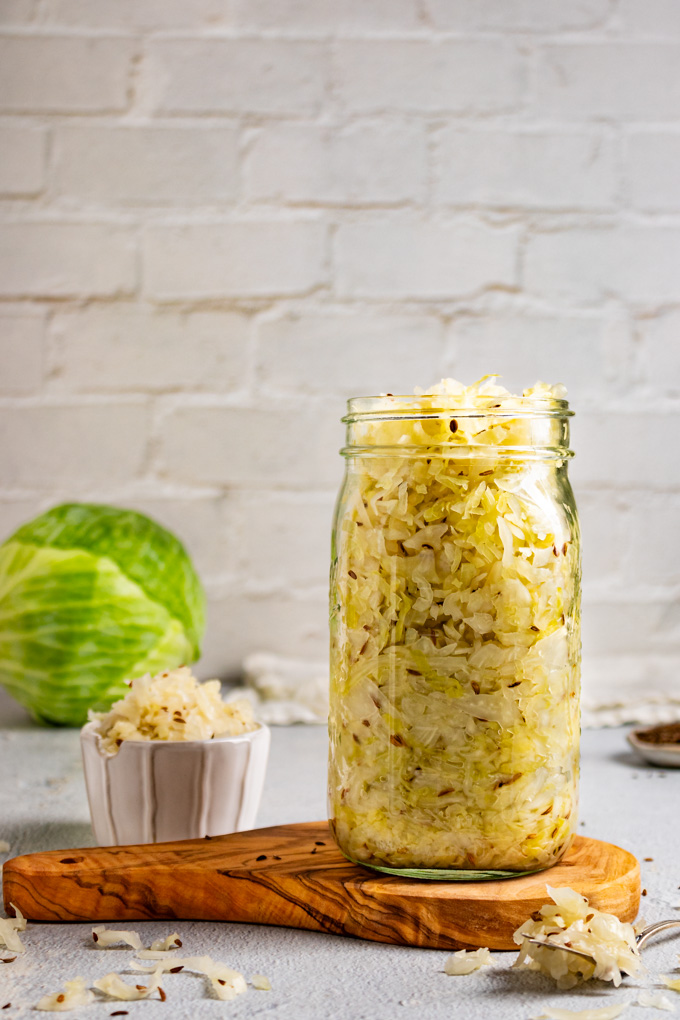
Sauerkraut is shredded cabbage that has been massaged with salt to release it’s liquid, and has been lacto-fermented.
It is known of it’s distinct sour flavor from the fermentation.
What is lacto-fermentation?
Lacto-fermentation is a type of fermentation that uses lactic-acid-producing bacteria to preserve foods. Lacto-fermenting is actually one of the oldest methods for food preservations. It was used before refrigeration was around.
Fermented foods can be stored in a cool, dark place (like a food cellar, for example) for a much longer period of time than un-fermented foods.
The best part: fermented foods are super healthy for you (more on that later).
Lacto-fermentation is the process when lacto-acid is produced when sugar is broken down in an oxygen free environment. Essentially we are growing healthy bacteria on our food in a controlled environment. (source)
Common lacto-fermented foods are sauerkraut, yogurt, sourdough bread, and kimchi – just to name a few.
Is lacto-fermentation how you make alcohol?
No.
There are different types of fermentation.
Alcoholic fermentation, like wine, and beer, uses yeast to create the ferment, which creates alcohol. (source)
Lacto-fermentation process is the what we use to make sauerkraut. It uses salt, and the natural sugars in the cabbage to create the ferment.
Lacto-fermented foods are do not contain alcohol.
Ingredients for fermented sauerkraut
As always the list of ingredients, along with the measurements are in the recipe card below.
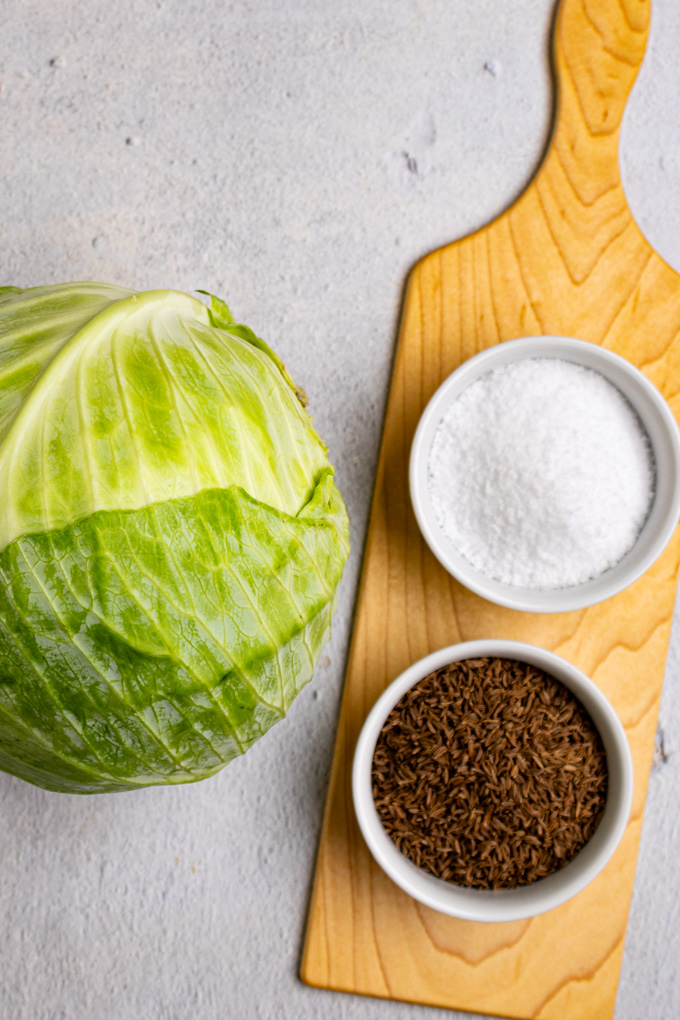
- cabbage – The star of the show. You can use green, or red cabbage. Green is most commonly used.
- kosher salt – kosher salt, or you can also use pickling salt – is super important to the fermentation process. Don’t use table salt, the iodine will prevent fermentation.
- (optional) caraway seeds – caraway seeds are a common added ingredient to give sauerkraut a nice nutty flavor. We really enjoy them in our sauerkraut, and almost always add them. You can easily omit them.
That’s it! That’s all you need to make homemade sauerkraut!!!
How to make sauerkraut
Of course, more detailed directions are in the recipe card below, but here is a preview.
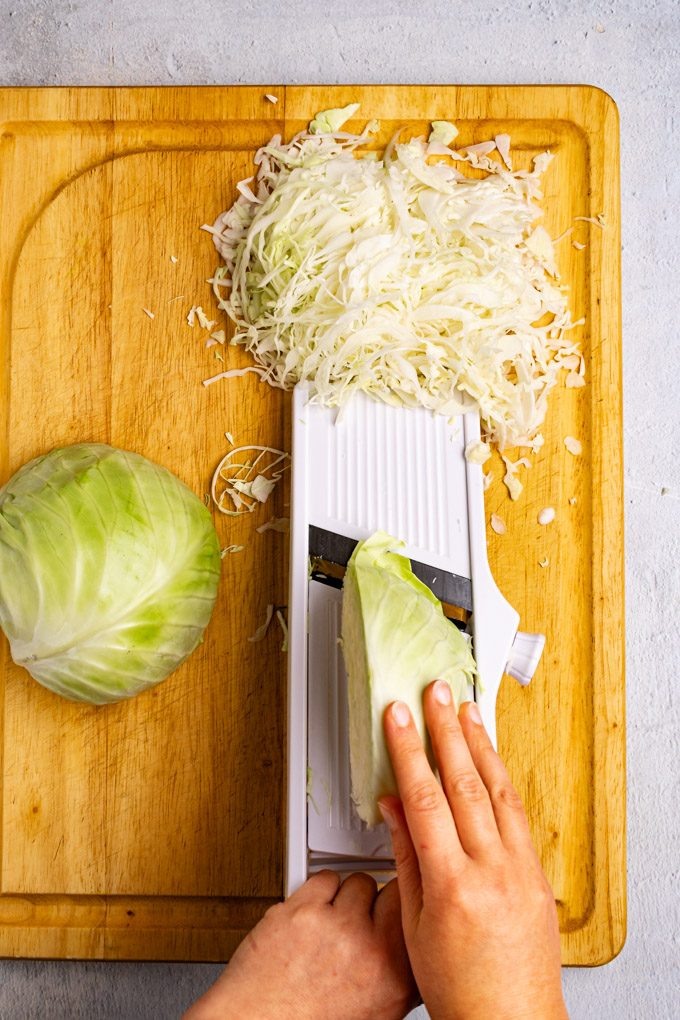
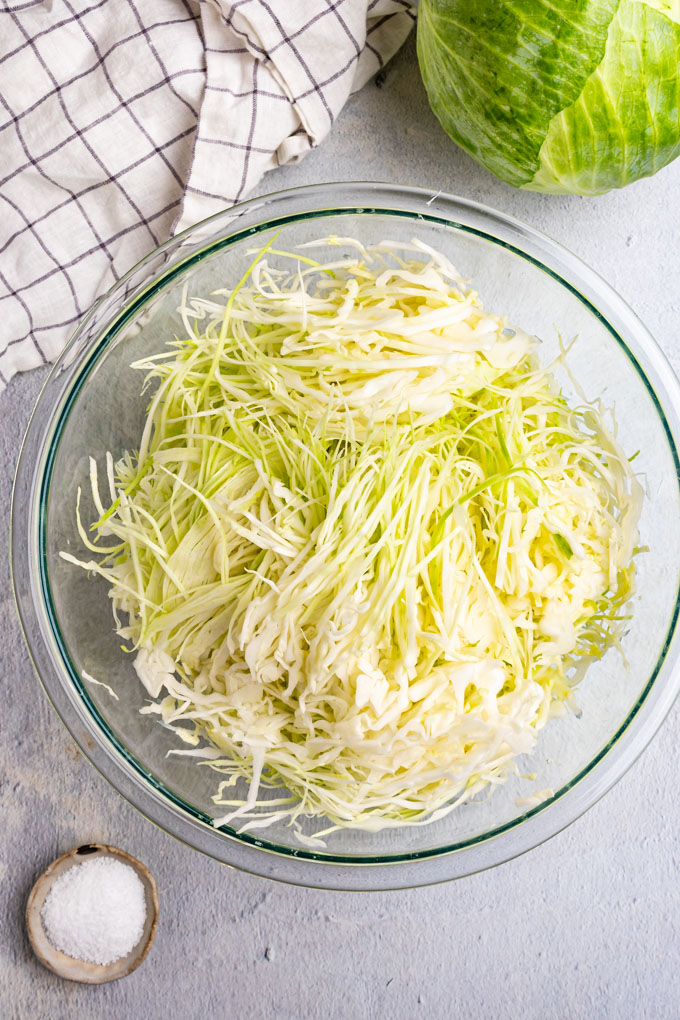
- shred the cabbage
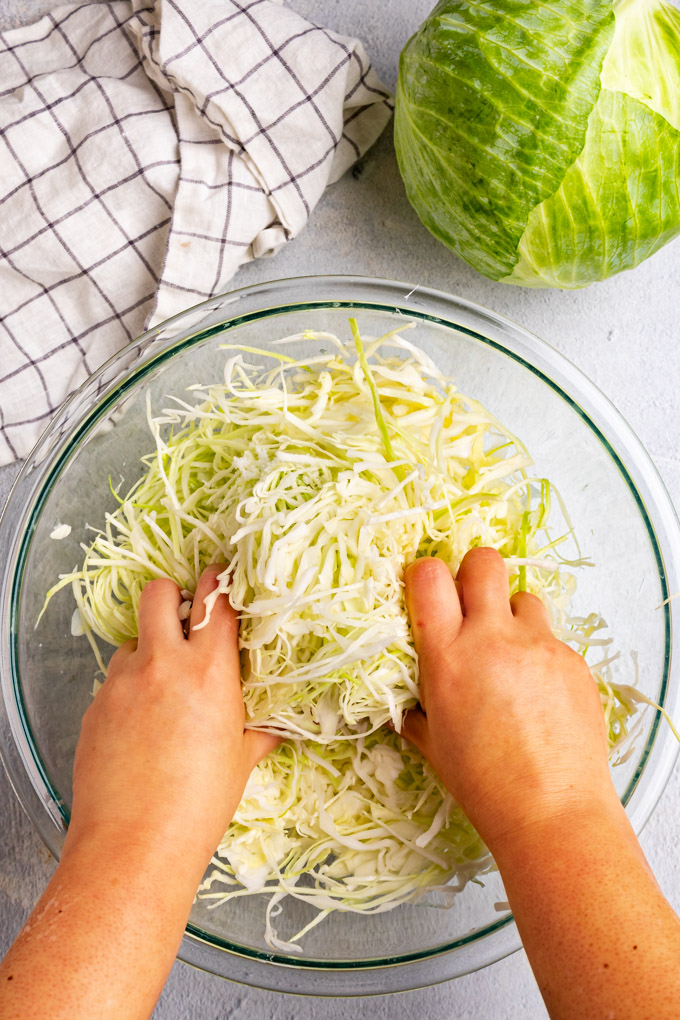
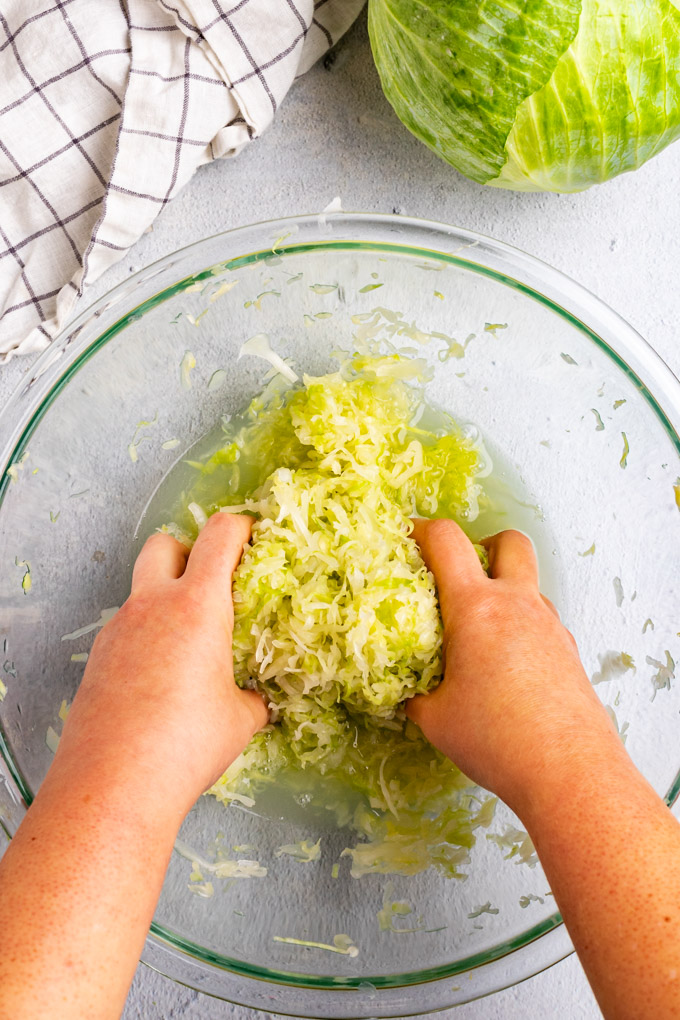
- massage the cabbage – with the salt. This releases the liquid from the cabbage, which creates the brine the cabbage will ferment in.
- allow the cabbage to rest – Let the cabbage sit for a few minutes to allow the salt to draw out more liquid.
- massage cabbage again
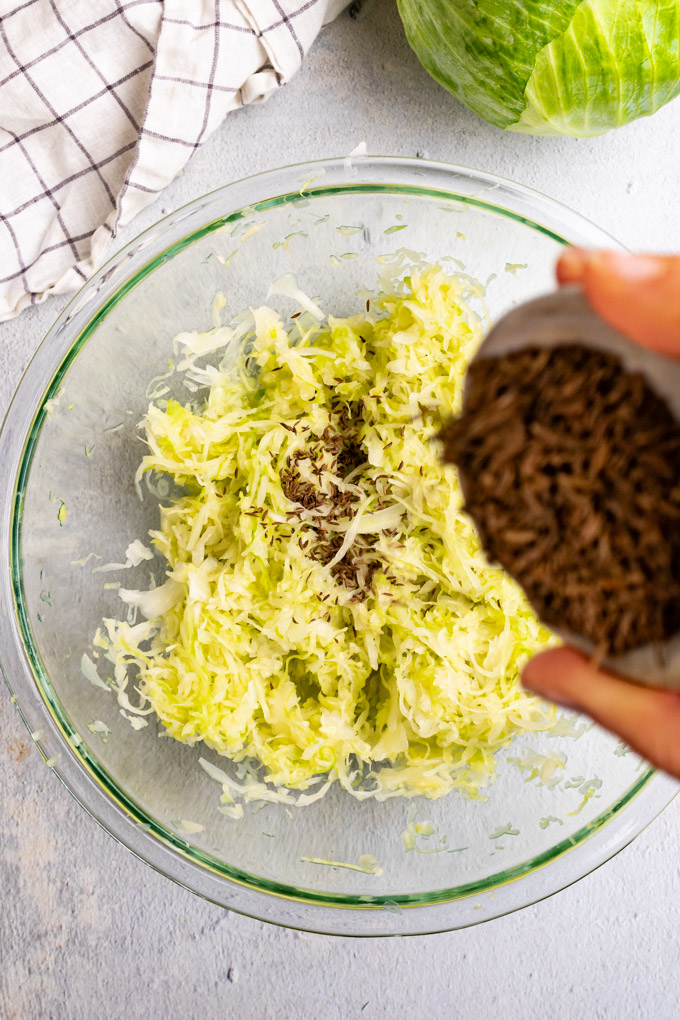
- add flavors – if you want to add the caraway seeds, now is the time.
- Stuff the cabbage into the jar
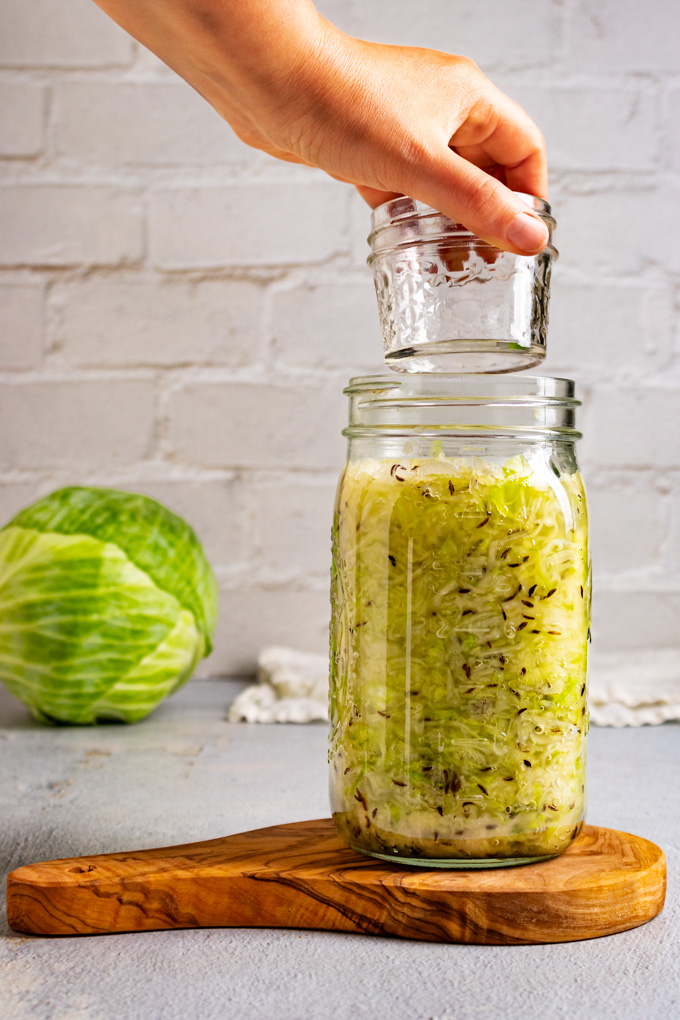
- add the jelly jar + lid – the jelly jar weighs down the cabbage, keeping it under the brine, so that it doesn’t mold.
- ferment – allow it to ferment for 3 to 14 days.
- Check on your sauerkraut – for signs of fermentation
- taste your sauerkraut – decide if it’s done fermenting, or if you want it to be more sour.
- store – store the sauerkraut in your fridge for 3 to 6 months.
Equipment I use to make sauerkraut
- Food processor – Using the slicing blade, this is the fastest, and easiest way to shred up the cabbage.
- Mandolin – This method gives you nice and thin shredded cabbage that I really love. It does take a little more effort, but I think it’s worth it. Either method is great!
- Chef’s knife – A good sharp knife is helpful to not only cut the cabbage in half, and remove the core, but you can also use it to thinly slice the cabbage in place of the other two methods. To me, this is the most time consuming method.
- 32 ounce wide mouth canning jar – these are the ideal size for fermenting sauerkraut. I highly recommend getting the wide-mouth jars, makes everything easier.
- Muddler – A muddler is great for really packing that cabbage in the jar nice and tight.
- Jelly jars – (4 ounces) – I have used fermenting weights, but with sauerkraut, I prefer using a jelly jar, it keeps everything tightly packed in the brine.
What are the health benefits of fermented foods?
We keep finding out more, and more about how important it is to eat fermented foods.
There are many reasons fermented foods are healthy for us. One of the main reason is that they contain probiotics, which is essentially a good bacteria that lives in our gut.
Adding more probiotic bacteria to our gut can help with digestion, boost your immune system, help ease anxiety, helps with heart health, and more. (source)
Give me all of the fermented foods, please!
How long does it take to ferment sauerkraut?
It can take anywhere from 3 days, to 2 weeks for your sauerkraut to ferment.
The timing of the fermentation of your sauerkraut depends on a 2 things:
- How sour you like your sauerkraut – the longer it ferments, the more sour it will be.
- The temperature of your fermentation location – Your sauerkraut will ferment quicker in a warmer temperature, and slower in a cooler temperature.
What kind of cabbage should I use to make sauerkraut?
Green cabbage is most commonly used to make sauerkraut.
However, you red cabbage will work just as well. A bonus: it’s a really pretty color!
Can I use pre-shredded, bagged coleslaw mix to make sauerkraut?
No.
The natural bacteria has been altered when that cabbage has been sitting in a bag for a while. We need the right kind of bacteria to promote the lacto-fermentation.
You always want to make sure to use a head of cabbage that you have freshly shredded yourself, just before you ferment your sauerkraut.
How long will fermented sauerkraut last in the fridge?
3 to 6 months, maybe longer.
Honestly, we eat our sauerkraut up within 2 to 3 weeks, it’s so good, we can’t stop eating it.
Can I store my sauerkraut at room temperature?
Maybe.
As mentioned above, lacto-fermented foods was originally used as a way to extend the shelf life of foods, right? So, yes, that still applies here.
But, here is the thing, most people had food cellars back in the day that they likely stored their fermented foods in. It was a dark, cooler room, that was likely underground for this reason.
So, if you have a space that is dark, and cooler (at least 60 degrees F, or lower), this will work. You will also want to keep the food weighted underneath that liquid line so that it doesn’t mold. And, keep the lid on tight.
If you want to read more about how to store fermented foods outside of your refrigerator, here is a helpful article from Better Homesteading.
Keep in mind, that the sauerkraut will continue to ferment, but at a much slower rate. So, your sauerkraut might continue to soften, and become stronger in taste over time.
Can I pressure can, or water bath fermented sauerkraut?
No.
The main reason you don’t want to can this sauerkraut recipe is because once you heat up the jar to can the recipe, you will kill off the healthy bacteria – the probiotics.
And then, what is the point of giving the cabbage time to sit and ferment?
Also, from what I have read, you really should follow a recipe that is specifically made for canning, because if you have the wrong acidity levels/amount of sugar, than the canned good won’t be shelf stable.
Therefore, I recommend sticking with making this fermented sauerkraut recipe as is instructed.
What is the difference between fermented sauerkraut, and canned sauerkraut?
Fermented sauerkraut is essentially raw cabbage that has lacto-fermented. It contains good-for-you bacteria called probiotics.
Canned sauerkraut that you purchase at the store (not in the refrigerator section) is not fermented. It is often more of a pickled variety, made with vinegar to give it that sour taste. It’s canned using a hot water bath to make it shelf stable, which kills off the probiotics.
Canned sauerkraut isn’t bad for you, but it doesn’t have the same benefits of raw, fermented sauerkraut.
Read this article to learn more.
How do I know if my sauerkraut went bad?
If you see any kind of mold, green, black or white – discard the sauerkraut and start over. Or, if the sauerkraut smells off, or tastes bad. Yes, it should have that fermented taste and smell, but use your good judgement.
NOTE: if you see white foam or bubbles on top during fermentation, that is okay.
What can I server with my homemade fermented sauerkraut?
You can simply eat it plain, from a bowl – we often do this, and enjoy it a lot.
Of course, you can pile it onto brats, sandwiches – such as Rubens, wraps, or add it to salads for a nice salty, tangy, funky taste.
Honestly, fermented sauerkraut is so versatile, we always have some in our fridge – homemade, or store bought.
Reasons you will love making sauerkraut
- It’s fun to make – like a science experiment.
- It’s easy to make – especially once you know what to look for.
- It’s inexpensive to make
- It’s delicious – tangy, salty, crunchy, funky.
- It’s versatile – brats, hot dogs, sandwiches, salads etc.
- It’s naturally vegan,
- dairy free,
- and gluten free.
- It’s super healthy – probiotics = happy gut.
- It’s satisfying, and rewarding to make fermented foods at home.
More fermented recipes for you to try
- 2 healthy sauerkraut recipes – old photos, but super good. A fun variation on the classic sauerkraut.
- easy fermented salsa – the BEST salsa to make with summer tomatoes. Ferments in just a few days!
- kimchi fried rice with shrimp – using store-bought kimchi
More condiments you’ll love
- quick pickled red onions – tangy, and go with just about anything.
- easy homemade salsa (restaurant style) – my favorite go-to salsa for any Mexican dish.
- easy jalapeno sauce – spicy, easy, and so good!
- basil pesto – the ultimate sauce!
Leave a comment
If you made this recipe, be sure to leave a comment below, along with a star rating. This helps my recipes to be seen in google easier, which helps my blog thrive. Thanks, friends!
Print
How to Make Sauerkraut (In a Mason Jar)
- Prep Time: 30 mins
- Fermentation time: 3 to 14 days
- Total Time: up to 14 days
- Yield: 8 to 10 servings (32 ounces) 1x
- Category: Side, Condiment, healthy, easy
- Method: fermentation, chopping
- Cuisine: Vegan, Vegetarian, dairy free, Gluten Free
- Diet: Vegan
Description
Your guide for how to make sauerkraut. It only requires two ingredients, and is easy to make. It’s tangy, salty, crunchy, and packed with gut-healthy probiotics. Add it to brats, sandwiches, salads, or eat it plain. It’s so good!
Ingredients
- 1 medium head of cabbage – about 3 pounds (either green, or red cabbage work. Green is most common)
- 1 tablespoon kosher salt, or pickling salt (DO NOT USE TABLE SALT – see notes)
- optional: 1 tablespoon caraway seeds
Instructions
- Shred the cabbage: Remove a few of the outer leaves of the cabbage, making sure all bruised, or damaged leaves are removed. Using a Chef’s knife slice the cabbage in half and remove the core. Shred your cabbage by either using a mandolin (my preferred method) or the slicing blade of a food processor – (the fastest way). Or, you can simply use a chef’s knife, and cut the cabbage into thin shreds. Transfer the shredded cabbage to a large mixing bowl.
- Massage the cabbage: Add the 1 tablespoon kosher, or pickling salt to the shredded cabbage and use clean hands to massage the cabbage until the salt has dissolved and the cabbage has reduced in size, and has released a good amount of liquid – massage for at least 5 minutes. Yes, it’s a good arm workout.
- Allow the cabbage to rest: At this point it is helpful to allow the cabbage to rest for 20 to 30 minutes – the salt will continue to draw the liquid out of the cabbage and you will find a lot of liquid at the bottom of the bowl.
- Prepare your canning jar: While the cabbage is resting, wash your canning jar and lid, and jelly jar – no need to sanitize. NOTE: I don’t usually wash my canning jars right before using them, but it’s a good practice to check them out just in case they are dusty, or haven’t been washed in a while.
- Massage cabbage again: Returning to the cabbage give it another massage for another 5 minutes. At this point, the cabbage will have released a lot of liquid, and will have reduced in size by over half.
- Add flavors: optional step: If using caraway seeds toss them into the cabbage at this point.
- Stuff cabbage into canning jar: Transfer the cabbage into the canning jar (DO NOT DISCARD ANY LIQUID) – use the back of a wooden spoon a muddler to help you pack it in tight, it should all fit with about 2 to 3 inches of head space, if it doesn’t you need to massage the cabbage more to help it break down. Pour some (or all) of the left behind liquid just so that the cabbage is submerged in liquid.
- Add the jelly jar + lid: Next place the jelly jar (without a lid on the jelly jar) – this acts as a weight to keep everything submerged – use a damp paper towel to wipe off any straggler cabbage pieces that aren’t underneath the liquid. Place the jar underneath a baking dish, or food storage container that has sides, to catch any spills. Screw the canning jar lid onto the 32 ounce wide mouth jar – some liquid may come out of the jar, this is okay as long as there is still liquid covering the cabbage. Slightly unscrew the canning jar lid so that it is secured but not on tight – this allows any gasses to escape from the jar. NOTE: It’s very important to make sure no pieces of cabbage remain above the liquid, otherwise it will mold.
- Ferment: Place the jar in a bowl or container to catch any overflow. Find a good fermentation location. Ideal place is 64 to 74 degrees Fahrenheit and not in direct sunlight. My ideal location is in the pantry in our kitchen, with the doors closed. In my old house, I kept in in the basement during the summer, because it kept the sauerkraut cool. You want to allow the sauerkraut to ferment for at least 3 to 4 days or up to 1 to 2 weeks – this varies depending on the temperature of your fermentation location and how tangy you personally like the kraut to be. The cooler the temperature, the longer it will take to ferment. The warmer the temperature, the faster it will ferment.
- Check on your sauerkraut: You will want to check on your sauerkraut daily in the first few days. This is what you want to look for: 1) check to make sure the liquid line hasn’t creeped down past the cabbage. If this has happened then you want to mix 1 tablespoon kosher salt to 2 cups of water and use this mixture to top off the cabbage so that it’s submerged again (you will not need to use all of this mixture). 2) check the lid to make sure it’s loose – if the lid isn’t loose the gasses can build up and make the jar explode.
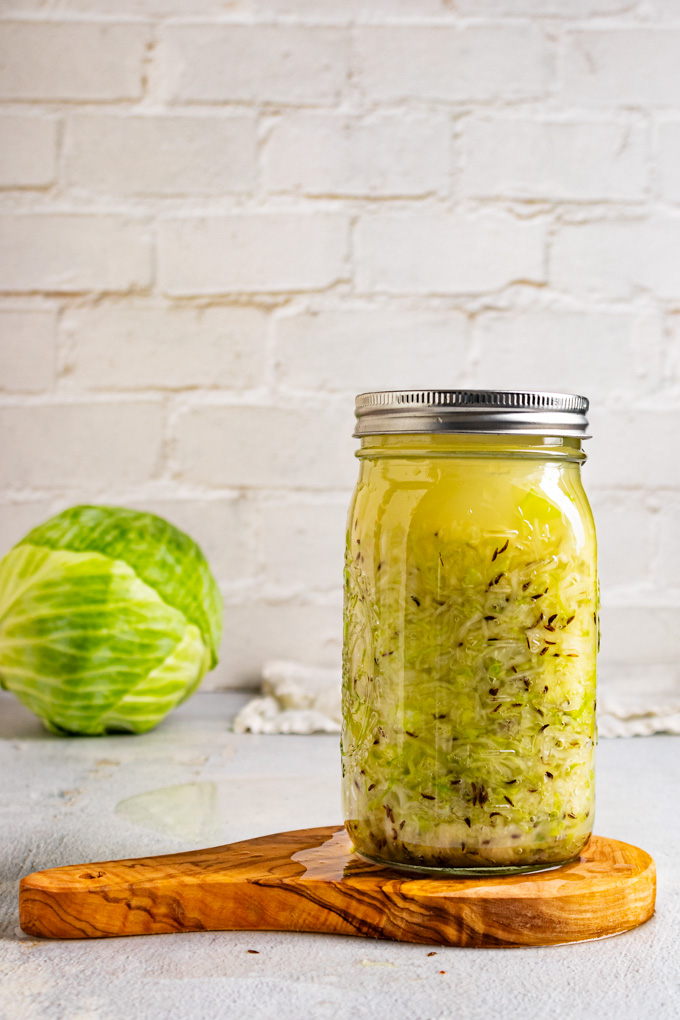
- Signs of fermentation: 1) you see bubbles in the cabbage. 2) the cabbage begins to turn from a bright green to a less bright green and eventually to a tan/very mild green (what you see when you think of sauerkraut).
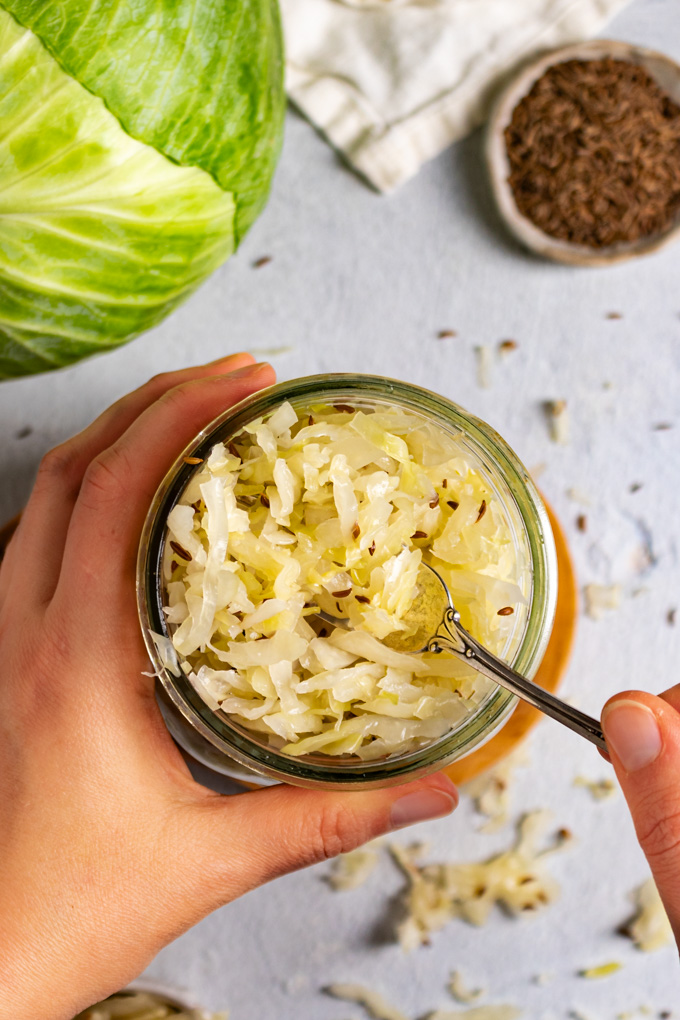
- Taste your sauerkraut: As stated before how long you want your sauerkraut to ferment depends on temperature of location and your personal preference of how tangy it is. I like mine really tangy so I generally allow it to ferment for 1 week – I might even go as long as 2 weeks in the winter when the temperature is cooler – warmer temperatures means the fermentation process goes faster. You can start eating the sauerkraut after 3 to 4 days. I suggest you start tasting it at 3 to 4 days and see how you like it and after that taste it every week. Be sure to use a clean fork so you don’t contaminate it. You will know it’s done when it’s tangy and the color of the cabbage has changed to tan/very mild green.
- Store: Once your cabbage has finished fermenting and you’re ready to eat it remove the jelly jar and screw the canning jar lid on tight. Store it in the fridge for 1 to 2 months, even longer. Enjoy eating by itself or on sandwiches, salads, burgers, pretty much anything. NOTE: the sauerkraut will continue to ferment slowly while it’s in the fridge. It’s still okay to eat, just keep in mind that it will continue to get more sour over a longer period of time, even in the fridge.
Notes
Type of Salt – The type of salt you use if very important for this recipe. DO NOT USE TABLE SALT. Table salt contains iodine which will prevent the cabbage from fermenting. Don’t use sea salt either, the minerals can also prevent fermentation. You want to use either kosher salt, or pickling salt – I have used both, and both of them works great.
Parchment paper – In the original recipe I instructed you to cut a circle of parchment paper to fit inside the canning jar. I did this to prevent any tiny pieces of cabbage from floating up past the brine. When I shred my cabbage using a mandolin (my preferred method), I don’t get tiny pieces of cabbage, so I don’t have this issue with the tiny pieces floating up. If you do have tiny pieces of shredded cabbage, which might occur if you shred the cabbage using the slicing blade of a food processor, then you still may want to use the parchment paper. Simply, place the circle of parchment paper underneath the jelly jar. Remove the parchment paper before storing the sauerkraut in the fridge. I have seen a lot of people use a piece of cabbage leaf to do this, that’s an option as well. I still recommend using the jelly jar as a weight to keep everything packed in tightly under the brine.
Can I use pre-shredded cabbage? – No. Pre-shredded cabbage, like what you buy in a bag, for coleslaw mix, will not ferment.
Signs your sauerkraut fermentation went wrong – if you see any kind of mold, green black, or white – discard the sauerkraut and start over. – If the sauerkraut smells off or tastes bad. Yes, it should have that fermented taste and smell but use your good judgement don’t eat it if it’s not smelling good. NOTE: If you see white foam or bubbles on the top that’s usually okay, just use a spoon to scrape it off.




I might be wrong but I don’t think 1 medium head of shredded cabbage will all fit in one quart canning jar ? Did I read recipe right ? I’d think you would need 2 jars.
Hi Rhonda, once you massage the cabbage with salt for a good 5 minutes and then let it sit with the salt for 30 minutes the shredded cabbage will wilt down a lot. It should fit in one jar, I use a muddler or back of a wooden spoon to really pack it in there too. If it doesn’t all fit than you need to keep massaging the cabbage.
You could use two jars but one of them might be only half filled, which would make it difficult to keep the cabbage weighted with the smaller jar – which is important to keep the cabbage submerged under the liquid so it doesn’t mold.
Let me know if you have any more questions. 🙂
Thank you for your fast response. I plan on making your recipe soon as cabbage starts growing. ?
Glad to help. That’s awesome you’re growing cabbage!!! Let me know how the kraut turns out. 🙂
Important question…. my bf mom makes kraurt every yr..shes in her 90s… she does it just as u do with exception to…. after 3 days she removes whatever is being used to keep below the brine line. And puts on ring and top and tightens down tight… places in pantry and they self seal.. she has done this for yrs… is it safe?
Hi, such a good question. I am not an expert on fermented foods. BUT, from my basic knowledge and experience and a quick research, as long as she is keeping the kraut in a cool, dry place, like her pantry it should be okay for several weeks. Sauerkraut will continue to ferment as long as it sits at room temperature (it does continue to ferment in the fridge too, but the fermenting slows down since it’s cold) – the fact that it’s fermented is what preserves the food. The only part that concerns me is that she removes the weight that keeps the kraut submerged under the liquid. If it’s not submerged under the liquid then that’s when the kraut can get moldy when not refrigerated. I doubt she would be eating kraut that is moldy though, she wouldn’t even want to eat it , so it must not be getting moldy, probably because her pantry is just cool enough.
What’s interesting about fermented foods is that it was originally invented hundreds of years ago as a way to preserve food for a long period of time, without refrigeration. Therefore, her kraut should be safe, as long as it doesn’t get moldy. I would think she is probably safe since she has been doing it so long. However, if it were me, I would prefer the convenience and added safety of the using the fridge lol. I hope that helps answer your question. 🙂
The temperature for fermenting is all-important. The bacteria that turn cabbage into sauerkraut are mostly Leuconostoc species, which make the enzymes that break the natural sugars in cabbage down into lactic acid. If the temperature is too low, there will be little bacterial activity. If the temperature is too high, the wrong kind of bacteria will take over, causing the cabbage to rot. The optimal temperature range is 65°–72° Fahrenheit (18.3°–22.2° Celsius), maintaining a swing of no more than 5°F (3°C). If you have a cellar, you’re lucky, because it should be easy to maintain the lower end of the recommended temperature range. If you live in a warm climate and have no cellar, you may need to use mechanical refrigeration to maintain the desired temperature range.
This is so helpful. Thanks for sharing. 🙂
Comment feature is broken.
Thanks for letting us know. We will work to fix it.
how much salt
As it says in the recipe, 1 tablespoon pickling salt or kosher salt. 😉 . Let me know how it goes. 🙂
This recipe worked great. I followed it to the letter and after 3 weeks I thought it was ready. Others I let taste it thought it was very good and tasted just like sauerkraut should. If you have updates to the recipe please let me know. Thanks a lot and I will continue to use it.
That’s so awesome. I am glad to hear that the sauerkraut worked out, Jerry. Thanks for sharing. I have been continuing to make sauerkraut just as I did in this recipe, and continue to get great results.
What about doing a boiling water bath to actually can the saurkraut? What would be your recommendations?
Hi, I am sorry to say that I don’t have any experience with canning. But, a quick google search tells me that the probiotics can be destroyed around 115 degrees F. I am not sure if that is a concern for you or not.
However, according to this article, https://www.healthycanning.com/home-canned-sauerkraut,
it looks like you can actually can fermented sauerkraut. From what I read in this article they did not discuss the possibility, or concern, of killing the probiotics in the sauerkraut during the canning process.
In conclusion, If you are making fermented sauerkraut for the health benefits of eating probiotics, you may want to consider not canning it. If you are making it just for the enjoyment of eating it, then it looks like canning it could be a for a more long-term storage option.
I hope this helps. Let me know if you decide to give it a try. Or, if there is anything else I can answer for you. 🙂
Hi- We did your kraut recipe exactly as you have stated and it’s been 3 weeks, today. I added a little salt water because the level had dropped a bit. It looks really nice and we tasted it – we decided to let it go for another week or 2. We have it fermenting in our basement in a dark cabinet at a steady 60 F. We feel in a week or 2 it will be just right. I will keep you posted – Thanks for your clear, thorough instructions with this recipe. Jeff and Denise Frederick. Allentown, Pa.
Hi Jeff, I am so glad to hear that the sauerkraut is turning out for you. It’s great that you’re checking on it and giving it a try to see how tangy you like it. I like my kraut really tangy too, and in the winter when my basement is about 60 degrees it can take a few extra weeks to get it there. Glad to know you found the directions clear and helpful. I would love to hear how it turns out in the end. 🙂
HI, have you ever done a bulk amount in a large bucket, and then, once fermented, packed it down into smaller table friendly jars, making sure jarred down quantities are covered in juice to prevent mould growth, screw lid on, and then refrigerate for long term (several months)?
interested in your thoughts,
thanks,
Kollev
hi, Kollev, I have not done a bulk fermentation before. However, I do know that you can buy large fermenting crocks online. They’re a large ceramic type container that is specifically meant for bulk fermentation. I believe that they also come with some sort of weight, or special lid to keep the food below the liquid line.
I think that the same directions would apply to a bulk ferment, except, the fermenting time might be longer? I am not exactly sure.
Once the sauerkraut is fermented, it should last in clean jars, in the fridge for several months. Keep in mind that the sauerkraut will continue to slowly ferment in the fridge. Which, is fine, as long as you know that the older jars will get a little more tangy over time.
I hope this helps. Please let me know if you give it a try. I am curious about bulk fermenting sauerkraut myself.