This post may contain affiliate links. If you buy something through one of these links, we may earn an affiliate commission - at no extra cost to you.
Happy December, friends!! It’s officially baking season.
And with baked goods comes the need for some homemade whipped cream.
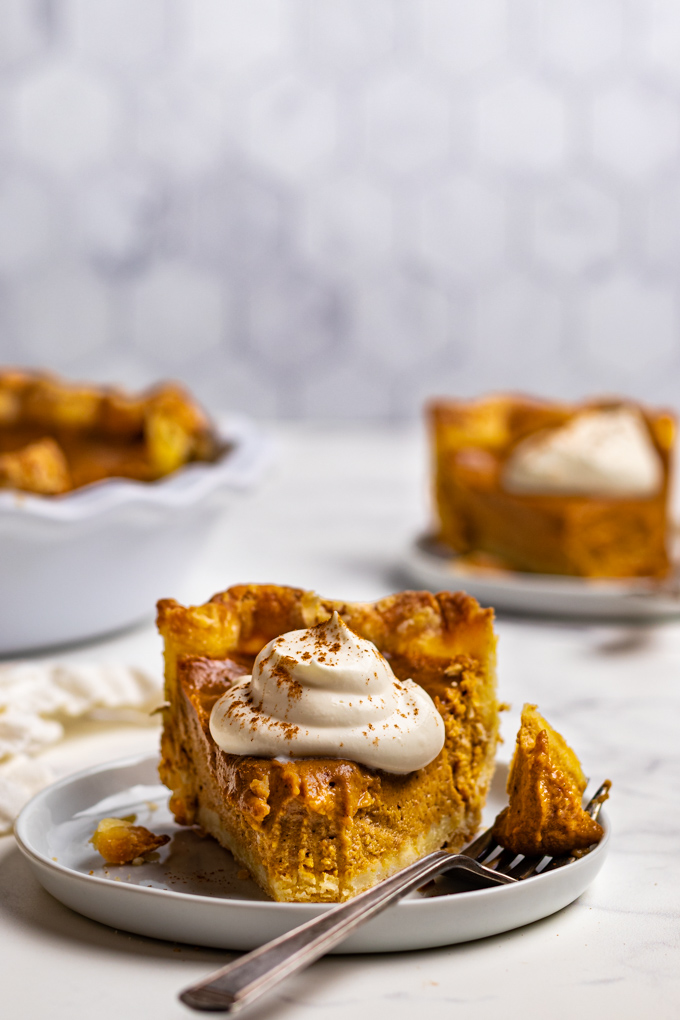
Fluffy clouds of sweet vanilla-scented, creamy heaven, dolloped on top of any pie you love. Or, scooped on top of hot chocolate (recipe coming next week), or even on top of your coffee. Dip strawberries, or, pretty much any kind of fresh fruit, into whipped cream, and you’ve instantly got a delicious fruity treat.
The possibilities are endless on how you use your homemade whipped cream, but one thing remains true: homemade is the ONLY way to go.
Honestly, whipped cream is so stinking quick (8 to 10 minutes) to make that you won’t want to use a spray can of whipped cream again.
Plus, I share tips on how to “revive” leftover whipped cream, and how to freeze leftover whipped cream.
So, grab your piece of pumpkin pie and let’s get whipping.
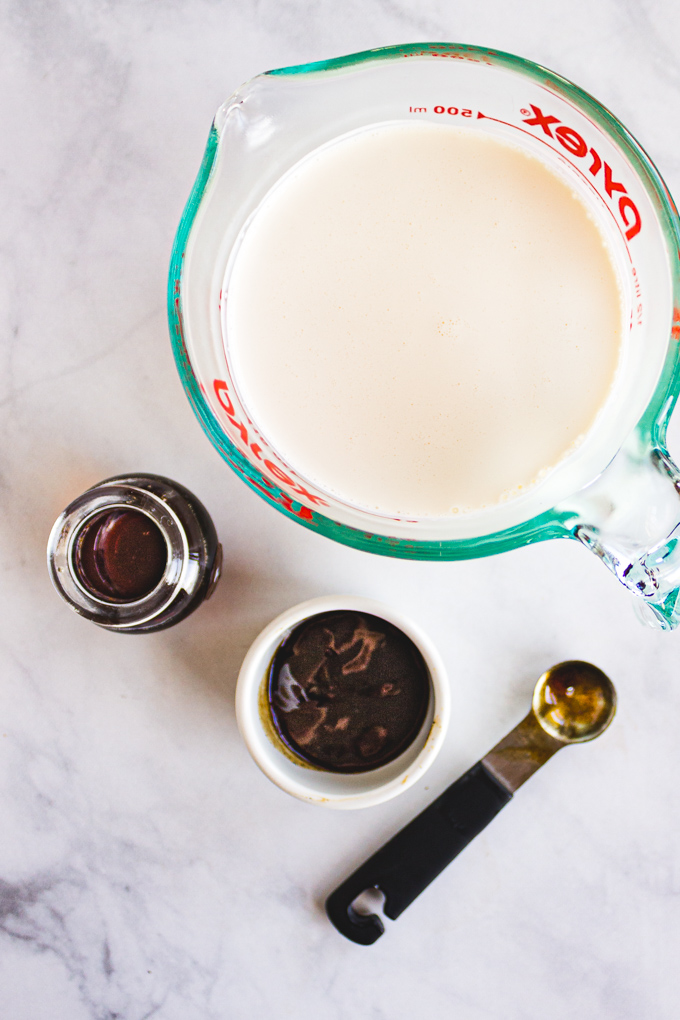
The Ingredients are simple:
- heavy whipping cream (has to be heavy whipping cream, nothing else will whip up quite right).
- vanilla bean paste (or vanilla extract)
- maple syrup (or powdered sugar) – I did a side-by-side taste test and we preferred the maple syrup. The whipped cream didn’t taste of maple syrup, it simply had a slightly more complex flavor that we enjoyed.
- pinch of salt – every sweet thing needs that salty balance
That’s all you really need for a good, basic whipped cream recipe. It goes with any pie, pastry, fruit, or hot drink you desire. It’s a great accompaniment to anything rich, somehow it lightens things up a bit.
This simple, straightforward recipe is how I most often make it myself.
Want to get creative with flavors?
Try adding:
- cinnamon, or pumpkin pie spice
- bourbon, rum, Irish cream , or other hard alcohol, or liquor – just a little, for a nice kick.
- peppermint extract – for that minty taste
- the zest of fresh citrus
It all depends on what dessert you are serving your whipped cream with, and what you like. (see my recipe card below for measurements).
How to make homemade whipped cream:
10 minutes before you’re going to serve your dessert, start whipping.
- Add your heavy whipping cream to the mixing bowl of your stand mixer, attached with the whisk.
- Whip on high for about 5 minutes.
- Scrape down your bowl.
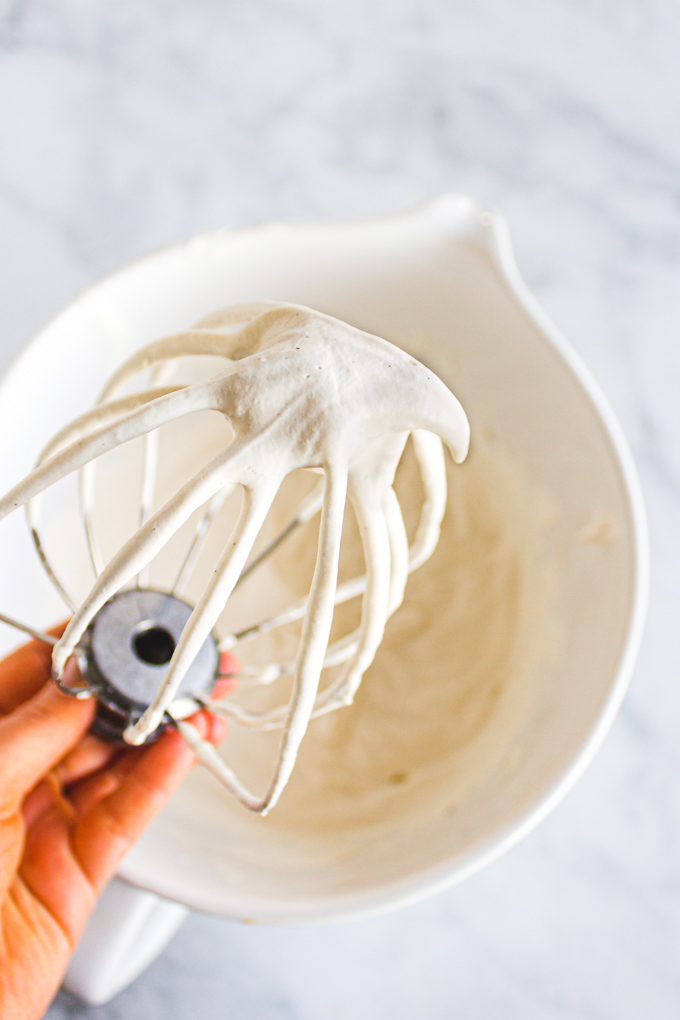
- Whisk again for another 2 to 3 minutes. Or until soft peaks form
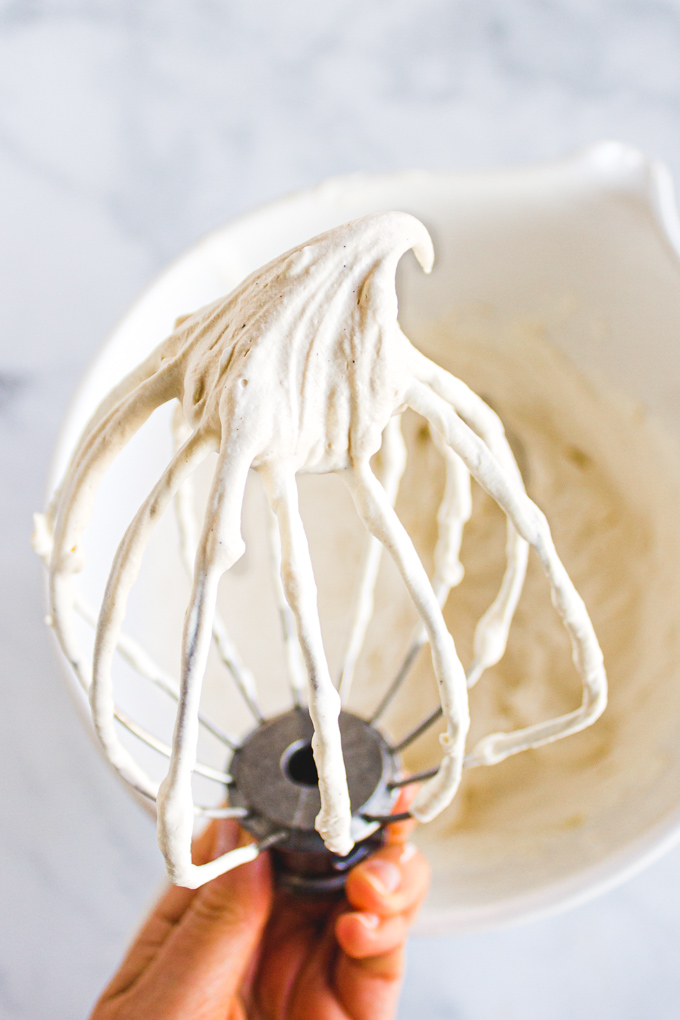
- Add in the flavors. Whisk again for another 1 to 2 minutes, or until you reach stiff peaks.
What are soft peaks? And, What are stiff peaks?
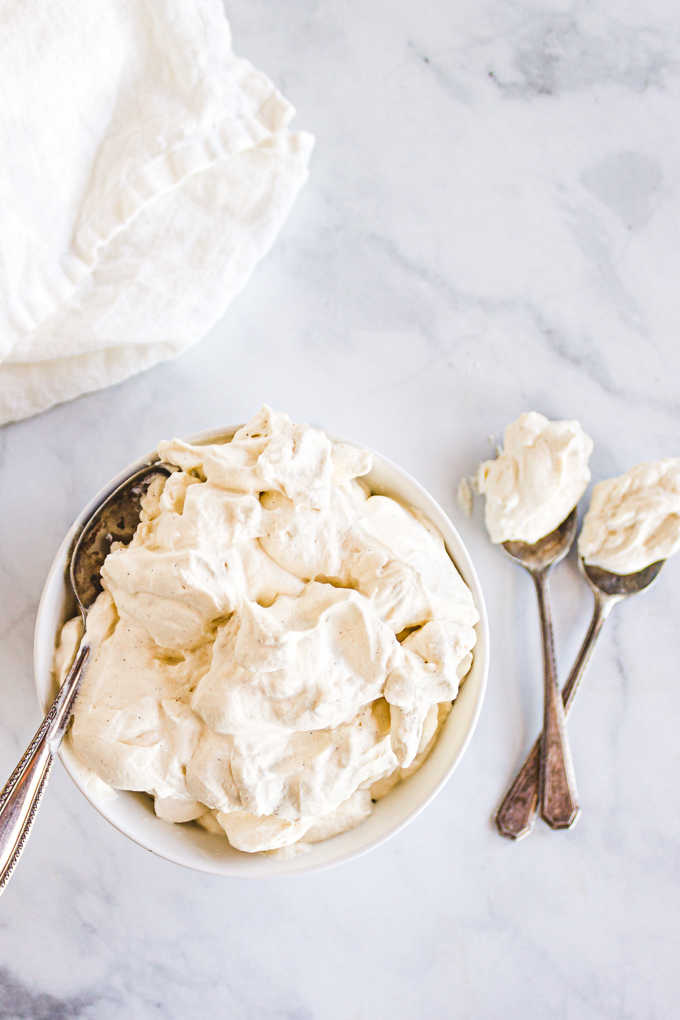
Soft peaks is when you pull the whisk out of the whipped cream, hold it upside down, and the peak mostly falls. (see photo above)
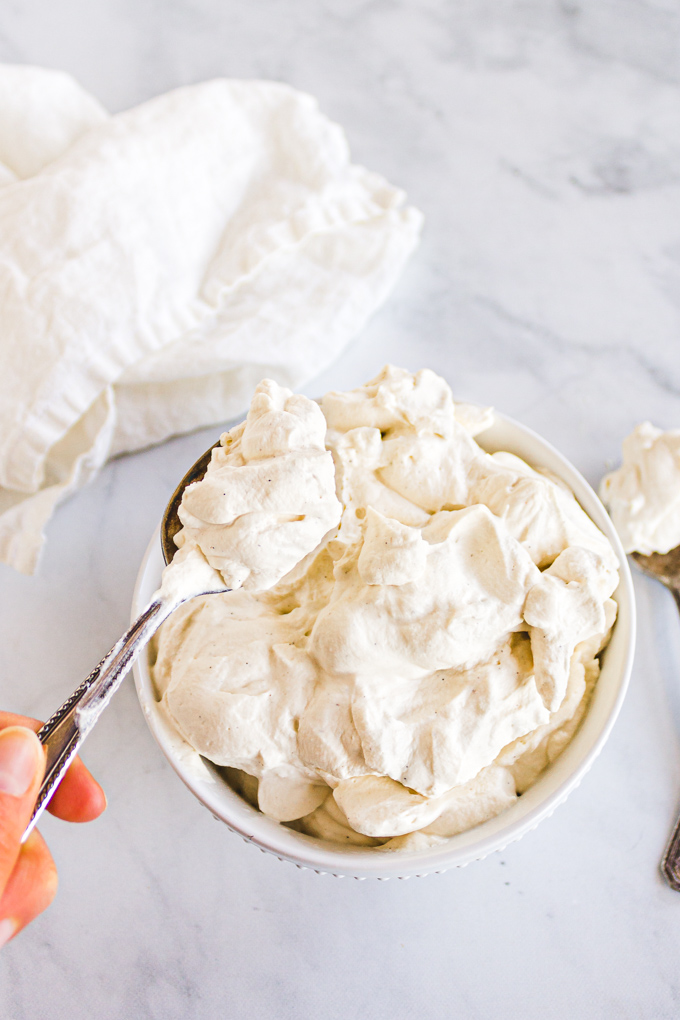
Stiff peaks is when you pull the whisk out of the whipped cream and the peak mostly holds it’s shape, (see photo below). A stiff peak will look a bit firmer in texture then a soft peak. Keep checking as you go.
Don’t overwhip:
Once you reach stiff peaks you DO NOT want to continue whipping.
If you keep whipping, after you reach stiff peaks you can easily end up making butter.
Yes, butter is delicious, but not sweetened and vanilla scented butter – and, especially not on pies. 🤣
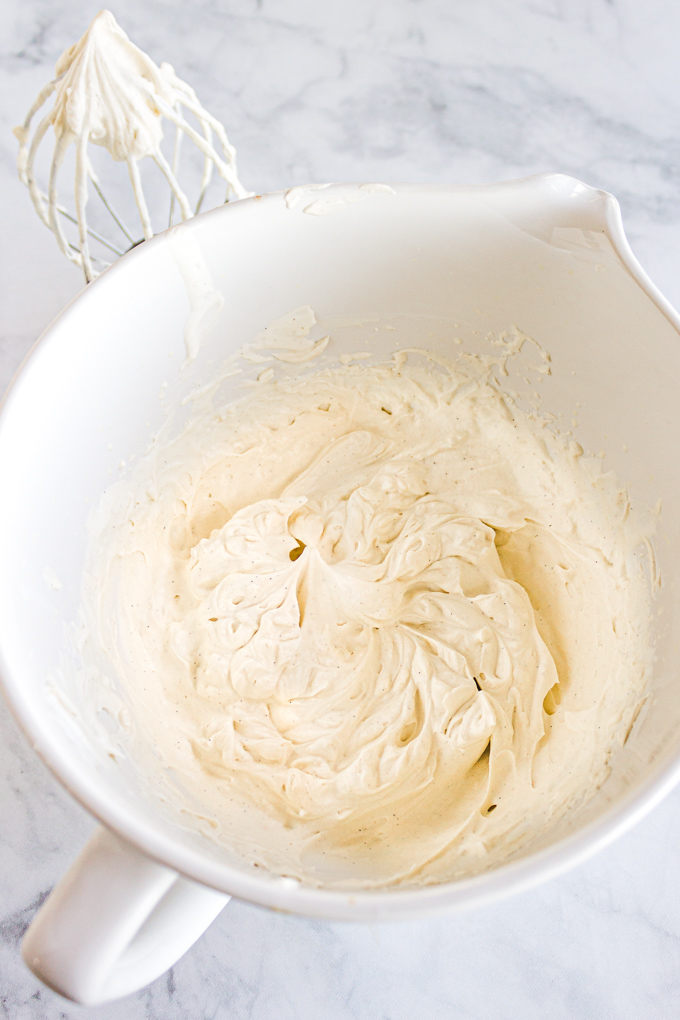
When in doubt: stop whipping at soft peaks and you will have delicious, soft, whipped cream that is just a tiny bit floppy.
Can I use an electric hand mixer?
Yes, absolutely!
It’s what I have most often use. The same directions apply.
In fact, I would suggest using an electric hand mixer if you’re new to making whipped cream. That way you won’t be tempted to walk away as you are when using a stand mixer. You have to have your eyes on it the entire time.
However, if you’re making a large batch of whipped cream then a stand mixer is easier. Also, the cream is less likely to splash out of the bowl in the beginning, due to the deeper shape of the bowl.
If your cream is splashing out of the bowl at the beginning, just start your mixer on low for 2 to 3 minutes, or until the cream thickens up a bit. Then, turn it up to high.
Can I use a hand whisk?
Yes, in theory.
But, you need to whisk fast, and hard for about 8 minutes. So, you will need a lot of consistent elbow grease.
Therefore, I recommend sticking with the electric power of a machine.
I have fond memories of Thanksgivings from when I was a kid. My Grandma would bake a pumpkin pie, and an apple pie, to satisfy all of our cravings. Once we finished eating dinner, it was always my job to whip up the cream for the pies. My reward was licking the whisks, and of course, devouring pies shortly after.
This past Thanksgiving, I was taken back to those childhood memories as I used my Mom’s very same electric hand mixer she always had when I was a kid to make whipped cream to top my mini pumpkin pies with.
I guess that’s why I am a whipped cream snob. If served canned whipped cream (or whipped topping) on a dessert at a restaurant, I can immediately tell it’s not freshly made by the looks of it. I use my fork to scrape it off the dessert as best as I can. The canned stuff just detracts from the main event.
Fresh, homemade whipped cream, on the other hand, enhances the dessert. It adds slightly sweetened pillows of creamy goodness that you just can’t beat.
It is true love, my friends.
What can I do with leftover whipped cream?
Such a great question. Yes, fresh whipped cream is THE BEST!!!
But, second best, is homemade whipped cream that is leftover, and later re-whipped.
Yes, you can whip your leftover whipped cream for just 30 seconds to revive it. Adding a splash of heavy whipping cream can also help the revive the fluffy texture. This helps to reincorporate some air back into the cream, making it almost as good as when it was fresh.
This was a new trick I learned from experimenting with whipped cream for this post. A discovery I am happy about.
You can also serve leftover whipped cream with:
- Dollop it on top of coffee, hot chocolate, or any other hot drink where you want a little extra creamy sweetness.
- Dip strawberries, or other fruit in it. So yum!
Desserts to top homemade whipped cream with
- easy pumpkin pie (the classic pumpkin pie recipe)
- mini pumpkin pies with ginger cookie crust
- gluten free apple pie
- gluten free chocolate pecan pie
- chocolate peanut butter chia seed pudding
- gingerbread cake
- apple pie parfaits
- the best key lime pie
Drinks to top homemade whipped cream with
- healthy shamrock shake (AKA indulgent smoothie)
- easy Irish coffee (with whipped cream)
- homemade hot chocolate
How to freeze whipped cream:
Yes, you can freeze whipped cream!!!
Here’s how:
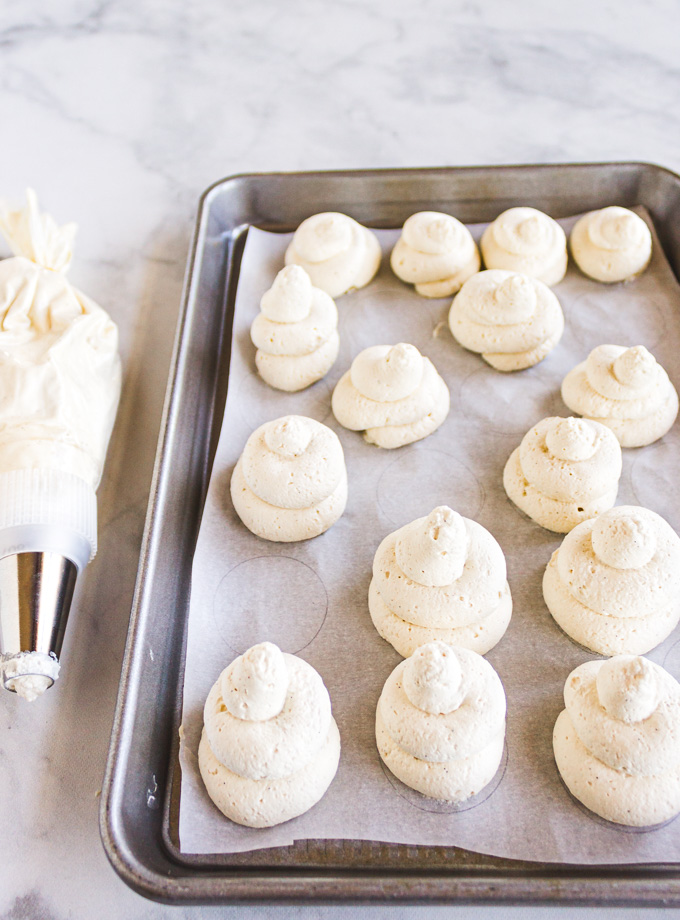
- Line a baking sheet with parchment paper and either spoon dollops of whipped cream onto the baking sheet, or pipe out nice circles onto the parchment paper. Freeze for 2 hours.
- Or, you can just store the whipped cream in an air tight container, pop it in the freezer.
When you want to serve the whipped cream simply, defrost the container of leftovers at room temp, then whip it for 30 seconds.
It’s almost as good as fresh.
Why would I want to freeze my whipped cream?
Because you have a good amount leftover, and it is about to go bad on you.
If frozen into the dollops, the whipped cream is perfect to plop onto hot chocolate , or lattes, or coffee.
The fun thing about adding it frozen to hot drinks is that the frozen whipped cream melts right into the drink helping to cool down said hot drink. Also, the it melts slower, rather then instantly, like room temp would.
Genius!
Yes, you can use the frozen dollops of whipped cream on top of a dessert. Just let them defrost 15 minutes before adding to your dessert. However, I do prefer to “re-whip” when adding it to desserts.
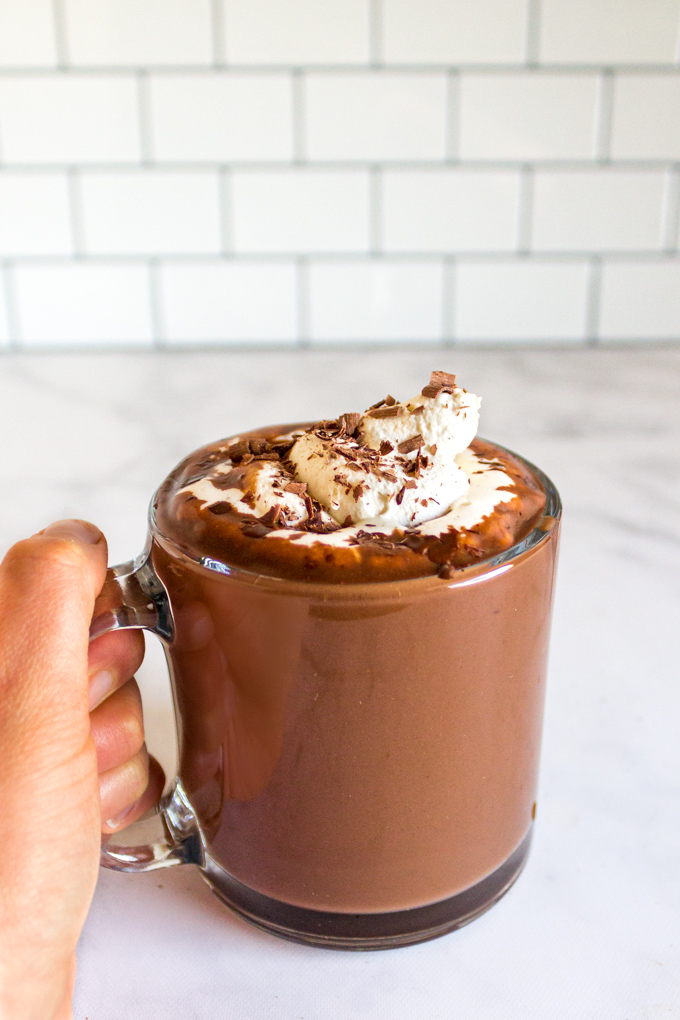
I hope you found this post helpful, be sure to check back next week for my hot chocolate recipe. Just look at how luscious it is!
When you make this recipe make sure to leave a comment down below, along with a star rating. This helps me out a lot. Plus, I love hearing from you. Thanks, friends.
Print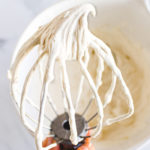
How to Make Whipped Cream (+ How to Freeze)
- Prep Time: 10 mins
- Total Time: 10 minutes
- Yield: 1 cup (8 to 10 dollops) 1x
- Category: desserts, baking, easy, 10 ingredients or less
- Method: whipping
- Cuisine: gluten free, egg free, nut free
- Diet: Gluten Free
Description
How to make homemade whipped cream, plus how to freeze leftovers. Easy to make. The perfect way to top pies, pastries, fruit, and hot drinks.
Ingredients
- 1 cup heavy whipping cream
- 1 to 2 tablespoons real maple syrup, or powdered sugar (see noetes)
- pinch of kosher salt
- 1 teaspoon vanilla bean paste (or sub pure vanilla extract)
Other flavor add ins (see notes):
- 1/2 to 1 teaspoon cinnamon, or pumpkin pie spice
- 1 to 3 teaspoons bourbon, rum, Irish cream, kahlua, or other spirits/liqueur of your choice
- 1/4 to 1/2 teaspoon peppermint extract
- 1 to 3 teaspoons fresh citrus zest (such as lemon, or orange)
Instructions
- Prepare: If your kitchen happens to be hot then it helps a lot to place the mixing bowl and electric whisk attachments, (or the bowl to your stand mixer along with the whisk attachment), into your fridge 10 minutes in advance.
- Whip: To either a large mixing bowl, or the bowl of your stand mixer, add the heavy whipping cream. Whip on high for about 4 t0 5 minutes, scraping down the bowl half way through. If the cream is splashing out of the bowl, then start the mixer on a lower speed for the first 2 minutes, then increase it to high once it has thickened a little. After the cream has thickened to soft peaks (see photos in post) add in the maple syrup (or powdered sugar), salt, and vanilla (along with any other optional flavor add ins, if using). Whisk on high for another only 1 to 2 minutes more, or until your whipped cream has reached stiff peaks (see photo in post). Stiff peaks = when you pull your the whisk out of the cream, turn the whisk upside down, and the peak doesn’t fall over. Note: be careful not to overwhip past stiff peaks, otherwise your cream will turn into butter.
- Serve: Dollop the whipped cream onto your dessert of choice (see post for dessert recommendations). Or, you can transfer the whipped cream to a piping bag and pipe onto your desserts. The whipped cream is best served fresh, however, see notes for storing and freezing options.
Notes
Sugar: Traditionally whipped cream is made using powdered sugar, or granulated sugar. You can certainty use powdered sugar here. However, I did a side-by-side taste test and found the whipped cream sweetened with maple syrup to have a more complex flavor. It doesn’t strongly taste of maple syrup, it just has a nicer, more complex back end flavors. I would highly recommend using maple syrup over any other sweetener. It especially goes nicely with fall desserts. Just make sure to use real maple syrup, not pancake syrup.
Tips for piping: If you are piping your whipped cream for decorating the tops of pies. I recommend using powdered sugar rather than the maple syrup. There is a little bit of cornstarch in powdered sugar, so this will help the whipped cream to hold it’s shape. I also recommend whipping the cream to stiff peaks. Keep in mind that this whipped cream will hold it’s shape when piped on a flat surface. However, it will not whole it’s shape when piped on the side of cakes. Also, keep in mind that the whipped cream will start to wilt at room temp after about an hour, so use to top your dessert just before serving, or pop back in the fridge after 1 hour.
Vanilla: If you can find it, I highly recommend using vanilla bean paste. It really elevates the vanilla flavor with the vanilla seeds in there. However, vanilla extract works just great.
Optional flavor add ins: Most of the time I keep my whipped cream simple to just accentuate a dessert. But, if you want to add flavors to go with a specific dessert, you can get creative. I would recommend starting with the smaller amount of the ingredient suggested, tasting, and adding more as you go. If you’re afraid of overwhipping, you can fold the flavors in with a rubber spatula.
How to store leftovers: Whipped cream is best when fresh. However, if you have leftovers store it in the fridge in an air tight container for up to 1 week (sometimes, it has lasted 2 weeks for me).
How to re-whip whipped cream: To “revive” your leftover whipped cream simply whip it on high for 30 seconds to 1 minute. This re-incorporates air into the whipped cream to make it almost as good as fresh. It can also be helpful to add a splash of heavy whipping cream before whipping. Be careful not to overwhip. This also works great with whipped cream that has previously been frozen, and then defrosted.
How to freeze whipped cream: Yes, you can freeze whipped cream. I like to freeze the whipped cream into individual servings. Here’s how: line a baking sheet with parchment paper. Pipe small circles of whipped cream until the baking sheet is filled (or just dollop spoonfuls onto the baking sheet). Freeze for 1 to 2 hours, or until the whipped cream is frozen solid. Transfer the whipped cream dollops to baggies. When serving, defrost for 15 minutes before topping your dessert. It’s not as good as homemade, but a nice way to make use of leftover whipped cream.
Frozen whipped cream for hot drinks: The frozen whipped cream dollops are especially great for adding to hot drinks. Pop a frozen whipped cream dollop on top of hot chocolate, lattes, coffee, etc – the whipped cream melts and helps to cool down the hot drink just a little. We especially loved this trick on hot chocolate! so Yum!


Can I ice a cake with your whipped cream recipe and freeze the iced cake?
Hi, you will need to stabilize the whipped cream. To do this you can add unflavored gelatin to the whipped cream. Here is a post on how to do that: https://sugarspunrun.com/stabilized-whipped-cream-frosting/
According to her article you could use that stabilized whipped cream frosting to ice anything you like. She does say that you can freeze the cake after it has been decorated.
I haven’t tried this myself, but this blogger has reliable recipes, so I am confident it will work for you.
Hope that helps 🙂