This post may contain affiliate links. If you buy something through one of these links, we may earn an affiliate commission - at no extra cost to you.
Okay friends, today is a very special day! Today I am republishing one of my favorite recipes of all times….my go to hummus recipe!
Over the years I have made a bunch of different flavors of hummus (10 to be exact), some of my faves being: loaded Greek hummus, pesto hummus, and loaded butternut squash hummus, so much fun to be had with the blank flavor canvas that is hummus!
Even after all of that flavor experimenting the one hummus recipe that I make most often is this regular, plain old traditional hummus. I make this recipe most often for two reasons: 1) it’s super simple to make and I always have the ingredients on hand. 2) it’s versatile. Serve it with chips, crackers, veggies or spread it on sandwiches…whatever you want.
The funny thing is that this recipe has always been here living on this blog…I’ve even linked back to it with much hesitation. Hesitation because the picture was so outdated (I was still in my photography learning phase) and because I had since altered my recipe quite a bit.
Time to update?! Absolutely!
Another fun note: I had originally published the recipe May 14th, 2014… exactly 4 years ago and 4 days before today’s date. Totally not planned, my friends! It was meant to be!
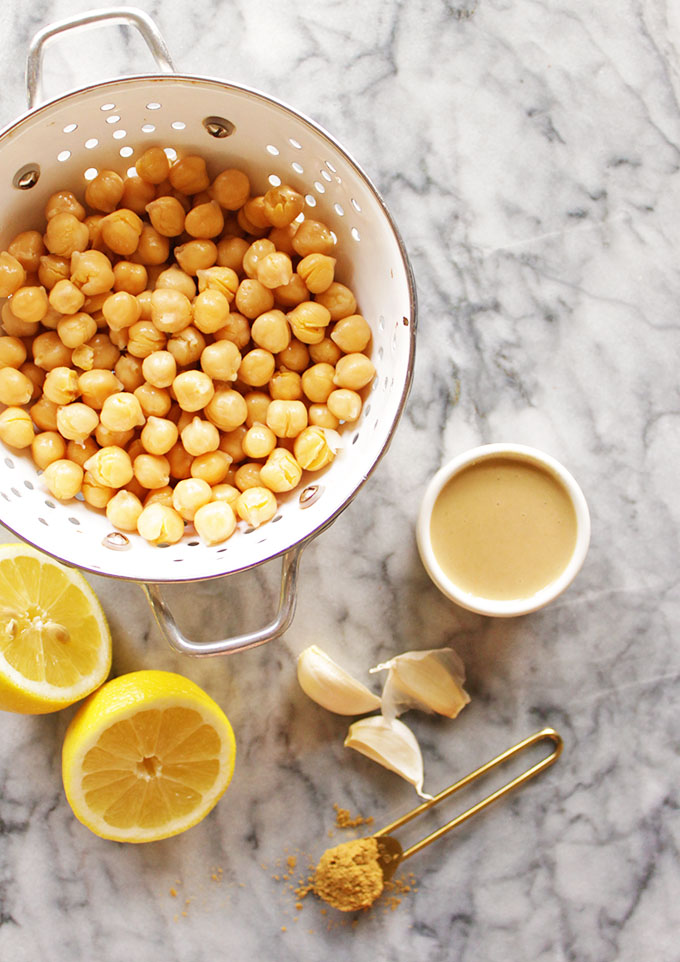
Hummus ingredients:
- canned chickpeas
- tahini paste (100% a must!)
- fresh garlic
- fresh lemon juice
- cumin – for a subtle smokiness
- salt – very important!
- a pinch of cayenne pepper…if you love a touch of heat
- water – for making it fluffy and smooth
That’s it! Raise your hand if you have all these ingreients on hand!!!!
I have made this recipe more times than I can count and slowly over time I have tweaked it so that it is now pure perfection!
I used to put olive oil in my hummus to smooth things out and then I discovered water gave it a fluffier lighter texture without weighing it down. I do love the flavor of olive oil so I drizzle a little bit on top just before serving. Trust me, it’s the way to go – best of both worlds!
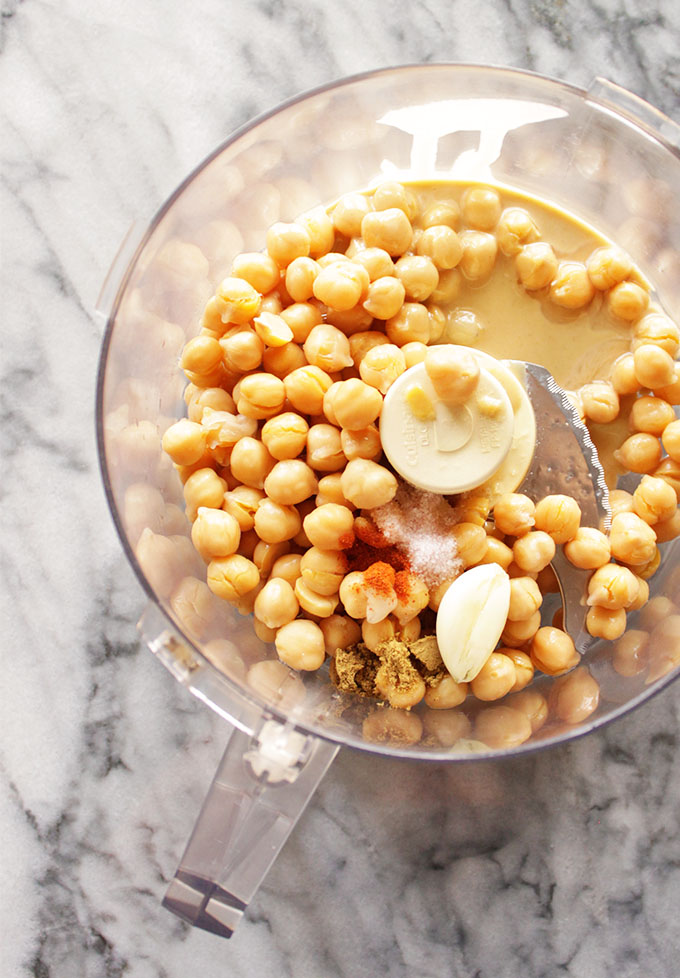
Some recipes will instruct you to peel off the skin of the chickpeas before blending your chickpeas…apparently it results in an extra smooth hummus? I don’t have time to mess with that…no thank you! I say skip that nonsense and just let your food processor run a little longer to create a smoother hummus. I have been known to walk away from my food processor for like 10 minutes..let the power of your food processor do all the work TYVM!
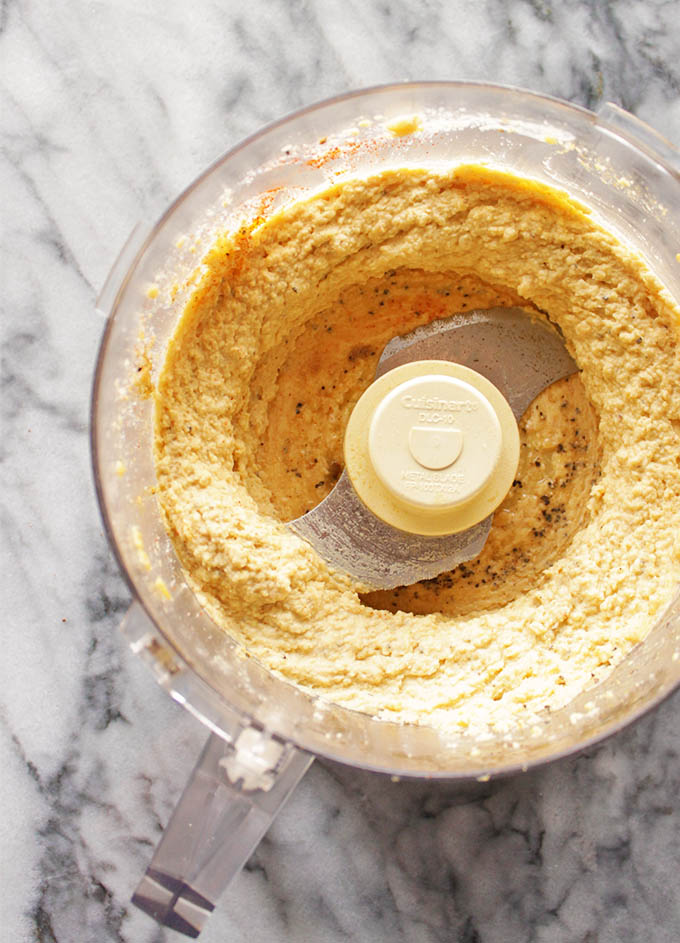
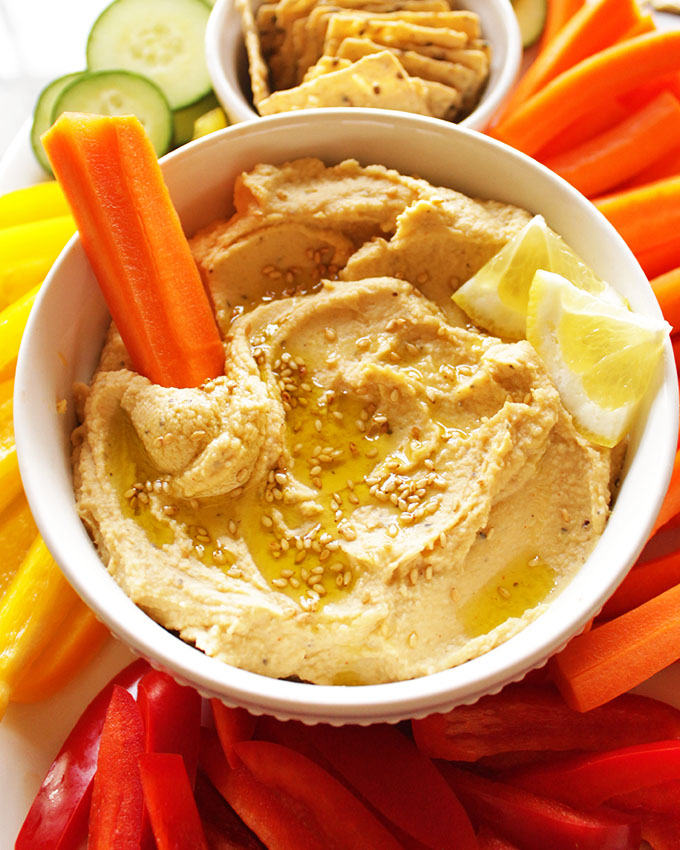
Just look at all that goodness! Isn’t that a beautiful sight?!?!
I won’t lie to you. I do purchase store bought hummus quite often. NO. MORE. DIRTY. DISHES. PLEASE! Even though it only takes a food processor to make this hummus sometimes the thought of having to clean up afterwards is what stops me. When I made this recipe to photograph it last week and I took a taste and I realized that I couldn’t remember the last time I made hummus from scratch – winter just promotes more convenience foods in my life – that first bite was glorious!!!
It was like seeing your long lost lover after months of being separated. AND YES hummus is one of my true loves!!! It’s okay, Paul already knows about this!
Point I’m trying to make is this: store bought hummus is fine and totally necessary at times… but fresh homemade hummus is SO MUCH BETTER!!! I am embarrassed to say that I had kind of forgotten how good it tasted!
Don’t worry my love, I will be making you all spring and summer long! Those fresh veggies and I will be having a summertime affair with homemade hummus. THE END!
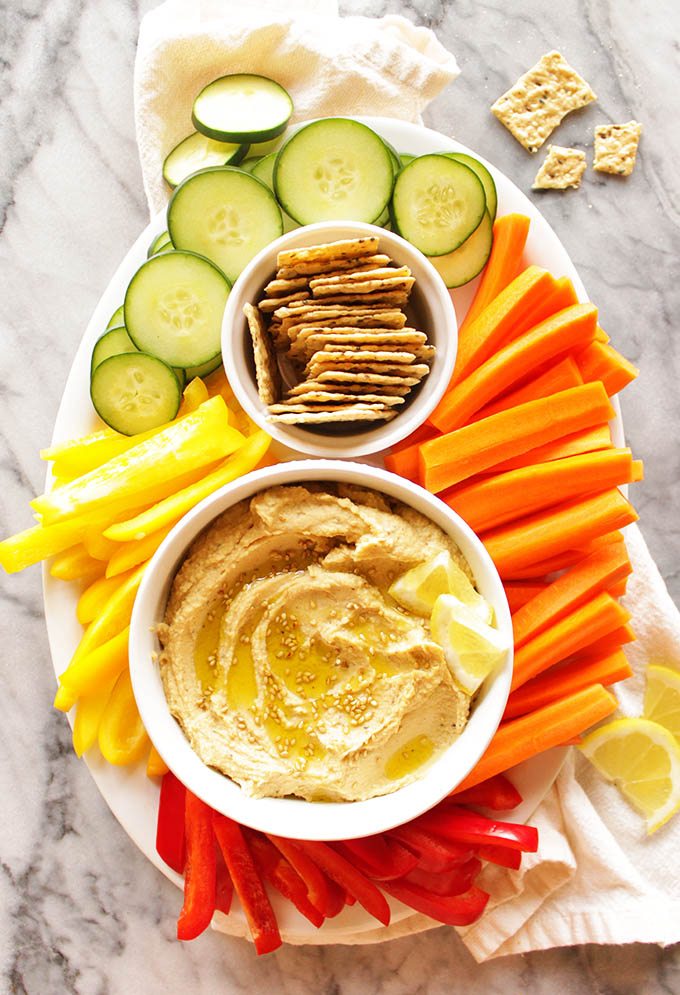
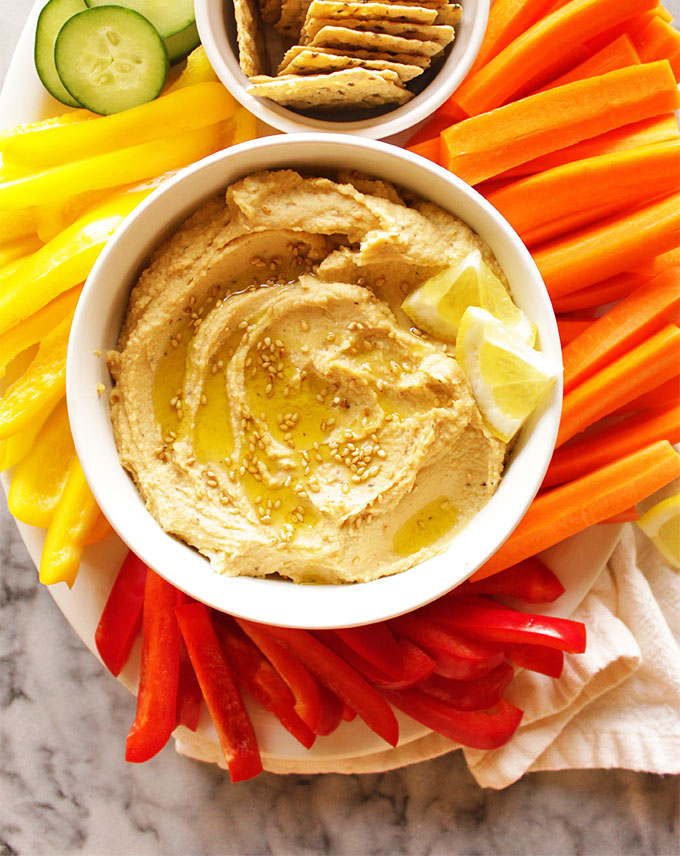
Fluffy, creamy, garlicky, lemon-y hummus + all the fresh cut veggies or crackers your heart desires = one delicious summer!
I have visions of you enjoying it for packed work lunches eaten outside on a bench, sharing it with family at summertime pool/backyard parties, or anywhere any time you can imagine. And no, it doesn’t have to be eaten outside…I’m just obsessed with being outside RN ha!
THE BEST hummus recipe of all times coming at you in 3….2…1!
AND GO!!!!
Did you make this recipe?! If you did please leave a comment below telling me how you liked it along with a star rating – this helps others to find my recipes easier. Also be sure to snap a picture on Instagram and tag it with #RobustRecipes so that I can see what you made. I love hearing from you! Thanks for being here! 🙂
This recipe was originally published on May 14th, 2014. The pictures and recipe have been updated for a better user experience.
Print
My Go To Hummus
- Prep Time: 10 mins
- Total Time: 10 mins
- Yield: 6 to 8 1x
- Category: Snack, Appetizer, Side, Dips & Sauces
- Cuisine: Vegetarian, Vegan, Gluten Free, Dairy Free
Description
This simple hummus recipe is perfect for dipping with veggies or crackers for a healthy appetizer, side, or snack. It’s rich, creamy, and super healthy. One of my all time favorite recipes to make all summer long.
Ingredients
- Hummus
- 1 15 ounce can chickpeas, drained and rinsed
- Juice of 1/2 to 1 lemon (depending on how lemon-y you like it)
- 2 tablespoons tahini paste (sesame butter)
- 1 to 2 garlic cloves
- 1 to 2 tablespoons filtered water (depending on how much lemon juice you use)
- 1/4 to 1/2 teaspoon cumin
- 1/2 teaspoon salt
- 1/4 teaspoon black pepper
- Optional: pinch to 1/8 teaspoon cayenne pepper
- Optional garnishes
- roasted sesame seeds
- sprinkle of cumin
- drizzle of olive oil
- Serving options for dipping
- gluten free crackers (or pita chips, if not GF)
- sliced veggies: any you like but our faves are cucumbers, any bell peppers, and carrots
Instructions
- Make a paste: To the bowl of a food processor add the drained and rinsed chickpeas, 1/2 lemon juice, and tahini paste. Blend until the chickpeas start to break down a little – it will be kind of pasty (see photo in blog post).
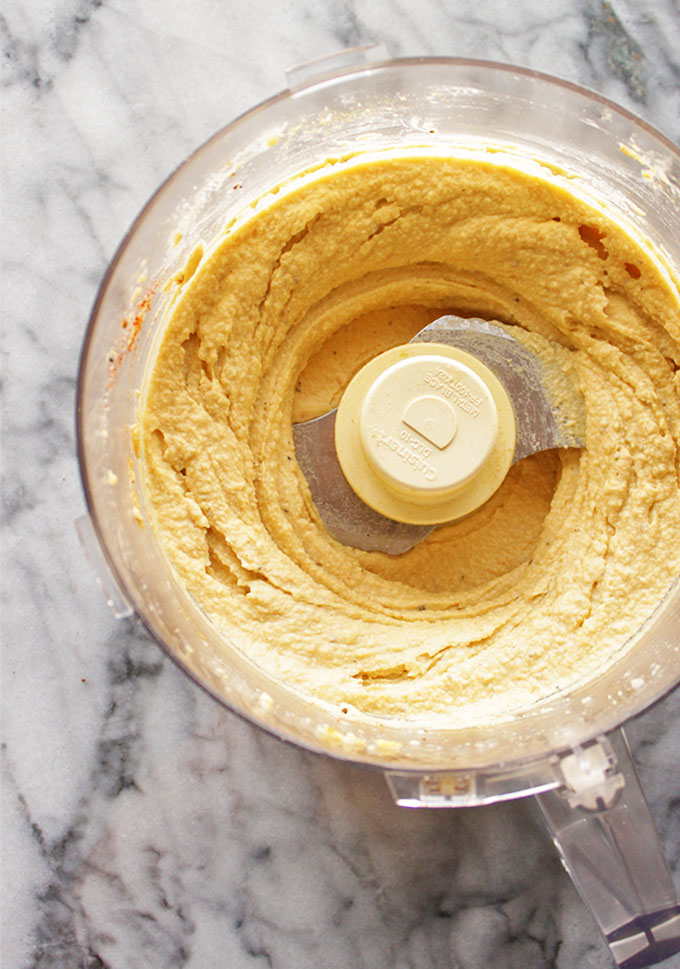
- Smooth out the hummus: Add 1 tablespoon of water, cumin, salt, pepper, cayenne (if using), blend until mostly smooth. At this point add the other half of the lemon juice if you want a more lemony hummus or 1 more tablespoon of water if not using the water. Blend for at least 5 minutes, scraping down the sides as needed, or until the hummus is super smooth and creamy. I have been known to walk away from it for 10 minutes, you can’t over process it – the longer you do the smoother your hummus will be.
- Taste: Taste the hummus and adjust any seasonings as needed or add a little more water for a thinner hummus. The texture should be thick.
- Serve: Transfer the hummus to a serving bowl and garnish with any of the suggested toppings, if desired. Serve with your favorite gluten free crackers (or pita chips if not GF), and any of your fave fresh cut veggies (my faves are listed above) for dipping. This hummus is also great in any recipe you would normally use hummus in or spread onto sandwiches or wraps in place of mayo.
- Store leftovers: Stir leftovers in an air tight container in the fridge for up to 7 days (this recipe can be made in advance for parties or meal prepping). If the hummus dries out a litte stir in a little water and or olive oil to moisten it up again.
Notes
Feel free to double the batch of hummus for extra leftovers or for when feeding a bigger crowd – I often make a double batch because we go through one batch so fast!


Leave a Reply